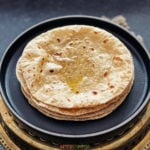
Roti Recipe- How to Make Roti (Chapati)
Learn how to make Roti or chapati, a popular Indian whole wheat flatbread. Use this easy recipe, tips and tricks for a soft and puffy roti every time!
Servings: 12 Rotis
Calories: 68kcal
Equipment
Ingredients
- 2 cups whole wheat flour plus ¼ cup for dusting while rolling
- ¾-1 cup warm water or as needed (microwaved 15-20 seconds)
- 1 teaspoon olive oiI or ghee optional
Instructions
Knead Dough Using hands
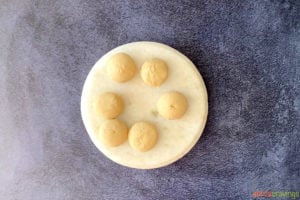
- In a large mixing bowl, add flour and ¼ cup of water. Using your fingers, gently mix the dough until all the water is absorbed.
- Add another ¼ cup water and keep mixing until it starts to form the dough. Depending on the brand of your flour, you will need ¾ to 1 cup of water. In the end, the dough should be soft but not sticky.
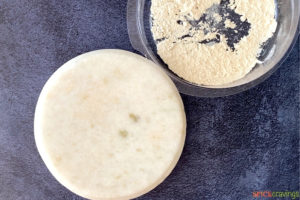
- Using your fist and lower palm, knead the dough for 1 minute. Wet your hand to smooth the dough. Add the oil (if using) and knead for another 30 seconds.
- Cover it with a damp kitchen towel and rest for 15 minutes for the glutens to develop. After that, knead the dough once again.
Knead Dough Using Stand Mixer
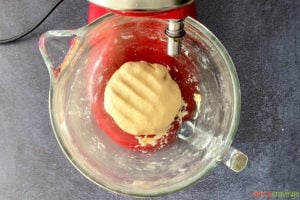
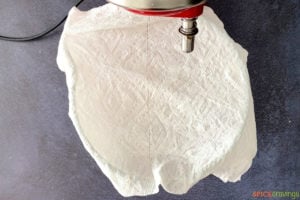
- Add the dough to the mixing bowl. Turn on the stand mixer with dough attachment on the lowest speed. Start adding water, ¼ cup at a time. After adding about ¾ cup water, the dough should start coming together, in about 3 minutes. If needed, stop and scrape the sides of the bowl.

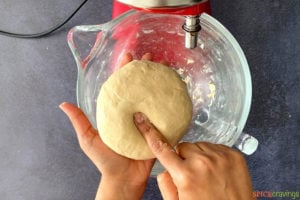
- At this point, check to see the consistency of the dough. The dough should be soft and pliable such that, when pressed with your thumb it leaves an impression. It the dough feels firm, turn the mixer on and add the remaining water.
- Knead the dough for a minute on low speed. Optionally, you can add 1 teaspoon oil or ghee during this process.
- Turn the mixer off and cover the dough with a damp kitchen towel and rest for 15 minutes. After that, knead it again for 15 seconds.
Roll it out
- To make the roti, divide the dough into 12 equal portions, about the size of a lime and roll between your palms to make a smooth round ball without any cracks. Cover all dough balls with a damp towel.
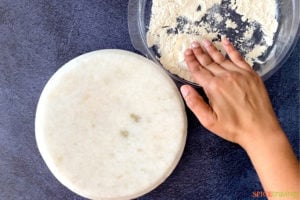
- Put the other ¼ cup flour on a plate for dusting the dough while rolling. Ensure that your rolling pin and surface is dry.
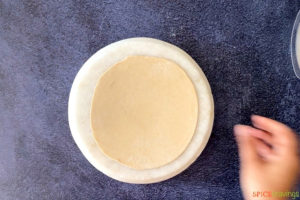
- Take one dough ball at a time, while keeping the remaining dough covered with a damp towel so they don’t dry out. Dip the dough ball in the plate of dry flour, shake off the excess, then place it on a flat surface and flatten it gently by pressing with your fingers.
- Start rolling gently from the center in an outward motion, turning it about 45 degrees between each roll. Dust with flour in between to prevent sticking.
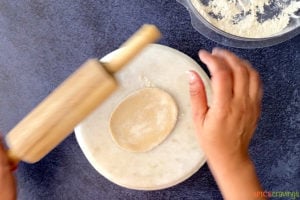
- Continue rolling until you flatten the dough into an even disc, about 7 inches in diameter. In the meantime, preheat a nonstick pan over medium-high heat.
Cook Roti (or Phulka)
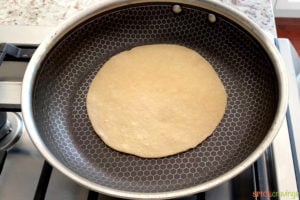
- Dust off the excess flour from the rolled roti and place flat in the pan or tawa. Cook until small air pockets start forming on the surface, about 30 to 45 seconds.
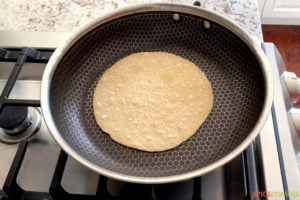
- Using tongs, flip the roti. Cook until you see air pockets develop on this side, about 15 to 20 seconds, then flip again.
To Make Roti
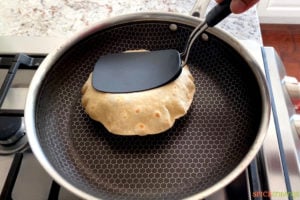
- Using a flat spatula, gently press the roti while rotating it, until it begins to puff up. Flip it a few times to cook it evenly.
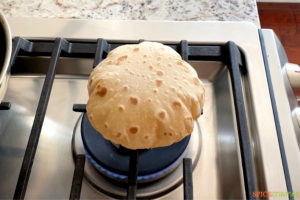
To Make Phulka
- Using tongs, lift the roti and move the pan on another burner. Reduce the heat to medium and cook the roti on direct flame until all the air pockets combine, making it puff up like a balloon. Rotate in between to prevent it from burning. Flip it a few times to cook it evenly.
Serve Warm
- Remove cooked roti and store in a tortilla case or wrap it in aluminum foil. Repeat the process for other rotis. Enjoy warm with your favorite curry. To enhance the flavor, spread ½ teaspoon ghee or olive oil before serving.

Notes
- After kneading the dough, cover it with a damp cloth and rest it for 15 minutes to allow the glutens to develop. After that knead again for a quick 15 seconds before rolling.
- For softer rotis, knead the dough in warm water that has been microwaved for 15 to 20 seconds. Also, while making rotis keep the spare dough covered with a damp paper towel at all times.
- To ensure that the roti doesn't dry out while cooking, heat the pan on medium-high heat before you place it in.
- To get puffed up rotis, roll it out to an even thickness so it can puff up. Uneven thickness causes the dough to crack while cooking, causing it to deflate.
Nutrition
Calories: 68kcal | Carbohydrates: 14g | Protein: 3g | Fat: 1g | Saturated Fat: 1g | Sodium: 1mg | Potassium: 73mg | Fiber: 2g | Sugar: 1g | Calcium: 7mg | Iron: 1mg