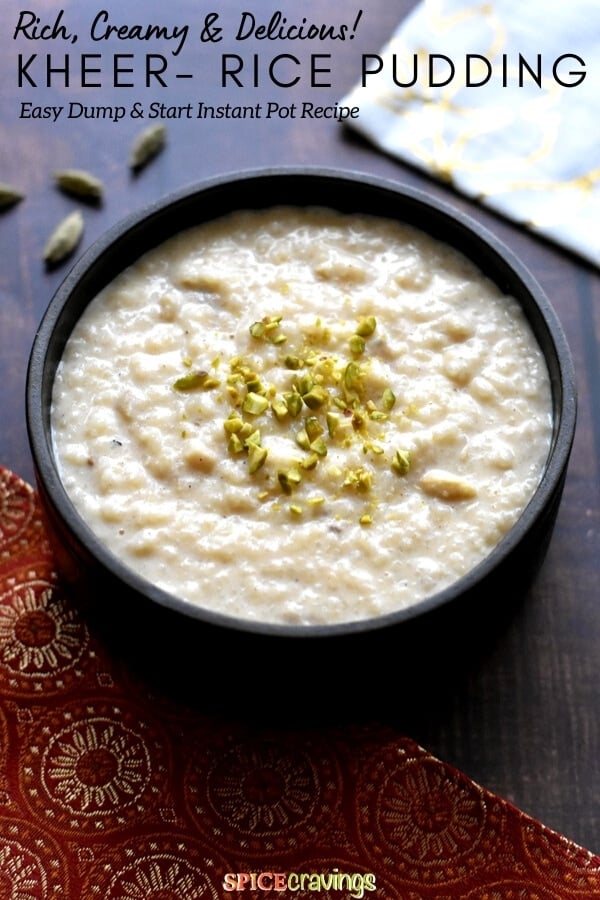
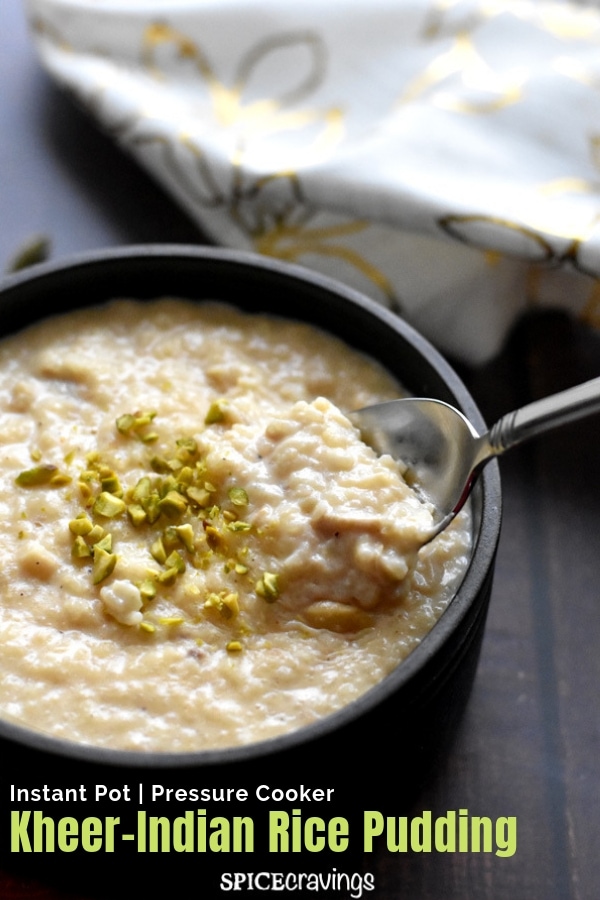


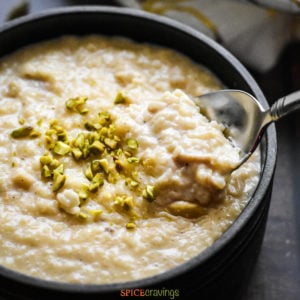
Kheer is a rich, creamy Indian rice pudding infused with cardamom and saffron, and a quintessential dessert in most festivals and celebrations. This easy dump-and-start Instant Pot recipe transforms rice, milk, and sugar into a luxurious treat- no stirring or babysitting required. You'll love this hands-off kheer recipe!
Want to save this recipe?
I grew up enjoying my mom's kheer - it was pure comfort in a bowl! She would slow-cook the milk and rice on the stove for an hour or longer, stirring regularly to prevent the milk from scorching at the bottom.
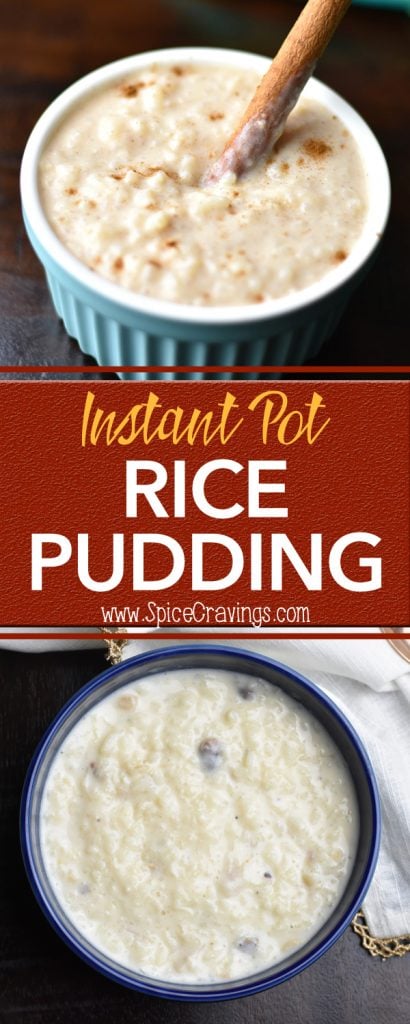
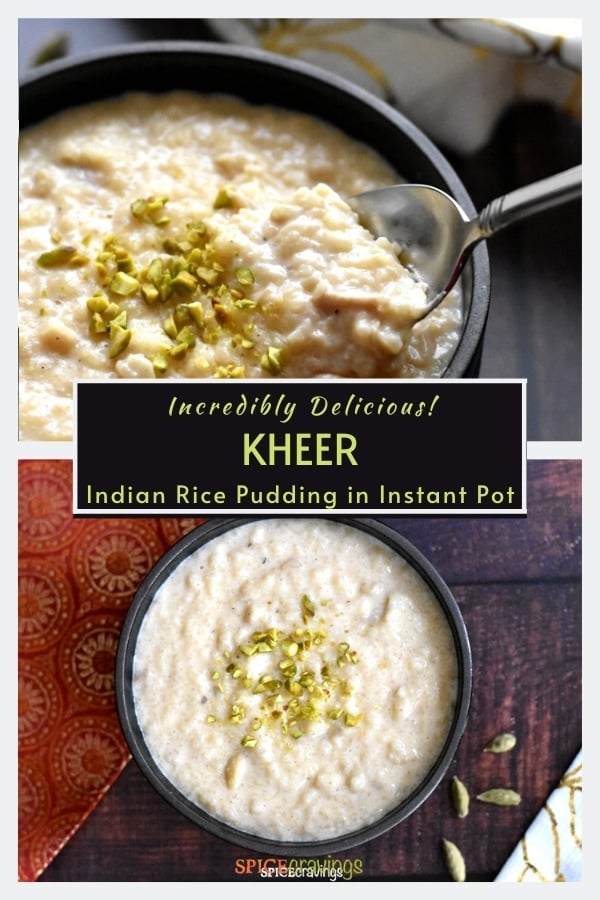
This easy rice kheer was one of the first recipes I developed for the Instant Pot (original photo from 2017 below!). It's a simplified and easier adaptation of my mom's original recipe, retaining the same rich, luxurious taste. After a series of trials and burn errors, I finally nailed a failproof recipe!

In this Instant Pot version, I simply toss in the ingredients and let it pressure cook-no stirring, no babysitting required. It's a hands-off way to make a decadent treat. That's a huge win for me.
Another plus is that the Porridge setting cooks at a consistent medium heat, resulting in creamy rice kheer without the need for constant stirring.
If you're looking for an easy dessert, this Instant Pot Kheer recipe is a true game-changer. Let's get started!
Another delightful kheer variation: Mango Rice Kheer
Jump to:
What is Kheer?
Kheer is the Indian name for rice pudding. It's a North-Indian sweet made by cooking rice with milk and sugar. It is often flavored with cardamom, and/or saffron, along with dried fruits and nuts.
Ingredients - Notes & Substitutions
The three key ingredients for this rice kheer recipe are rice, milk, and sugar. Here's what you need to make the best Instant Pot kheer:
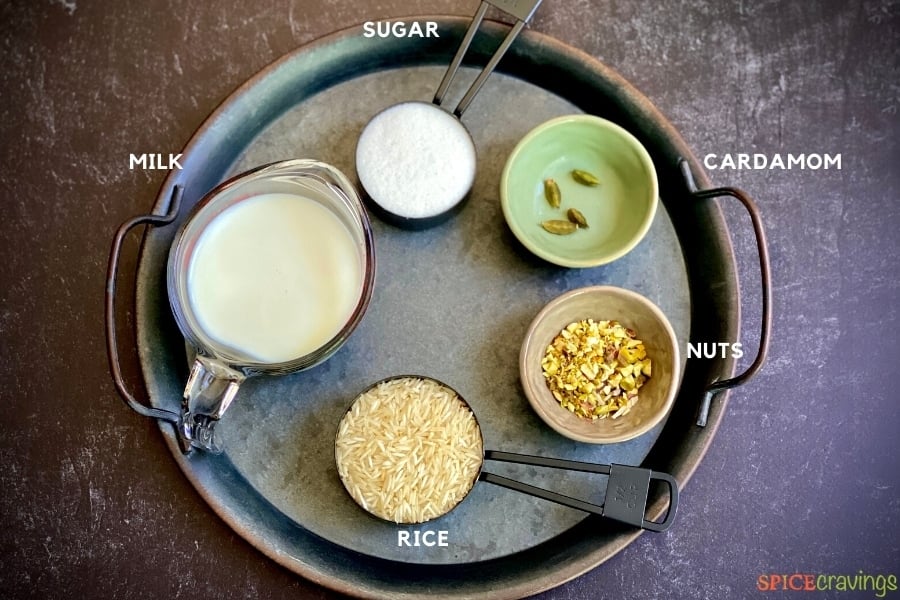
- Rice: Basmati rice is my go-to, but Jasmine rice is a great substitute. You can also use any long-grain white rice.
- Milk: I highly recommend using whole milk for a richer, creamier consistency.
- Sugar: We like our rice pudding on the sweeter side. Adjust the sugar amount to your liking.
- Cardamom: I grind the seeds from green cardamom pods for the best taste. If you don't like the black specs in it, you can use the store-bought ground cardamom, which is much lighter in color.
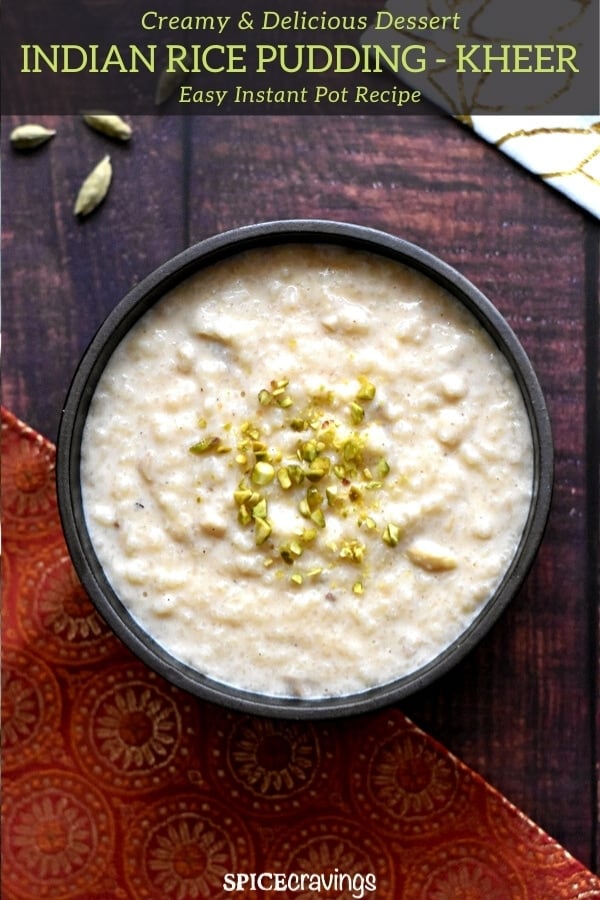
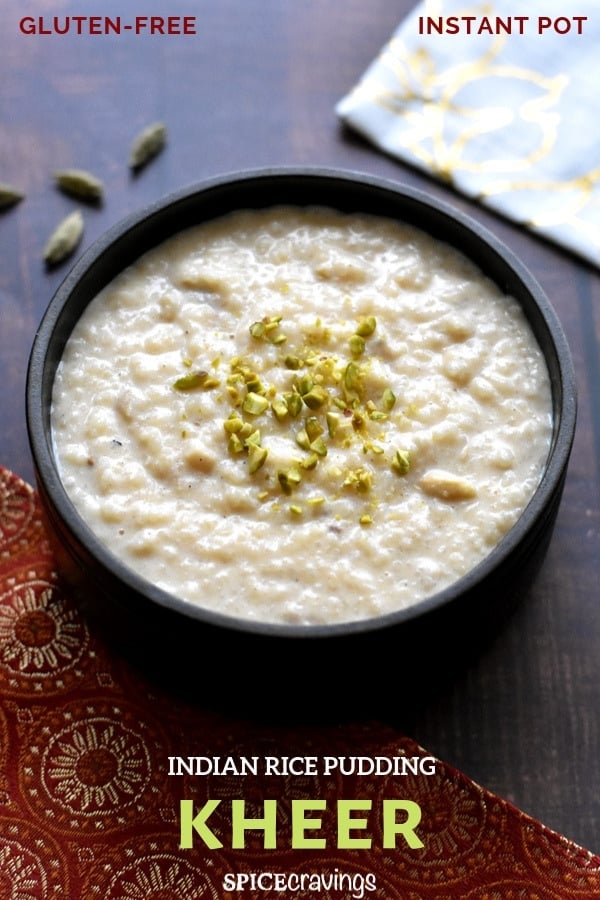
- Saffron: These strands add a yellow tint and floral aroma. It is optional, though. A little goes a long way; the quantity of saffron you add determines how yellow your kheer will turn out, so skip it if you prefer a white kheer.
- Nuts & Raisins: Traditional choices include almonds, cashews, pistachios, and golden raisins, but feel free to customize these to your liking. Skip the nuts for a nut-free kheer.
- Ghee: For toasting nuts and raisins. I use homemade ghee, but store-bought ghee works as well.
Scroll to the recipe card for a detailed list of ingredients and quantities.
How to Make Kheer In Instant Pot
I mean it when I say this is a complete set-it-and-forget-it Indian dessert. Here's how to make Instant Pot Kheer using the porridge setting:
- Rinse and soak the rice while you chop nuts.
- Turn on saute mode. Toast the nuts in ghee for 1 minute, then add the raisins and sauté for an additional minute. Remove and set aside.
- Add water to the pot, followed by milk, rice, sugar, and saffron. Let the milk heat up for 2-3 minutes, then cancel the sauté.

- Close the lid and set the vent to the sealing position. Set Porridge mode for 20 minutes. Once the cooking time is done, let the pressure release naturally. Open the lid after the pin drops.
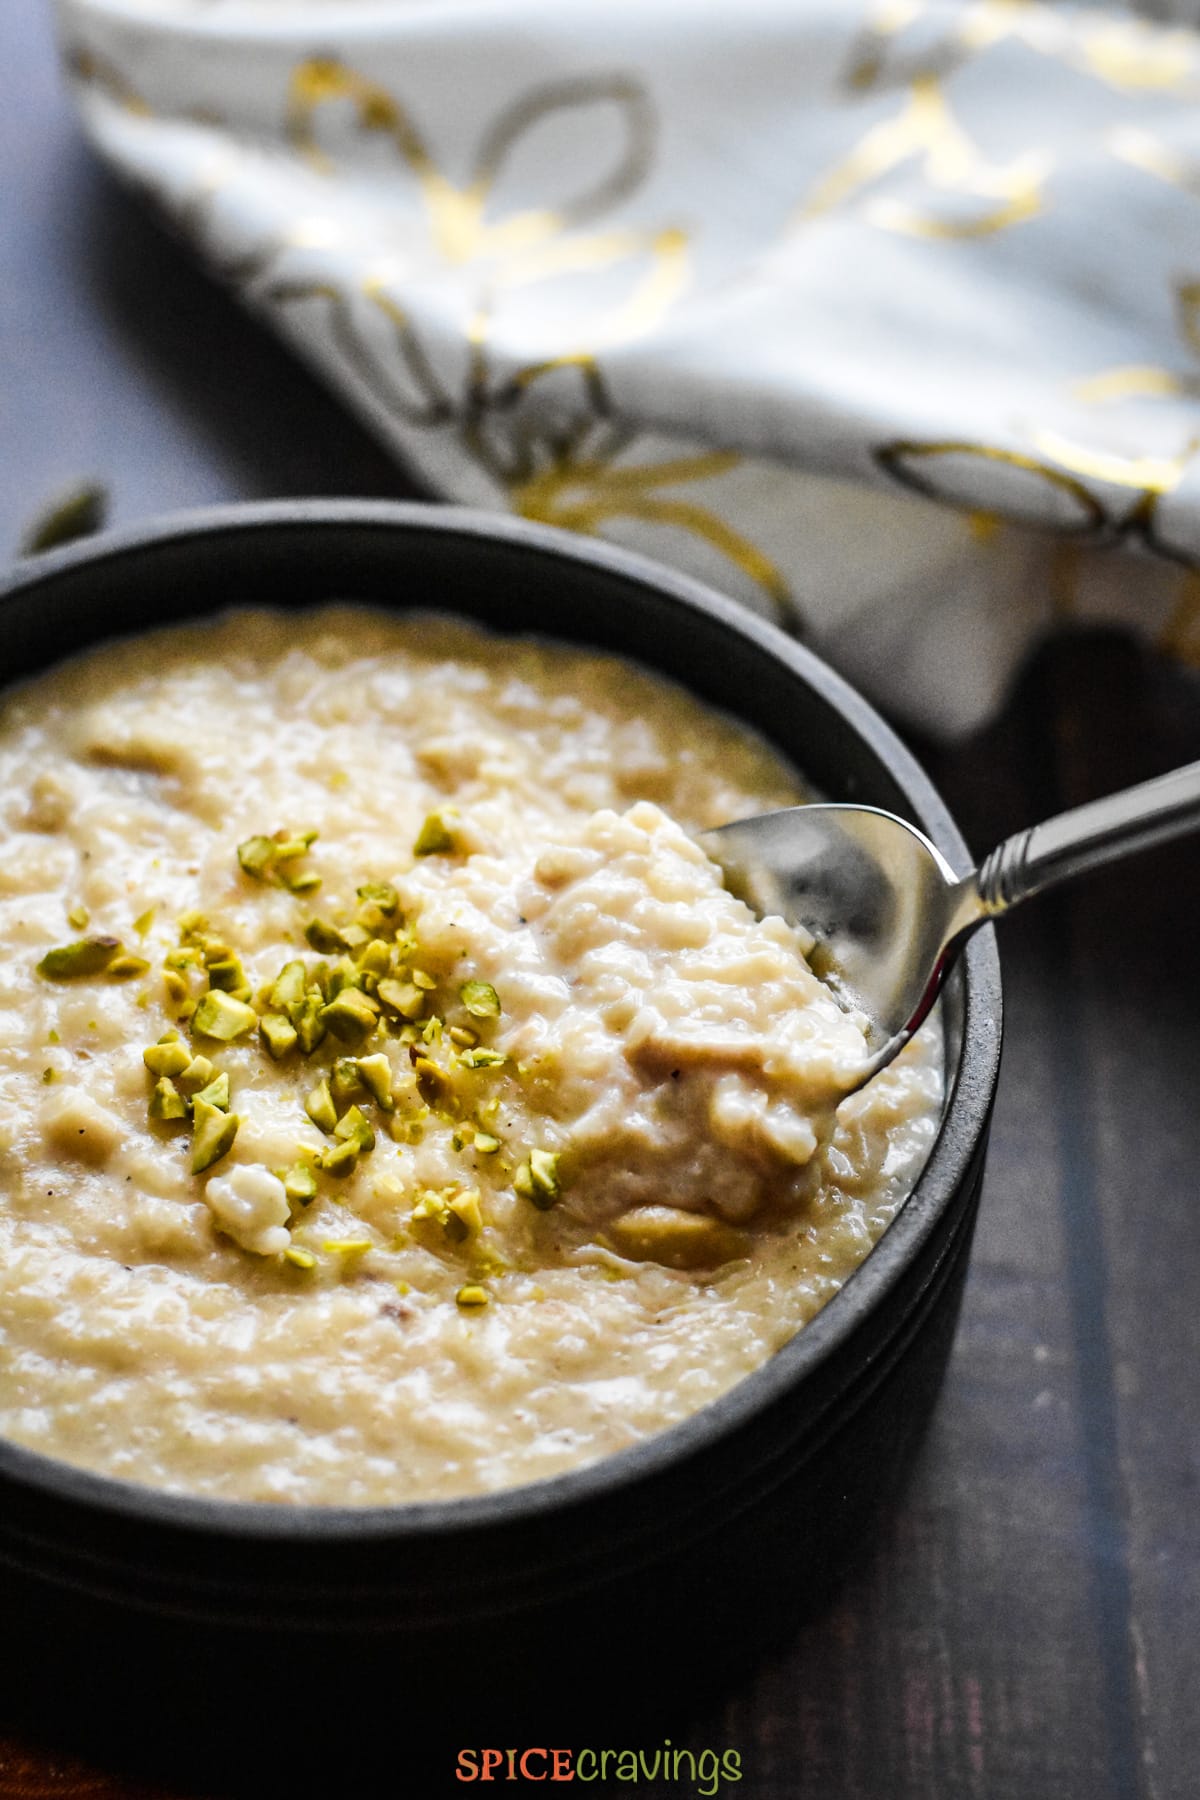
- Using a potato masher, gently mash some rice. This makes the pudding naturally creamy.
- Stir in ground cardamom, toasted nuts, and raisins. Turn on saute mode and simmer the rice pudding for a few minutes to thicken to your desired consistency. Enjoy it warm, or cool completely, then refrigerate for a few hours before serving.

Consistency Tip: Keep in mind that kheer will thicken significantly as it cools. If Kheer is too thick, add more milk and simmer it for a few minutes. Adjust sugar, if needed.
How to Prevent the 'Burn' Message
- Use a clean pot.
- Add water before milk.
- Temper the milk for a few minutes before pressure cooking.

Serving Suggestion
Kheer is often made during festive occasions and as an offering during prayer ceremonies. Kheer can be served at your preferred temperature - hot, warm, or cold. Most commonly, it is served chilled.
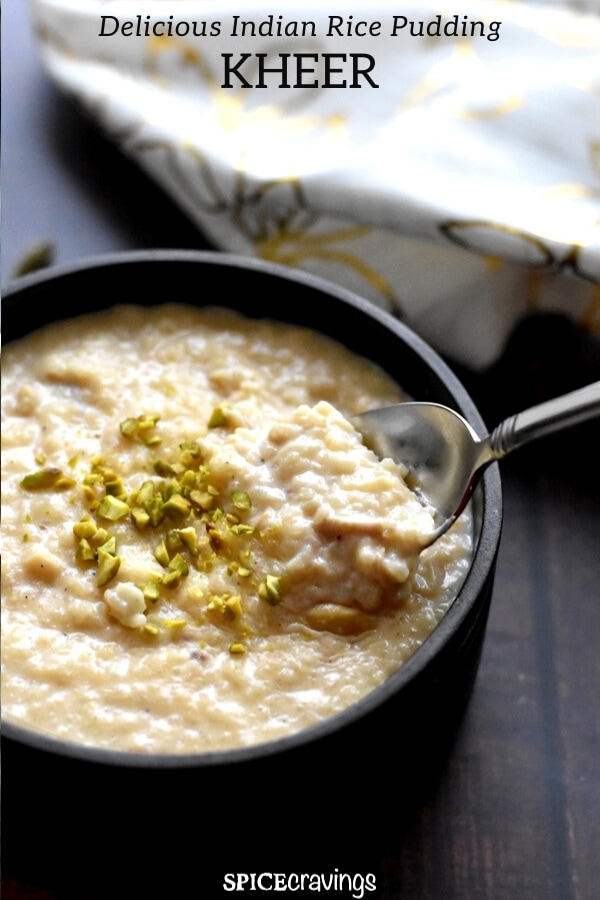
When ready to serve, garnish with toasted nuts and raisins!
How to Store
Cool the rice pudding for 10-15 minutes and serve it warm. After cooling, if a thin skin forms on top, stir it to blend it back in.
To chill, place in large or individual serving bowls, cover the surface directly with plastic wrap, and refrigerate for 4-5 hours.
Leftovers will stay good in an airtight container in the fridge for up to 4 days. If preparing this for a party, hold off on adding the nuts. Sprinkle them when ready to serve.
Why Make Kheer in the Instant Pot?
- Hands-off cooking: Add the ingredients, set it and cook - no stirring and babysitting required.
- Slow-cooked flavors: The porridge mode utilizes a gentle medium heat, resulting in a slow-cooked texture.
- Creamier texture: Pressure cooking softens the rice perfectly. A quick mash after that gives the kheer a naturally creamy texture.
- One-Pot convenience: I toast the nuts and cook the kheer in the same pot, which means only one pot to clean!
Kheer Variations to Try
There are many variations and names for this Indian sweet treat throughout India. It can also be made with broken wheat, tapioca, or vermicelli. Here are a few that we love:
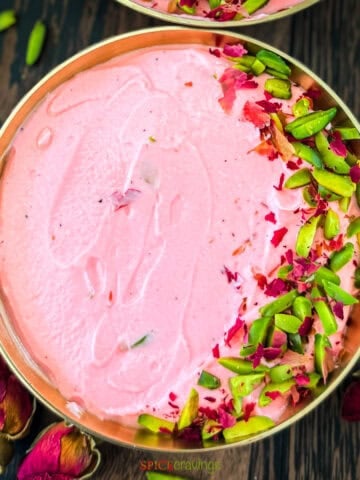
- Vermicelli Kheer or Semiyan: Replace the rice with ½ cup roasted vermicelli noodles and reduce the pressure cooking time to 10 minutes.
- Payasam: Replace sugar with jaggery to make Payasam. To avoid curdling, add it after pressure cooking and simmer to thicken.
- Carrot Kheer: Replace the rice with 3 cups of shredded carrots. Follow the recipe and reduce the pressure cooking time to 7 minutes.
- Badam Kheer: Swap regular milk with almond milk. I do end up adding 1-2 tablespoons of extra sugar with this option, so adjust the sugar to taste. Since almond milk has less fat than regular milk, the rice pudding is not as rich as the traditional one.
- Dairy-Free Vegan Kheer: Rice pudding can be made dairy-free by substituting milk with unsweetened, regular almond milk or full-fat coconut milk.
Recipe Tips & Notes
- Use whole milk for creamier kheer.
- Skip the nuts to make it nut-free.
- Add water first, temper the milk, and use a clean pot to prevent the burn error.
- Mash the rice for that sought-after creamy texture. This releases some of the starch in the grains, resulting in a rich pudding.
- Kheer thickens after cooling, so stop simmering when it's still a bit runny.
- Warm kheer tastes sweeter than cold. The quantity mentioned in this recipe is based on serving it chilled. Adjust the sugar according to your preferred eating temperature.
- Note about cardamom: Homemade ground cardamom seeds release the best flavor. Store-bought powder is very weak comparatively.
- Note about saffron: This adds a yellow tint, so skip it if you prefer a white kheer. The quantity of saffron you add determines the intensity of color.

FAQ
The three key ingredients of kheer are rice, milk, and sugar.
Basmati rice, or any other long-grain rice, works best in this recipe as it can withstand pressure cooking. I don't recommend using short-grain rice, such as arborio, as it may disintegrate.
Yes. Soaking the rice softens it, resulting in a creamier kheer.
You can thicken kheer by simmering it for a few minutes on the sauté mode in the Instant Pot.
Kheer can be served hot or cold, depending on your preference. To serve it warm, let it cool for 10-15 minutes, then garnish and serve. For a cold treat, refrigerate it for 4-5 hours.
Popular Indian Desserts
Here are some other Indian desserts that my family and readers enjoy:
📖 Recipe
Instant Pot Kheer (Indian Rice Pudding)
Want to save this recipe?
Video
Equipment
Ingredients
- 1 tablespoon ghee
- 2 tablespoon sliced almonds
- 2 tablespoon chopped cashews
- 2 tablespoon sliced pistachios
- 2 tablespoon golden raisins
- ¼ cup water
- 5 cups whole milk can use 2%milk / almond milk/ coconut milk - see notes
- ½ cup Basmati rice or Jasmine rice or any long grain white rice
- ¼-½ teaspoon saffron ¼ tsp= light yellow; ½ tsp= rich yellow
- ½ cup + 2 tablespoons sugar adjust to taste
- ½ teaspoon ground cardamom to be added after cooking
Instructions
- Rinse rice 2-3 times till the water runs clear. Soak it in fresh water while you prep and gather other ingredients. Chop nuts as desired.
- Turn on saute mode. Melt ghee and add nuts, stirring continously. Toast them for 1 minute, then add the raisins and sauté for an additional minute. Remove apromptly and reserve for later.
- Add water to the pot prevents the milk from scorching, followed by milk, rice, sugar, and saffron. Let the milk heat up for 2-3 minutes, then cancel the saute.
- Close the lid and set the vent to the sealing position. Set Porridge mode for 20 minutes. Once the cooking time is done, let the pressure release naturally. Open the lid after the pin drops.
- Using a potato masher, gently mash some rice. This releases the starch and makes the pudding naturally creamy.
- Stir in ground cardamom, toasted nuts, and raisins. Turn on saute mode and simmer the rice pudding for a few minutes to thicken to your desired consistency. Note: Keep in mind that kheer will thicken significantly as it cools. If Kheer is too thick, add more milk and simmer it for a few minutes. Adjust sugar, if needed.Enjoy it warm, or cool completely, then refrigerate for a few hours before serving.
Notes
- Use whole milk for creamier kheer.
- Skip the nuts to make it nut-free.
- Add water first, temper the milk, and use a clean pot to prevent the burn error.
- Mash the rice for that sought-after creamy texture. This releases some of the starch in the grains, resulting in a rich pudding.
- Kheer thickens after cooling, so stop simmering when it's still a bit runny.
- Warm kheer tastes sweeter than cold. The quantity mentioned in this recipe is based on serving it chilled. Adjust the sugar according to your preferred eating temperature.
- Note about cardamom: Homemade ground cardamom seeds release the best flavor. Store-bought powder is very weak comparatively.
- Note about saffron: This adds a yellow tint, so skip it if you prefer a white kheer. The quantity of saffron you add determines the intensity of color.
Nutrition
This recipe has been updated since 2017 with streamlined instructions, process shots, and a better-lit video.


Barbara says
Fabulous and a dream come true.
Sheer is my crave the minute I hit an Indian restaurant. It seemed scary to make, but with instapot it’s foolproof. I love it warm or cold and add twice the cardamom, sprinkling with pistachios coconut, raisins!
Aneesha says
Thank you, Barbara, I'm so glad you enjoyed it so much!
Rachel says
If I don’t have any but have a fuzzy logic rice cooker can I do this recipe as written in there as well? Many thanks!
Aneesha says
Hi Rachel, I've never made this recipe in a rice cooker so cannot say anything about that. Sorry!
ina says
For 10cups of milk, only1/3rd cup of rice is needed. I tried twice first time using 1cup and it was super thick. Second time made with 1/3rd cup it came out right. I used only 1/2 cup sugar as well (though sweetness is subjective). Thanks.
ina says
Also,fixed it first time by adding almond milk and it was good.
Aneesha says
Thank you 🙂
Aneesha says
I'm glad you enjoyed it!
Bela says
My Old Instant Pot does not have porridge mode. How then adjust the time for pressure cooking?
Many thanks
Aneesha Gupta says
Hi Bela, simply select pressure cook setting at high pressure and set to 20 minutes. Enjoy!
Jackie says
I didn’t have enough milk on hand . I used a combination of milk and coconut milk. It came out perfectly. Really delicious especially with a bit of cardamom! Thank you so much for a great recipe!
Aneesha says
Sounds delicious! I love the addition of coconut milk- need to try that!
Leslie says
I just made this recipe in a 3 quart instant pot. I used about half the amount of each ingredient from your recipe, and I kept the cooking time the same. (Because it’s a pressure cooker, the cook time remains the same in different size pots). It was absolutely delicious!
Aneesha says
Hi Leslie, thank you! I'm so glad you enjoyed it!
Naveen says
Hello, thank you so much for this amazing recipe.
I saw the recipe today and made it today and it has turned out amazing.
Made double the quantity, using your measurements (slight more sugar perhaps ???? and you thought you guys like it sweet ????). I’m now just waiting for it to set in the fridge, to be enjoyed tomorrow. It tastes amazing.
Made it in instant pot and for the first time I feel like the instant pot was worth the buy with this recipe.
Thank you again x
Aneesha says
I hope you loved it Naveen! Thanks for your sweet words.
Jenny says
I do like coconut milk, so will try making this recipe with that, however we use mostly almond milk (Silk) in our home, and I wondered if you have ever tried using that with rice? Also do you make it with brown basmati rice?
Aneesha says
Hi Jenny, I do make it with almond milk sometimes and it comes out delicious, just less creamy than regular milk. The recipe has instructions for that as well. I haven't tried it with brown rice, but since that takes longer to cook, I'm not sure the milk can handle that extended cooking time in the pressure cooker. If you try it, I'd love to hear about your experience. Enjoy!
Kathie says
Thank you for your website. I haven't made anything yet, but have been putting IP dump recipes into copymethat for the future, although I am hoping I have some almond milk left to make rice pudding. I surf a lot of cooking sites and I find yours to be the most informative so far. A lot of blogs get too bogged down with life stories that have little to do with the subject at hand. For me, you strike a perfect balance between person-ability and information about cooking foods I haven't cooked before. Thank you very much. I also do not rate things based on if it's enticing, I wait until I make them...I can hardly wait 🙂
Aneesha | Spice Cravings says
Hi Kathie, Thank you so much for your kind words. I am so glad that you found my recipe posts to be balanced. I would love to hear when you try something. Happy Cooking!
Victoria says
Thank you for this very excellent recipe! After making the arroz con leche version multiple times, I’ve had excellent results each time- thick, creamy, sweet, well cooked rice without all the stirring! And no burning! I’ve had good results with half coconut milk and half regular milk when I want a little tropical flavor. This recipe is now one of my regulars.
aneeshasg says
Hi Victoria! What a wonderful comment to wake up to 🙂 I am so glad you enjoy this recipe. Thanks so much for sharing that. I love your coconut milk twist, I'll try that next time!
Lakshmi S says
Thank you Aneesha for the recipe!!! Loved it! And thank you Elizabeth for the question- having 20 people over this Saturday! Had similar question :).
aneeshasg says
You're welcome Lakshmi! So glad you enjoyed this recipe. Kheer in IP is a game change for entertaining. I used to dread making kheer for a large crowd, but now it's the easiest dessert I can make:-)
Elizabeth says
Hello Aneesha,
Thank you for the Kheer recipe! I have a 6 qt IP and I would like to double your recipe to serve 8. I will double each ingredient. Do I double the cooking time on “porridge” as well or slightly increase it? What do you suggest?
Regards,
Elizabeth
aneeshasg says
Hi Elizabeth, cooking time stays the same- 20 mins on Porridge mode. Hope you enjoy it! Thanks, Aneesha
Dipalee says
Hi Aneesha.. I am a newbie and hence a bit confused. I wish to make sevai kheer in my 3qt mini IP. Are these measurements and time settings for a mini IP? I looked through your site but did not find an altered recipe for a 3qt IP. I am quite worried about the quantity of milk and it spilling over.
aneeshasg says
Hi Dipalee, This recipe for rice kheer needs 4 cups of milk. It can be made in a 3 Qt too. To test that, fill your 3Qt with 4 cups water and you'll see it is way below the half-way mark. I don't think it should be a problem. I always recommend warming the milk and adding the initial water so that the milk doesn't burn or curdle. Hope this helps.