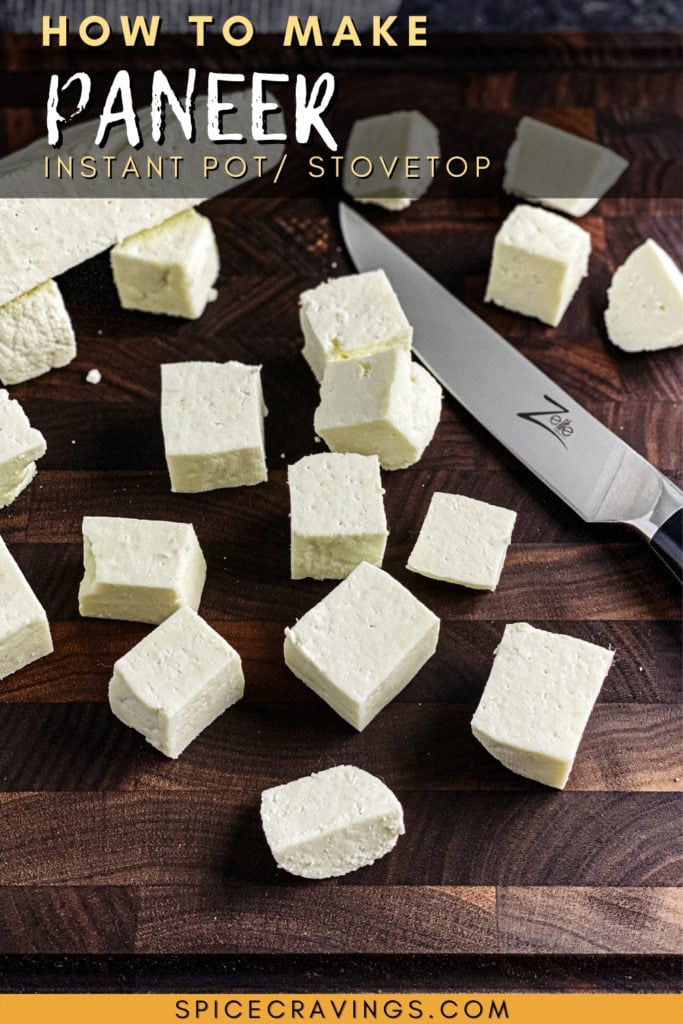
If you've ever wondered how to make paneer, it's easier than you may have thought! Paneer, or Indian cottage cheese, is made with just 2 simple ingredients and doesn't require any complicated steps. Here's an easy Instant Pot and stovetop recipe for homemade paneer that is perfectly creamy, soft, and delicious in a variety of recipes.
Want to save this recipe?
Paneer, frequently called Indian cottage cheese, is a staple in Indian cooking. In Indian vegetarian cuisine, paneer is a great meat substitute and source of protein in many dishes. It's delicious in a variety of curries, wraps, and other recipes.
Growing up, I often watched my mother make paneer at home, and now it's something I'm passing on to my girls. Cheesemaking may seem complicated, but this recipe is so simple, you will never go back to store-bought Indian cheese!
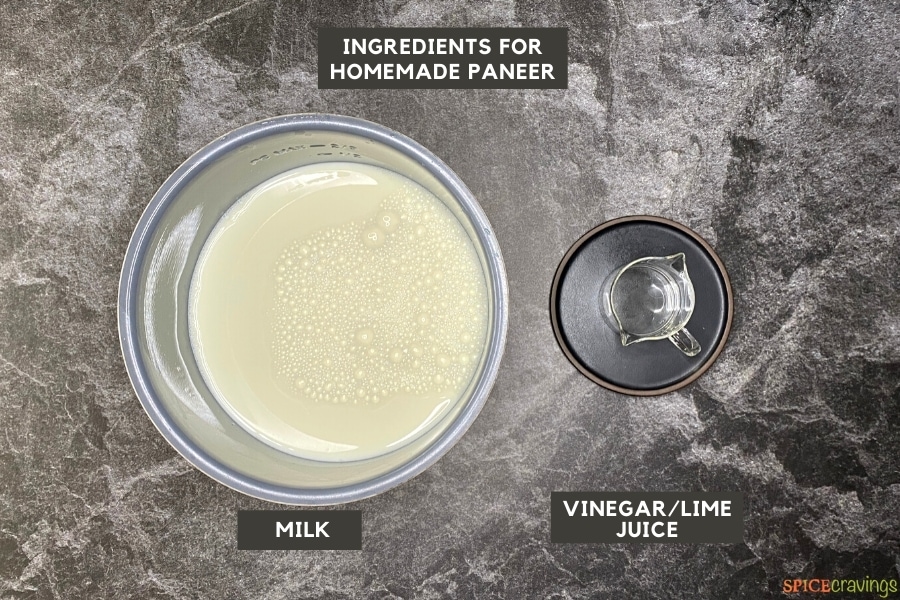
This easy method for homemade paneer only requires 2 ingredients - milk and an acid. It only takes about 15 minutes to cook a big batch for future recipes, and it's much more budget-friendly than buying paneer in the store.
You can easily use this method in the Instant Pot or on the stove. I prefer the Instant Pot method since it's relatively hand-off than the stovetop method. We'll discuss both methods in detail today, so you can pick your favorite way.

What is Paneer
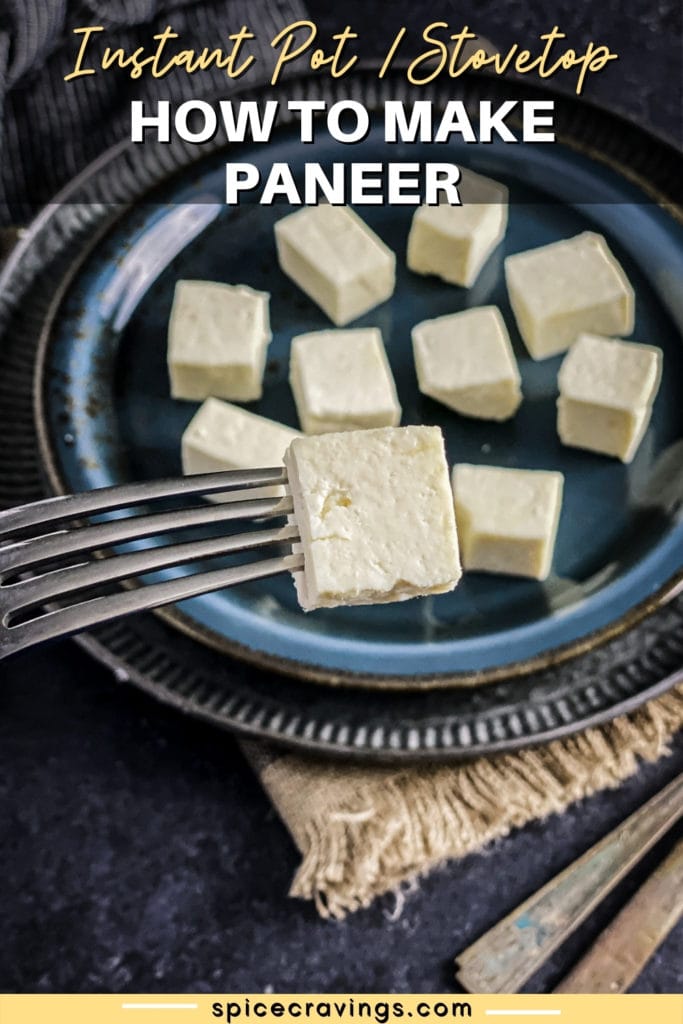
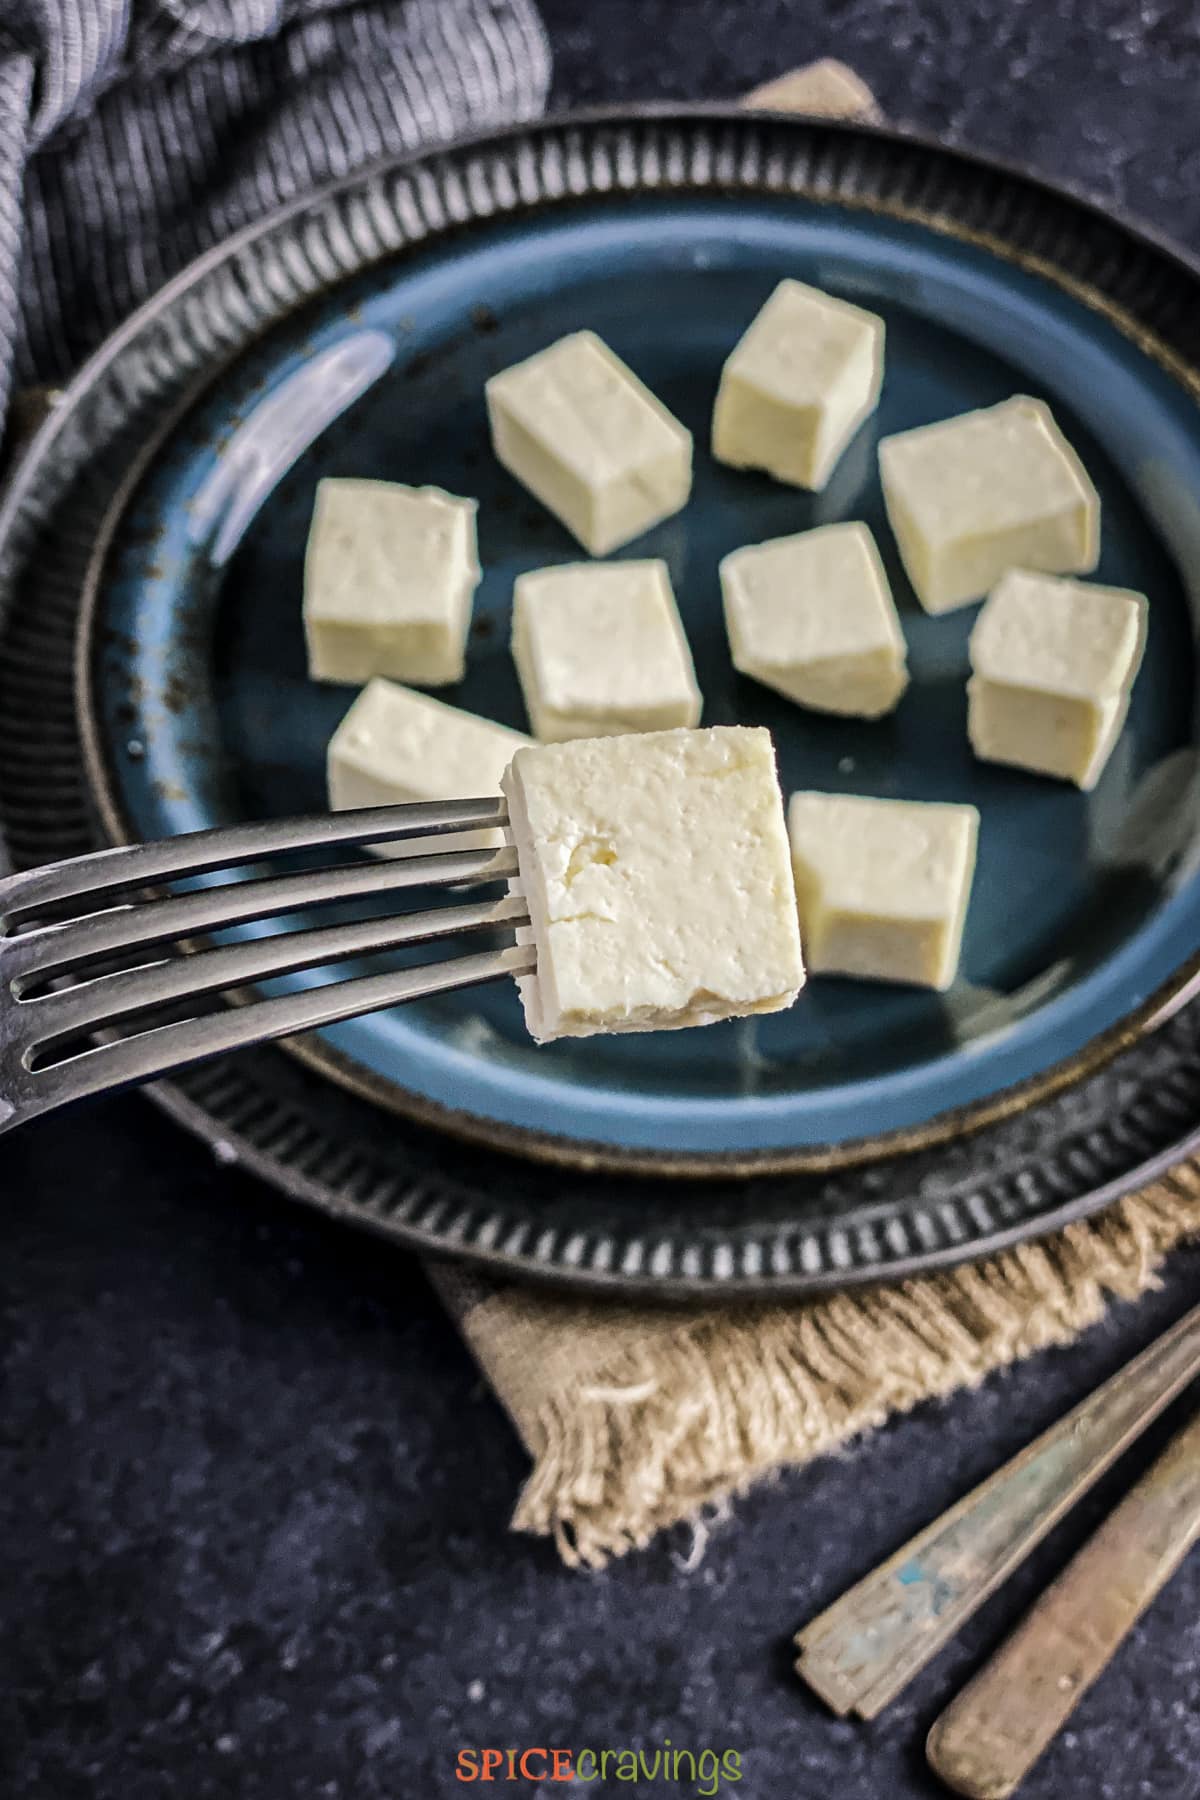
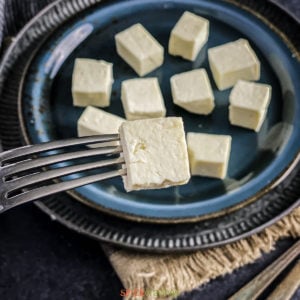
Paneer is a soft cheese that is popular in Indian dishes. Milky, soft and slightly chewy, it has a mild flavor that makes it perfect for soaking up spices and seasonings.
While many other Asian countries do not have their own indigenous cheeses, India is one of the few that does.
Fun Fact: Modern paneer (which comes from the Turkish and Persian word for cheese, "peynir") originally was made in North India in the 16th century. The modern method involves "breaking" milk with an acid, rather than using an ingredient like rennet.
Typically, rennet was used to curdle soft cheeses, but since that is made from calves' stomachs, other acids like lemon juice or vinegar are used to curdle paneer to keep it vegetarian.
Why Make it At Home
There are so many reasons to make your paneer at home, but I love to because:
- You only need 2 ingredients! All you need is some milk and an acid like lemon juice or vinegar. You probably already have both of those at home!
- It only takes 15 minutes to cook, then just sets over a few hours.
- Making your own paneer is very budget-friendly, and it makes quite a large batch that is perfect for using right away or storing.
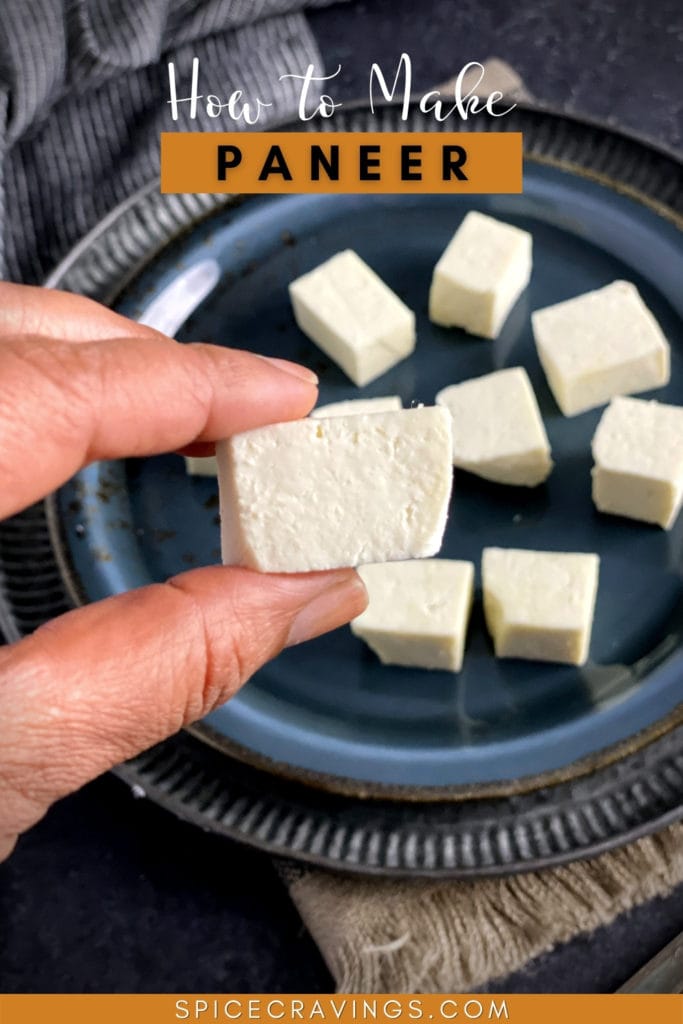
- Freshly made paneer is creamier, softer and slightly sweeter than store-ready paneer.
Ingredients- Notes & Substitutions
You probably already have both of these ingredients at home, so making paneer will be a snap!
- Milk: Use whole milk or 2%. I do not recommend using 1% or skim milk for this recipe since your cheese will end up too hard.
- Acid: You can use either white vinegar or 'fresh' lemon juice. I don't recommend using another variety of vinegar, or it will add an unusual flavor to your paneer. I prefer to use white vinegar over lemon juice for more consistent results.
How to Make Paneer at Home
You can make paneer in either the Instant Pot or on the stove top, though I prefer the former. Here's how to make paneer either way:
How To Make Paneer In the Instant Pot:
In this recipe we use the "yogurt" function to bring the milk to a boil for making paneer. Here are the step by step instructions:
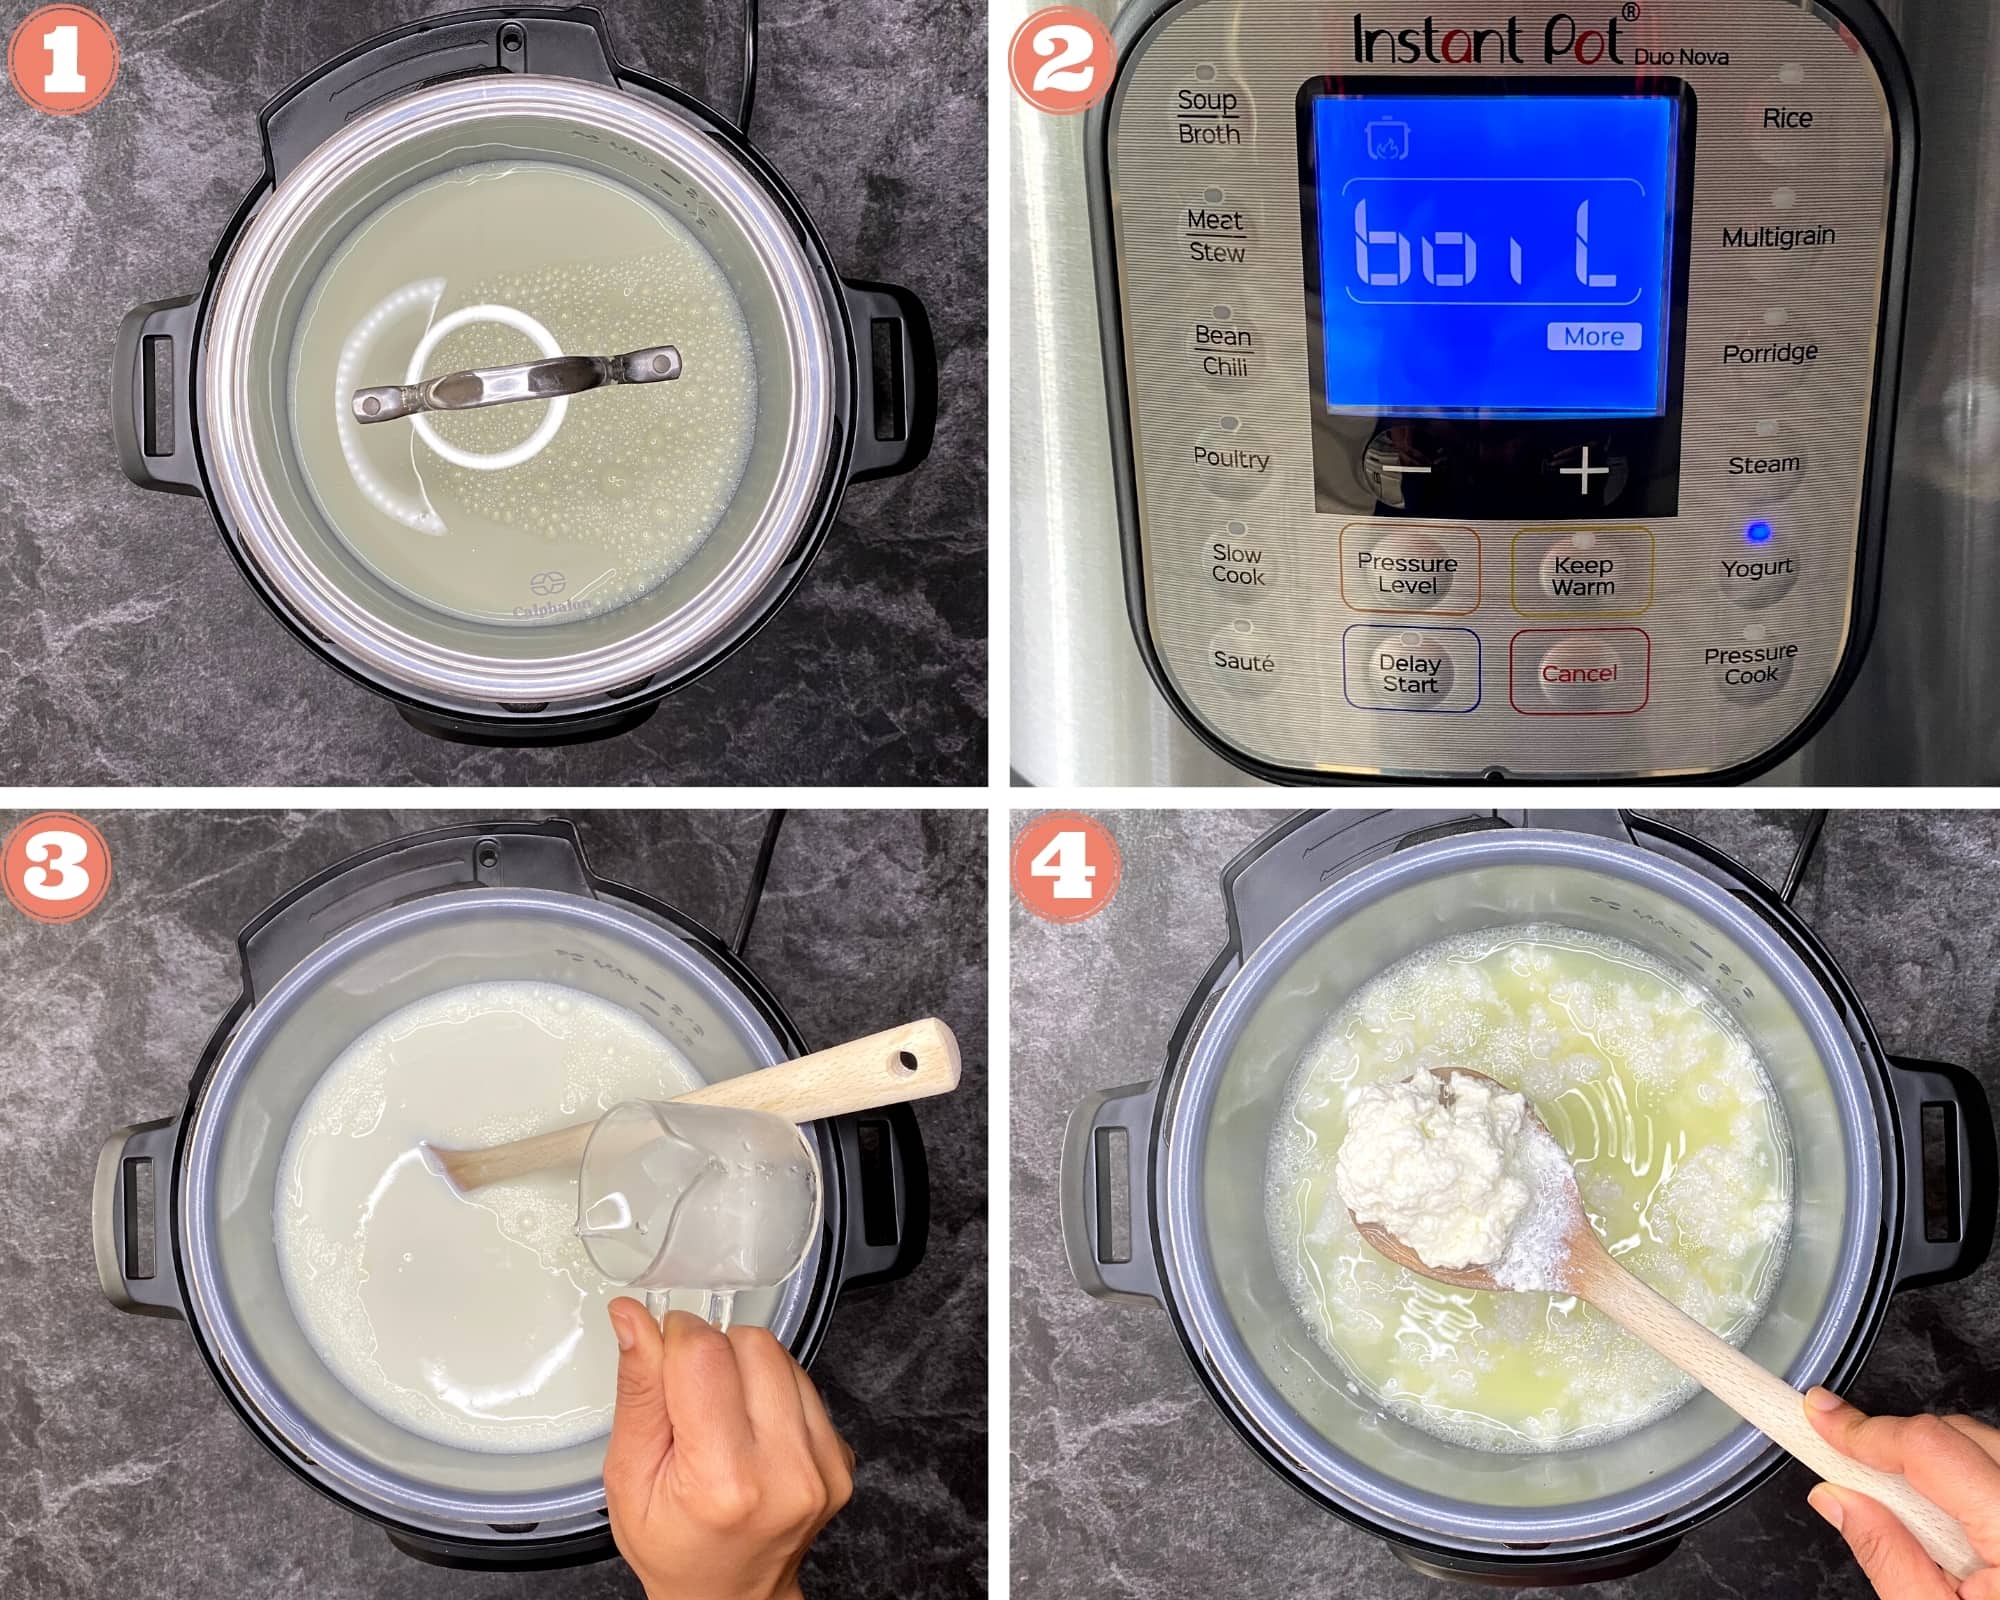
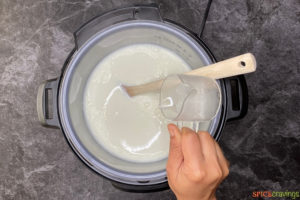
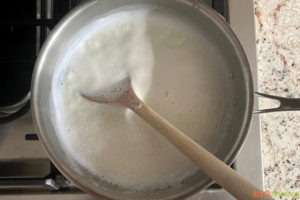
- Add milk to the Instant Pot: Pour the milk into the Instant Pot, then cover with any lid that fits well. (pic 1)
- Boil the milk: Press "Yogurt" and press the "Adjust" button to "More". The screen should display "boil". The milk will begin to boil. When it's done, the Instant Pot beeps and displays "yogt". (pic 2)
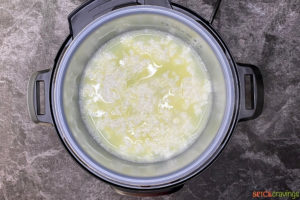
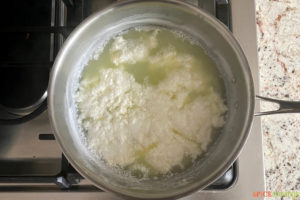
- Add the acid: Cancel "yogurt" and turn on Saute mode and adjust to "Less". Add white vinegar (or lemon juice), a little at a time, stirring as you add. (pic 3)
- Let the paneer curdle and stir: Cancel Saute once the milk begins to curdle. Stir 2-3 times in large motions to allow bigger paneer clumps to form. (pic 4) Continue on to steps 5-8.
How To Make Paneer On the Stove Top:
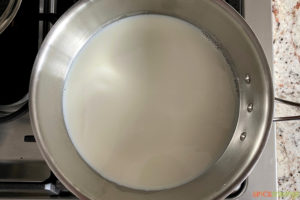
- Boil the milk: Pour 1-2 tablespoons water in a large saucepan. This prevents the milk from scalding. Pour the milk into the pan, then bring it to a boil on medium heat. Stir occasionally to prevent scorching. Once the milk comes to a boil, reduce the heat to medium-low. (pic 1)
- Add the acid: Stir in white vinegar or lemon juice, adding a little at a time. (pic 2)
- Let the paneer curdle and stir: Turn off the heat when the milk begins to curdle. Stir 2-3 times in large motions to allow bigger paneer clumps to form. (pic 3)
- Continue making: Continue on to steps 5-8. (pic 4)

After you've used either your Instant Pot or stove to make paneer curds, continue using the following steps:
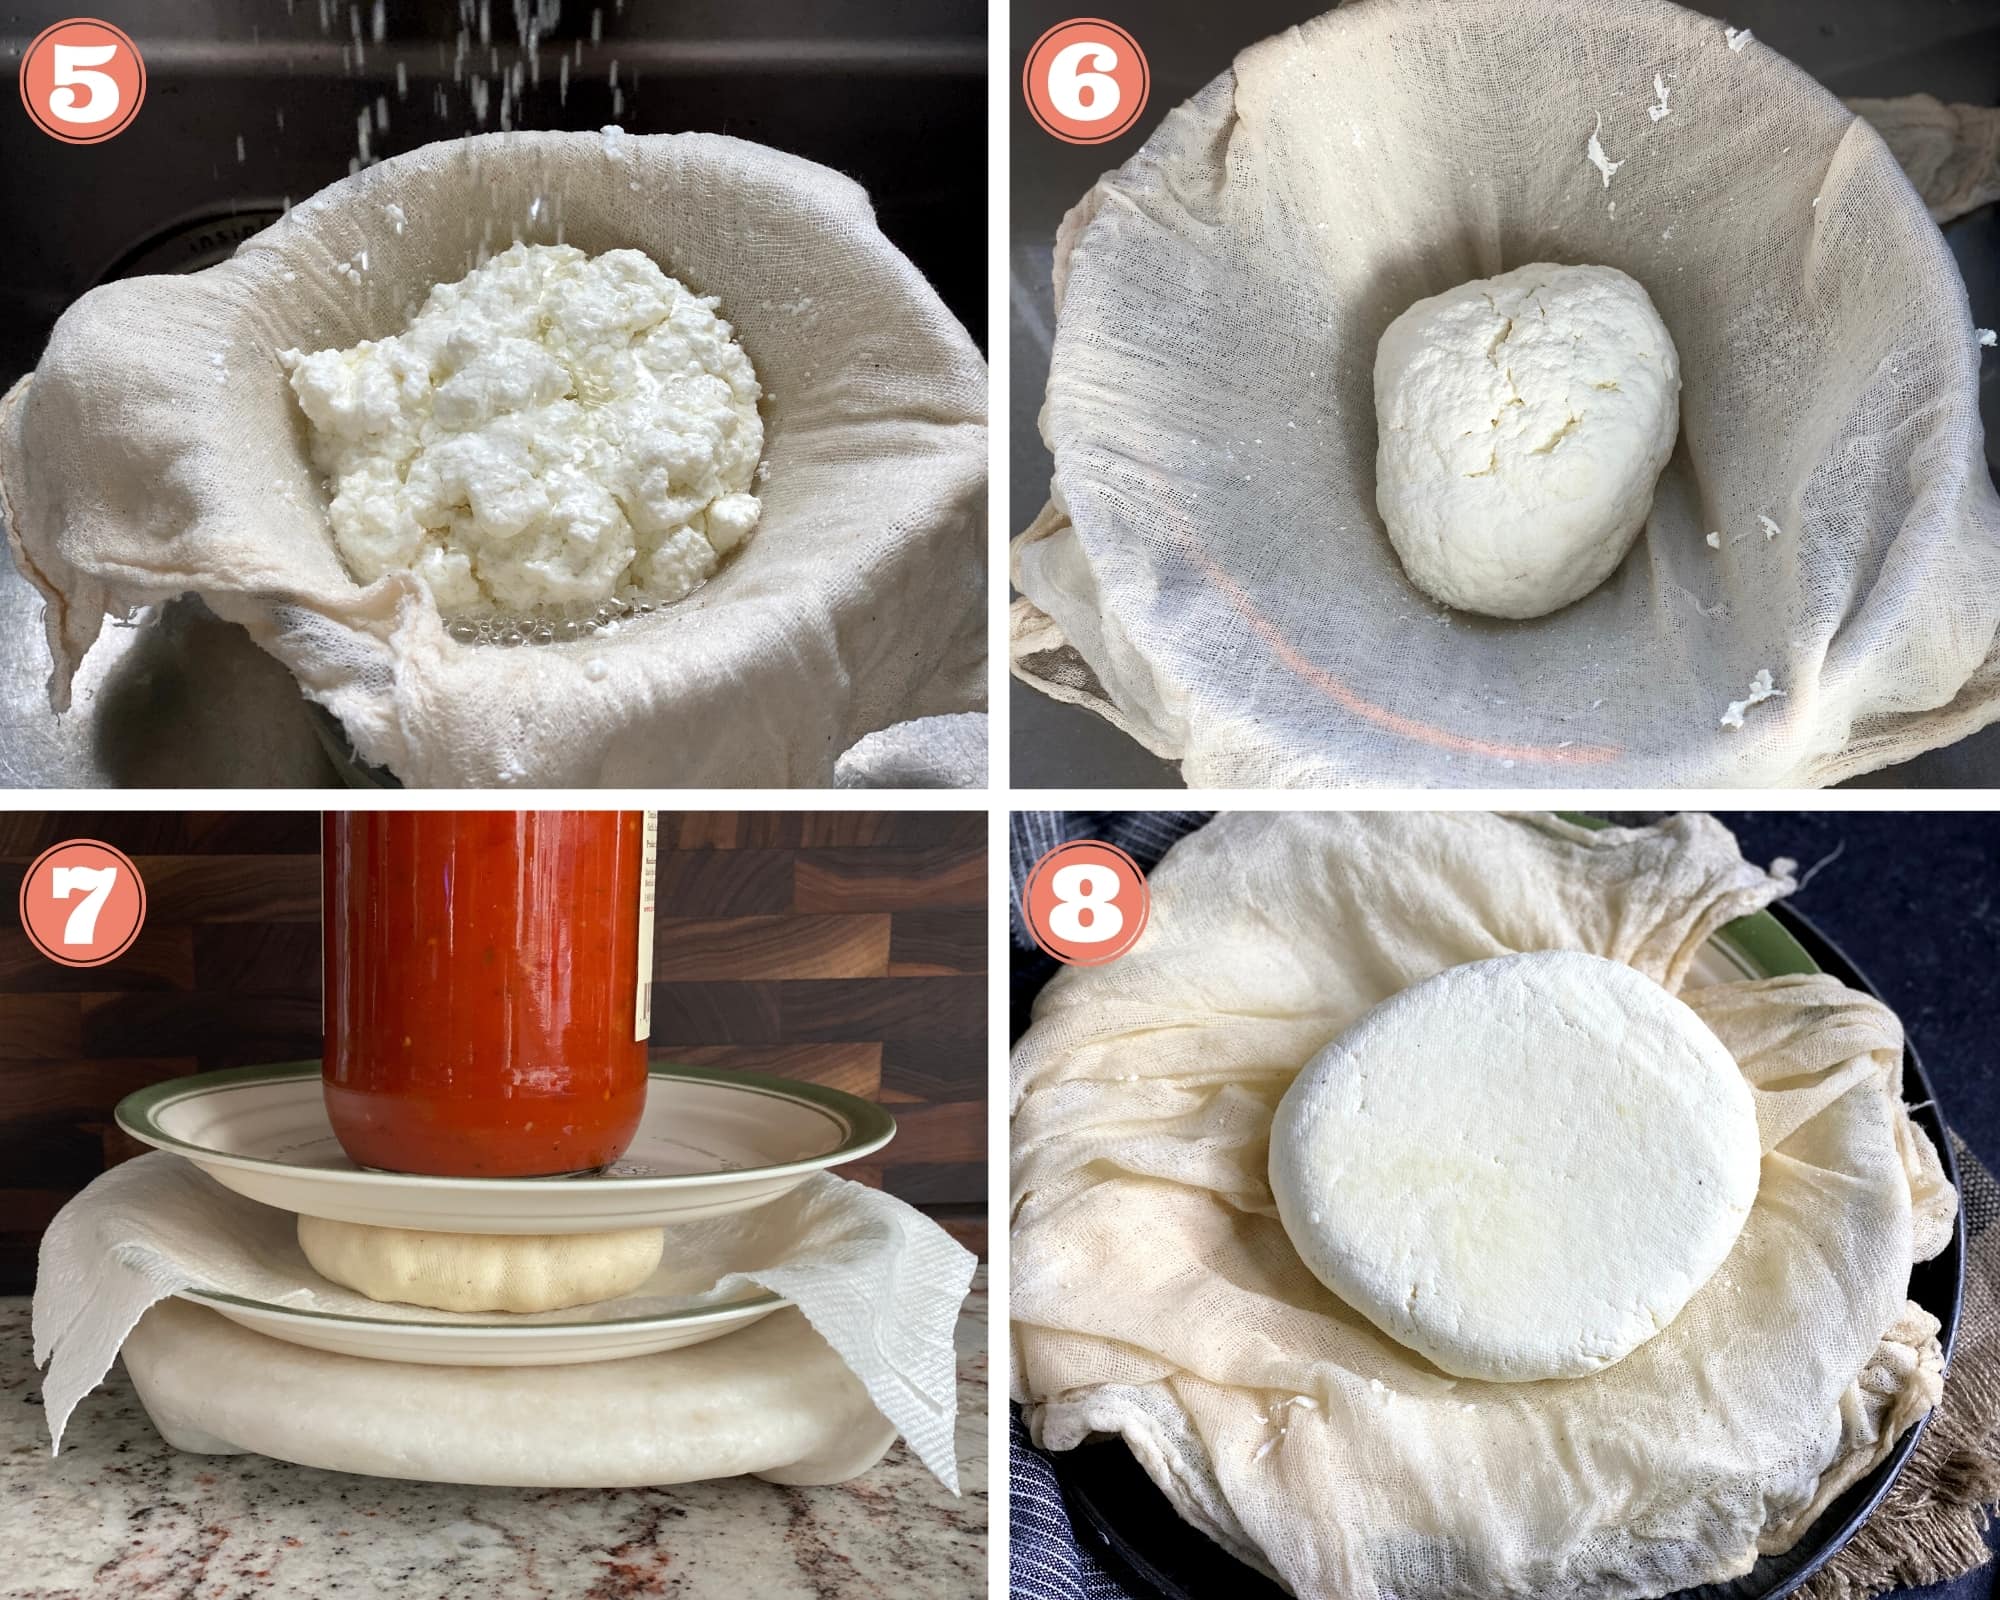
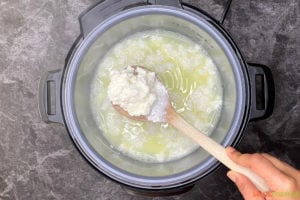
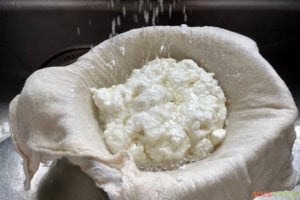
- Separate the whey and rinse the paneer: Let the pot rest for 5 minutes for the cheese curds to set. At this point, you should be able to see the clear yellowish whey separate from the cheese curds. Place a large sieve or colander over a bowl. Line it with thick cheesecloth (or use two layers). Carefully pour the curdled mix in to the cheesecloth (see notes for using the discarded whey). Place the cheesecloth back in a colander and rinse it under cold running water to get rid of any residual acidic taste. (pic 5)
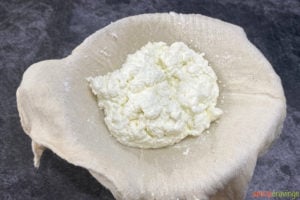
- Strain: Pulling together the ends of the cheesecloth, twist and squeeze out the whey. Repeat 2-3 times to get rid of excess moisture. (pic 6)
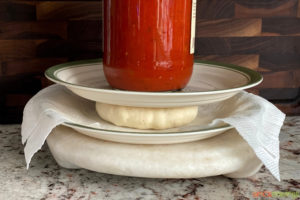
- Flatten the cheese: Wrap up the paneer ball tightly in the cheesecloth and gently flatten it using your hands. Place it on a plate lined with a couple of paper towels. Place another plate on top. Now place a heavy object, like a pasta sauce jar or a heavy bottom sauce pan over the plate to weigh it down. (pic 7)
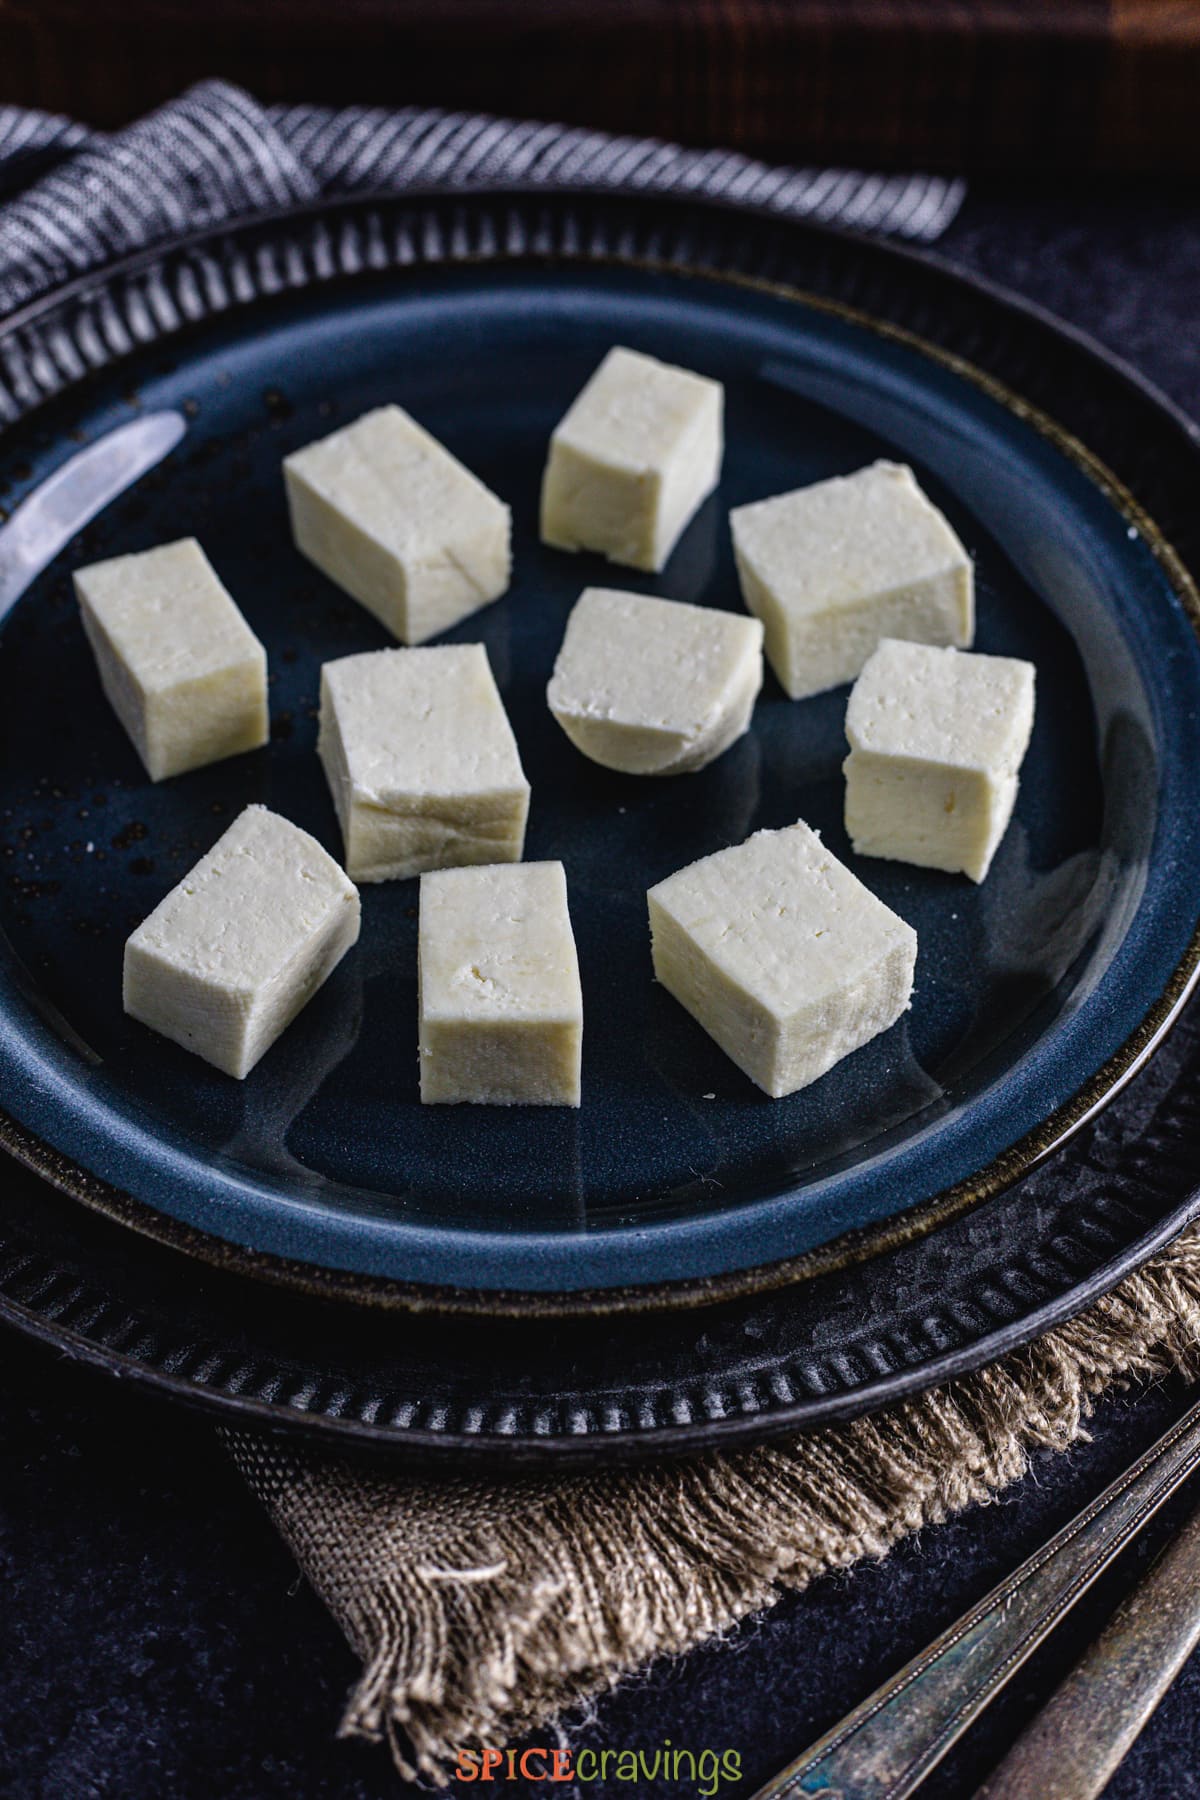
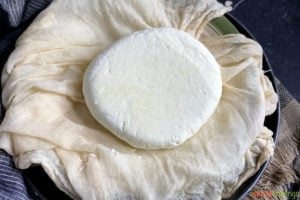
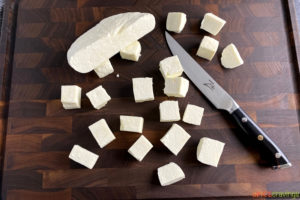
- Let it set and use or store: Let the paneer set for 45 minutes to an hour. After that, remove the paneer from the cheesecloth. If not using it right away, refrigerate the paneer disc in any airtight container. When ready to use, cut the paneer into ½-¾ inch cubes. Store any leftover cubes in an airtight container in the refrigerator for 3-4 days, or freeze them for up to 2 months. (pic 8)
How Can We Store Paneer at Home
Paneer can be kept in an airtight container in the fridge 3-4 days or frozen up to 2 months. To re-use, simply thaw it overnight in the refrigerator.
Recipe Tips & Notes
- Choice of milk: Use whole milk for a more creamier paneer. For a lower calorie paneer, use 2% milk. I would not recommend using 1% or non-fat milk in this recipe.
- Choice of Acid: White vinegar or lemon juice, both work well here. Any other vinegar will alter the taste of paneer. I prefer to use white vinegar over lemon juice as it gives consistent results.
- Malai paneer: To make this richer variation of paneer, substitute ¼ cup of milk with heavy whipping cream.
- Stir in large motions: Stir 2-3 times in large motions to allow bigger paneer clumps to form. If you stir too vigorously, the paneer will be crumbly.
- Instant Pot vs Stove: The Instant Pot is more hands-off and gives the added advantage of setting the milk to boil without any monitoring. You can walk way until it displays "yogt".
- Left-over whey: This yellowish clear liquid is very nutritious and can be used to knead roti dough instead of water.
Common Questions for Paneer Recipe
While you can make paneer from spoiled milk, it's better to use fresh milk and an acid to ensure you are not ingesting any unwanted bacteria.
Since paneer is a soft cheese, it may be a bit more difficult to grate than harder cheeses. To grate paneer, place paneer in the freezer for 30 minutes. This makes it firmer and much easier to grate.
You do not have to fry paneer prior to cooking, although some people like the taste and texture of fried paneer.
There is a textural and taste difference between Paneer & Cottage Cheese. While Paneer is unsalted and usually sold as a block, Cottage Cheese is slightly salted, may sometimes have heavy cream in it, and is typically sold in a semi-solid state in a tub.
Yes! Fresh paneer has a pleasant creamy taste and can be enjoyed as-is. I sprinkle chaat masala and lemon juice and enjoy it as a quick snack or appetizer.
What Can be Made from Paneer- Easy Paneer Recipes
You can use this homemade paneer in the following recipes:
- Paneer Kathi Roll (Paneer Frankie): In this 30-minute recipe, marinated paneer is cooked with vegetables, then stuffed inside a crisp paratha or tortilla!
- Paneer Tikka: Tandoori-spiced crisp paneer and crunchy veggies with a zing, prepared in the Air Fryer, Oven or Grill.
- Achari Paneer Biryani in Instant Pot: This biryani recipe features nutty basmati rice and soft paneer cooked with Indian pickling spices.
- Matar Paneer Recipe: A popular 'everyday' curry in North Indian cuisine.
- Chilli Paneer (Dry & Gravy): Paneer cubes pan-fried to crispy perfection, then stir-fried with onions, peppers, whole red chiles and a lip-smacking sauce.
- Paneer Naan Pizza: This colorful fusion pizza is topped with yogurt-marinated paneer and fresh veggies.
- Palak Paneer / Saag Paneer: Popular north-Indian curry made by simmering soft paneer cubes, in a flavorful spinach gravy.
- 15-Minute Kadai Paneer: A delicious semi-dry curry made with paneer, peppers & onions.
- Paneer Butter Masala in Instant Pot • Paneer Makhani: An easy Instant Pot recipe for a popular Indian vegetarian delicacy.
- Paneer Tikka Masala in Instant Pot: Tender pieces of paneer simmered in a tomato-onion gravy and finished with a splash of heavy cream.
📖 Recipe
How to Make Paneer -Instant Pot & Stove
Want to save this recipe?
Equipment
- Chef's Pan
- cheesecloth
Ingredients
- 4 cups whole milk or 2% ¼ gallon or 1 liter
- 1½ tablespoons white vinegar or lemon juice
Instructions
Boil and curdle milk one of two ways:
Instant Pot Method
- Instant Pot Method: Press "Yogurt" and press the "Adjust" button to "More". The screen should display "boil". The milk will begin to boil. When it's done, the Instant Pot beeps and displays "yogt".

- Cancel "yogurt" and turn on Saute mode and adjust to "Less". Adding a little at a time, stir in white vinegar or lemon juice.
- Cancel Saute once the milk begins to curdle turn off the heat. Stir 2-3 times in large motions to allow bigger paneer clumps to form.

Stovetop Method
- Pour 1-2 tablespoons water in a large saucepan. This prevents the milk from scalding. Now pour the milk into the pan . Bring it to a boil on medium heat. Stir occasionally to prevent scorching. Once the milk comes to a boil, reduce the heat to medium-low.
- Stir in white vinegar or lemon juice, adding a little at a time.
- Turn off the heat when the milk begins to curdle. Stir 2-3 times in large motions to allow bigger paneer clumps to form.
Strain and Set Paneer
- Let the mixture rest for 5 minutes for the cheese curds to set. At this point, you should be able to see the clear yellowish whey separate from the cheese curds.
- Place a large sieve or colander over a bowl. Line it with thick cheesecloth (or use two layers). Carefully pour the curdled mix in to the cheesecloth.
- Place the cheesecloth back in a colander and rinse it under cold running water to get rid of any residual acidic taste.
- Pulling together the ends of the cheesecloth, twist and squeeze out the whey. (see notes for using the discarded whey). Repeat 2-3 times to get get rid of excess moisture.
- Wrap up the paneer ball tightly in the cheesecloth and gently flatten it using your hands. Place it on a plate lined with a couple of paper towels. Place another plate on top. Now place a heavy object, like a pasta sauce jar or a heavy bottom sauce pan over the plate to weigh it down.
- Let the paneer set for 45 minutes to an hour. After that, remove the paneer from the cheesecloth. If not using it right away, refrigerate the paneer disc in any airtight container.
- When ready to use, cut the paneer into ½-¾ inch cubes as your liking. Store any leftover cubes in an airtight container in the refrigerator for 3-4 days, or freeze them for up to 2 months.

Notes
- Choice of milk: Use whole milk for a more creamier paneer. For a lower calorie paneer, use 2% milk. I would not recommend using 1% or non-fat milk in this recipe.
- Choice of Acid: White vinegar or lemon juice, both work well here. Any other vinegar will alter the taste of paneer. I prefer to use white vinegar over lemon juice as it gives consistent results.
- Malai paneer: To make this richer variation of paneer, substitute ¼ cup of milk with heavy whipping cream.
- Stir in large motions: Stir 2-3 times in large motions to allow bigger paneer clumps to form. If you stir too vigorously, the paneer will be crumbly.
- Instant Pot vs Stove: The Instant Pot is more hands-off and gives the added advantage of setting the milk to boil without any monitoring. You can walk way until it displays "yogt".
- Left-over whey: This yellowish clear liquid is very nutritious and can be used to knead roti dough instead of water.
Nutrition


JEANNIE says
Do you think this would work with a plant based milk? Soy perhaps?
Aneesha Gupta says
Hi Jeannie, I've never tried it so can't say for sure.
Les says
Yield was 4.3 oz. using 2% milk.
I added more vinegar to batch #2 (5 t) since my first attempt did not form large curds and I was using lactose "free" milk, which tastes sweeter than regular. I don't know if I overstirred batch #1, LF milk requires more acid, or something else. But batch #2 made up just as described and the water rinse took care of any sourness from the extra vinegar. Now I can enjoy paneer without fear of dire digestive consequences. Thank you!
Aneesha says
Great! Glad you were able to tweak it to your preferences. Enjoy!
Les says
I made this for a friend who offered me the thick reusable cheesecloth (#100?) she had leftover from a cheese making class. What a difference! A lot less curd was squeezed away than with the two layers of gauzy stuff most of us Americans know as cheesecloth. And my paneer was much firmer this time--no doubt due to my being able to really wring it out.
20"x 20" #100 cloths can be found on Amazon for $2-$3 or so.
Aneesha says
Super! So glad your paneer turned out great. Thanks!
Les says
I tried making this with lactose "free" whole milk in my Instant Pot with mixed results. The curds didn't form large clumps, so I was afraid to wring them too much as they were coming out of the cheesecloth. The cake of cheese seemed firm enough but the cubes were fragile and dissolved when stirred into the sauce.
Do you have any insights? They add lactase to milk to cancel out lactose, so I wonder if upping the vinegar in this recipe by 25% wouldn't stimulate larger curd formation. Lactase makes the milk taste sweeter, so a more acidic flavor is not going to be a bad thing.
Thank you!
Aneesha says
I see from comments that you were able to customize this recipe! Glad it worked out.
Jessalynn Jones says
Very helpful article Aneesha! I’ve read many about paneer but this was the best explanation. I am totally trying the water in the bottom trick.
Aneesha says
Thank you Jessalynn, I'm so glad you found it to be useful!
Sue says
How many ounces of paneer does this recipe yield?
Aneesha says
This should roughly yield 12-14 pieces. I haven't weighed it so would say apprx. 3-4 ounces.