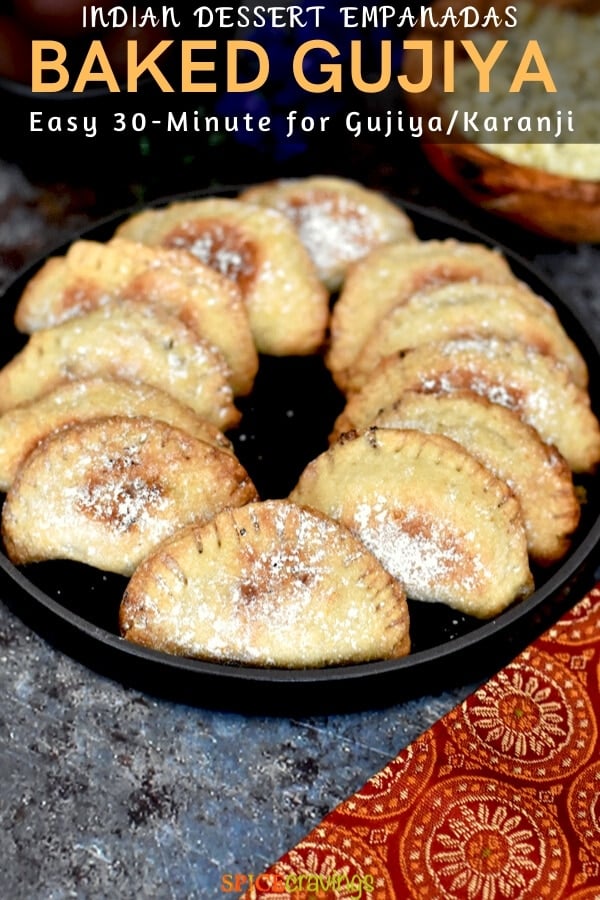
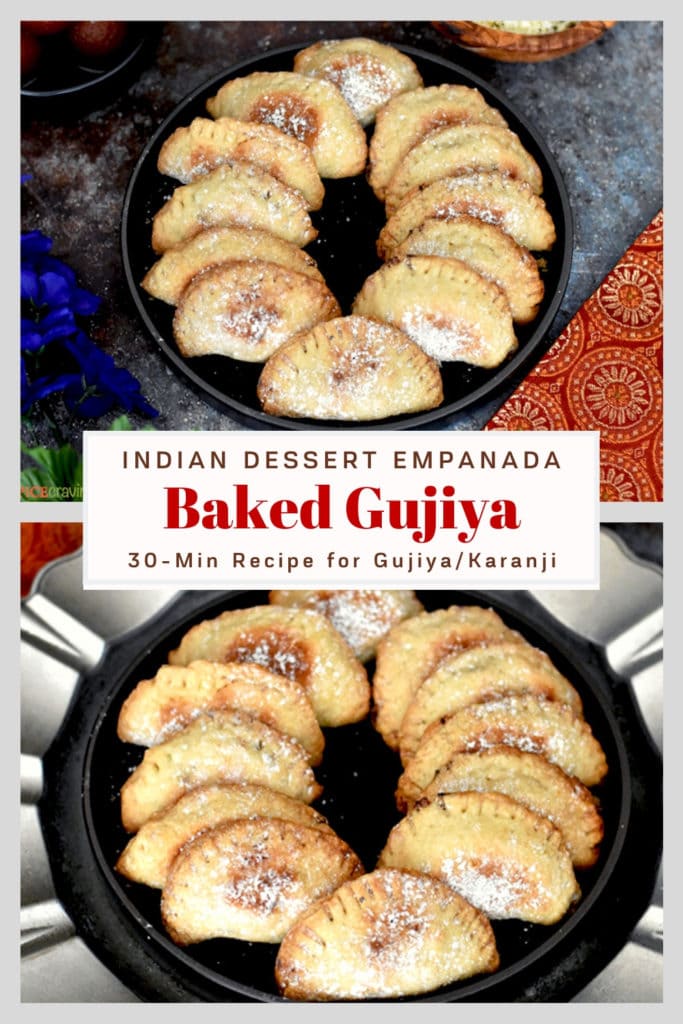
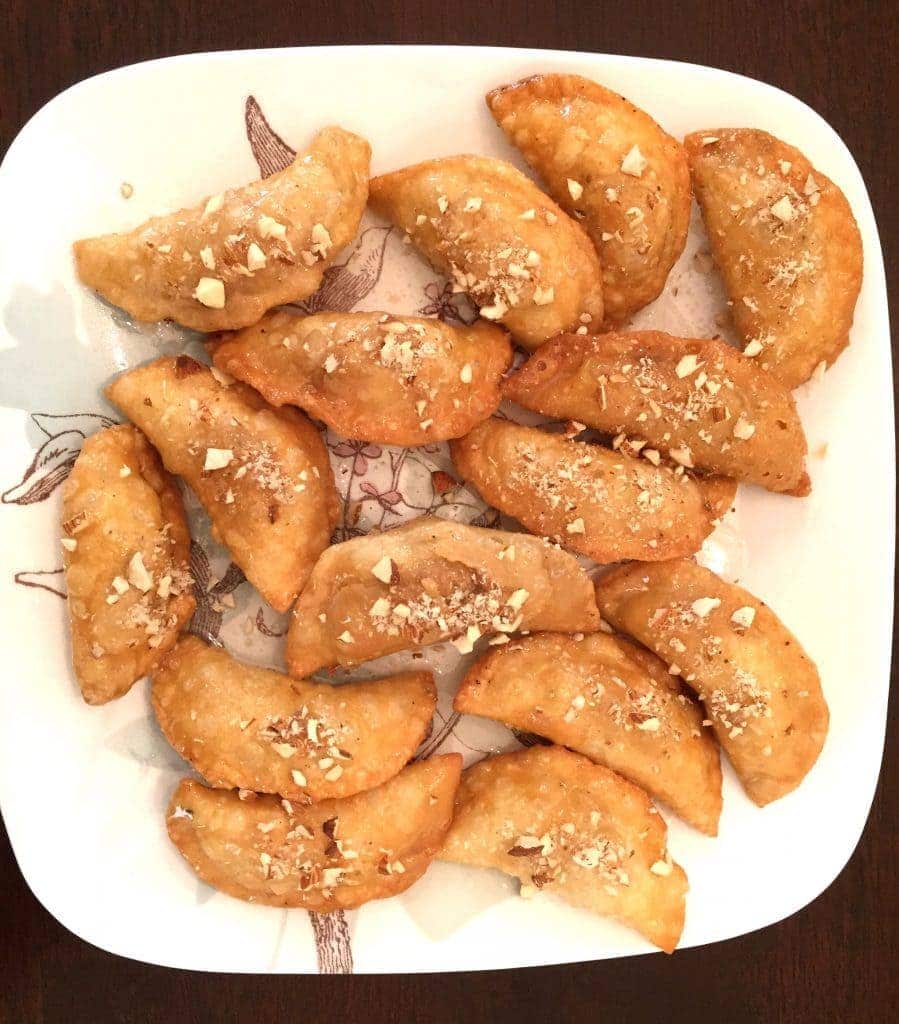
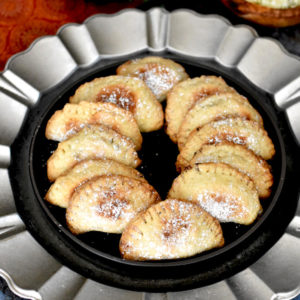
Gujiya, or Karanji, are fried Indian Dessert Empanadas filled with a sweet mix of Khoya/Mawa (milk fudge), dry fruits, coconut and cardamom, made during Holi and Diwali. In this easy and healthy 30-Minute recipe for Baked Gujiya, I bake (not fry!) these milk fudge dumplings using store-bought pie dough!
Want to save this recipe?
This recipe is an adaptation of my mother-in-law's family famous Gujiya recipe. She would always make them whenever we would visit her, irrespective of the season 🙂 There's something about our mother's generation which made even the most difficult recipe looks like a breeze.
She would hand roll each gujiya wrapper, and stuff them with a mix of khoya, coconut, raisins, dried rose petals, chopped nuts and freshly crushed cardamom, then fry them crisp. Every once in a while I make those for hubby and kids. But mostly, I end up making this baked short-cut version, which comes very close to the real deal!
What is Gujiya or Karanji
Gujiya is a popular dessert made during the festivals of Holi and Diwali. You could call them Dessert Empanadas, Milk-Fudge Hand-Pies, or Turnovers. They're made by filling pastry sheet with a sweetened khoya (milk fudge) and dry fruits stuffing, then deep fried.
Gujiya is also made in several other parts of India. As per this article, it is called Ghughra in Gujarat, Karanji in Maharashtra, Somas in Tamil Nadu, Garijalu in Telangana and, Kajjikaya in Andhra Pradesh and Karnataka, and nevri in Goa. Fascinating!
30-Minute Dessert for Weeknight Festivities
Living in the US, when Indian festivals fall on weeknights, there's very little time at the end of a work day to prepare traditional festival food and sweets. Which is why I keep experimenting with classic Indian dessert recipes, to find an easier way to make them with minimum time and effort.
This is one of those shortcuts that I developed a few years ago. To simplify this gujiya recipe, I start by using store-bought pie dough. The pie dough may sound unconventional, but it gives a similar flaky, crisp texture that is key to a good Gujiya.
Thanks to that swap, I am able to make a healthier, quicker, baked version of these sweet dumplings in 30 minutes!
You Might also Like these 10-Minute Coconut Ladoos!
Gujia - Baked vs. Deep Fried
Here are FOUR good reasons to Bake Gujiya vs. Deep fry it:
- Easy to Make: Baked Gujiya is much easier to make. In the fried version, you have to make the dough, roll it out into individual wrappers, stuff it and fry it. In this baked recipe, we use already rolled out store-bought pie-dough, which just need a gentle rolling. Using cookie cutters (or bowls), we make pie discs, which we fill and bake. That simple. No standing and watching the stove while frying.
- No mess to clean: This is a huge bonus. I bake these on a lined baking sheet. In the end, I toss that in the garbage and I'm done. No oil to dispose off, no pot to clean.
- Weeknight Festivities: It only takes 30 minutes for baked Gujiya to come together. When festivals fall on weeknights, I can count on this recipe even at the end of a work day.
- Lower Calorie: During the festival season, my husband and I end up "over-indulging", if that's a word. I'm sure many of you can relate to that. Since these are baked, we skip the extra calories in the fried version.
Ingredients for Gujiya
There are three components for making Gujiya- wrapper, filling and sugar syrup.
- Filling: Gujiya stuffing is made with:
- Coconut flakes- unsweetened desiccated coconut or small flakes will work.
- Dried fruit and nuts- I like using a combination of almonds, cashews, pistachios. Optionally, you can also use raisins.
- Khoya, also known as Mawa, is dried milk solids. It just takes 15 minutes to make it at home with Ricotta Cheese. Here's an easy 2-ingredient Recipe for Khoya. Khoya is also available in the freezer aisle of Indian food stores (right next to the Paneer). I like Nanak brand. A 12 oz pack is enough to make 40 Gujiyas.
- Cardamom Powder: Fresh is always better here. I take 10-12 green cardamom pods (depending on size), shell them and crush those seeds to a powder, using a mortar and pestle.
- Gujiya Wrapper: In this recipe, we're using store-bought pie dough. Thaw out the dough in the refrigerator overnight, and take it out just before stuffing.
- Sugar Syrup: This is a very standard 2-ingredient sugar syrup that you make while the Gujiyas bake. The baked Gujiya are tossed in this syrup a few times to give it a light-sweet coating.

How to Make Baked Gujiya
Make the Stuffing
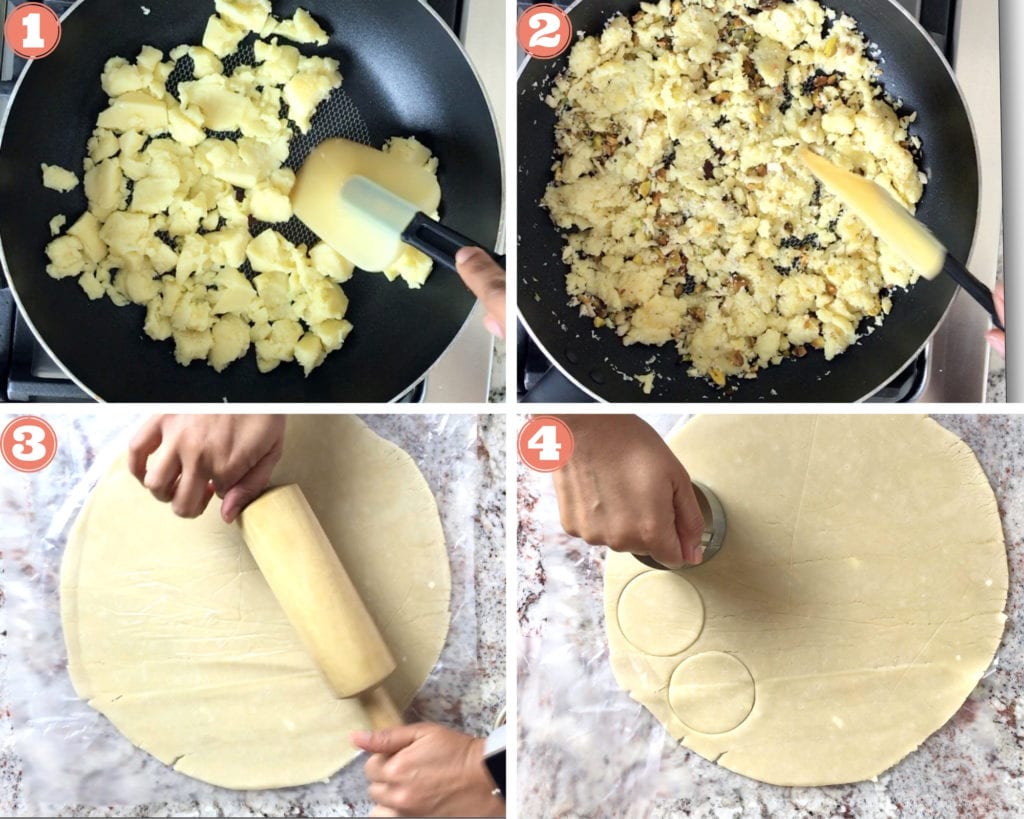
- Microwave Khoya (Homemade or store-bought) for 2-3 minutes, in 30 seconds increments to make khoya easy to crumble. Heat non-stick fry-pan on medium heat. Crumble khoya in to the pan.
- Using a wooden spoon or spatula, press down and break it in smaller pieces. Keep pressing till khoya becomes soft, consistency of a soft dough. (it should be pliable). (Pic 1)
- Turn off the heat. Alternatively, you can do this whole process in the microwave by heating khoya for 3-5 minutes in 1-minute increments, stirring in between, till the khoya becomes soft.
- Add chopped nuts, coconut powder and cardamom powder. Mix well and allow to cool off for a few minutes (4-5). Add sugar and mix well. Taste to adjust sugar to your taste preference. The stuffing is ready. (Pic 2)
Assemble Gujiya and Bake
- Place thawed pie crust between plastic wrap and roll outwards to thin out the dough. (See video for clarity). (Pic 3)
- Using a 2-inch round cookie cutter, cut out pie circles for filling. (Pic 4)
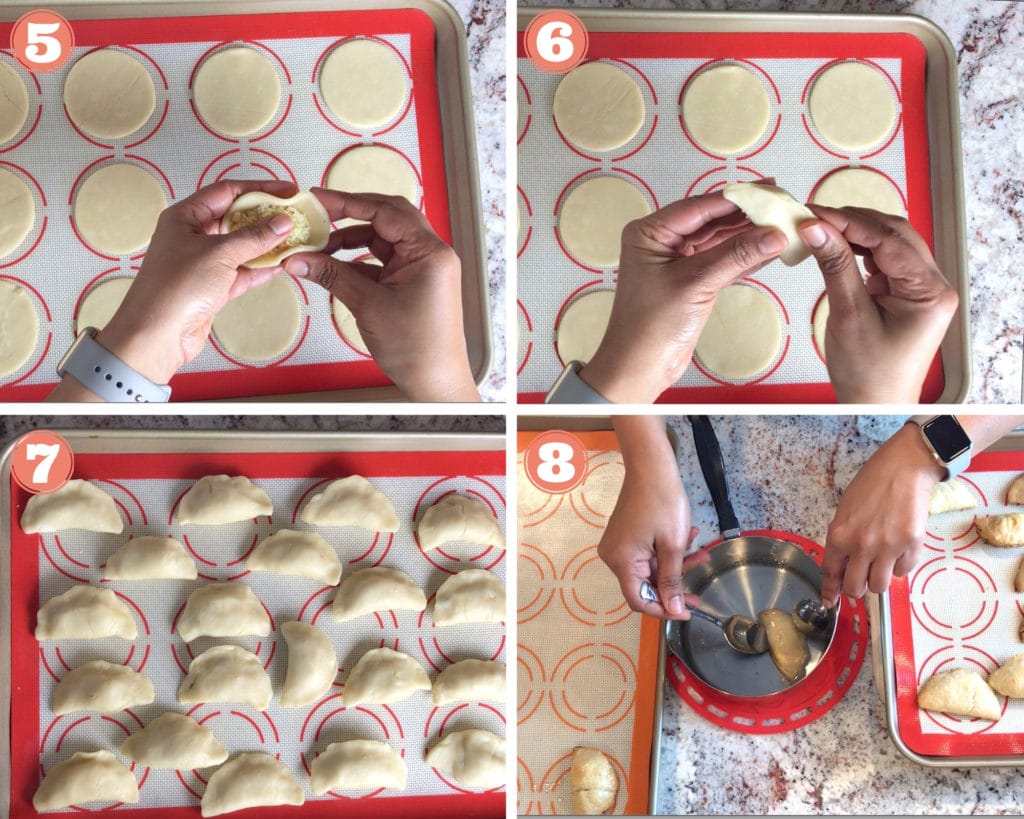
- Fill each pie circle with roughly 2 teaspoons (or heaping ½ tablespoon) filling, and seal by pressing the edges together. (Just like you would for a turnover). (Pic 5 & 6)
- Place them on a Parchment Paper or Silicone Baking Mat on the baking sheet. Bake for 11-13 minutes in a pre-heated oven at 400F degrees (Pic 7). Cool for 5 minutes.
Make Sugar Syrup
- While Gujiya is baking, heat a sauce pan on medium heat. Add sugar and water. Bring to a boil and simmer on medium heat till it thickens enough to coat the back of a spoon, about 5-6 minutes.
Glaze and garnish
- Dip baked Gujiyas in the cooled sugar syrup, coating well on all sides. (Pic 8)
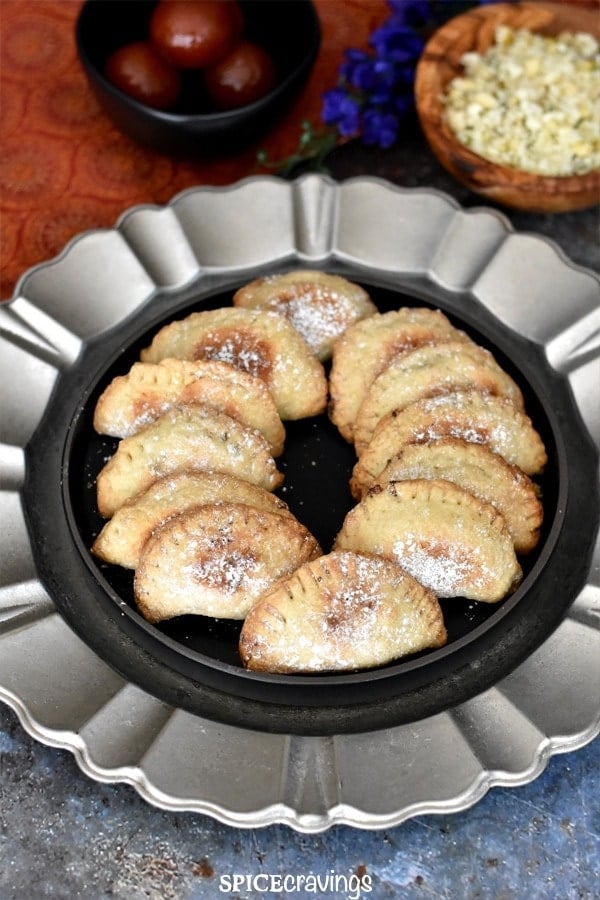
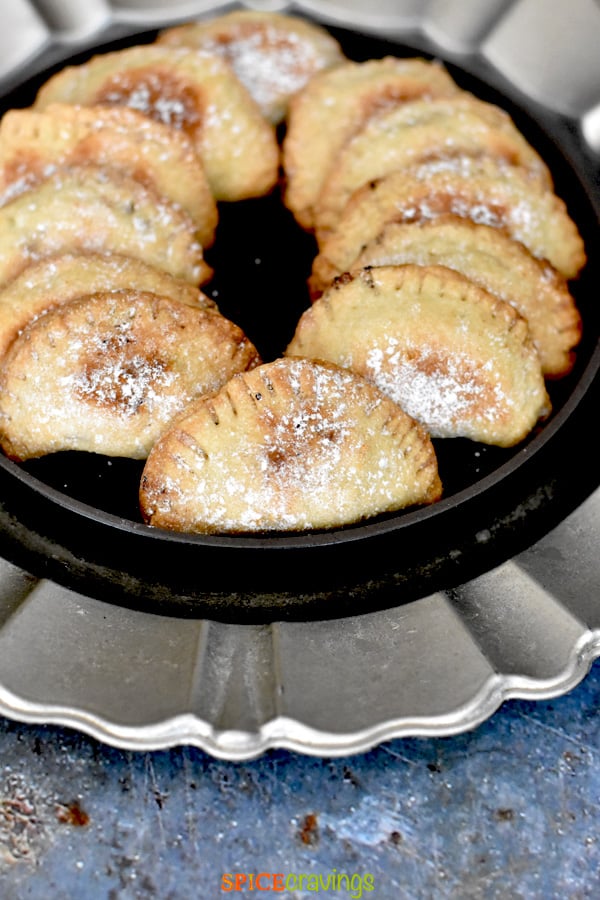
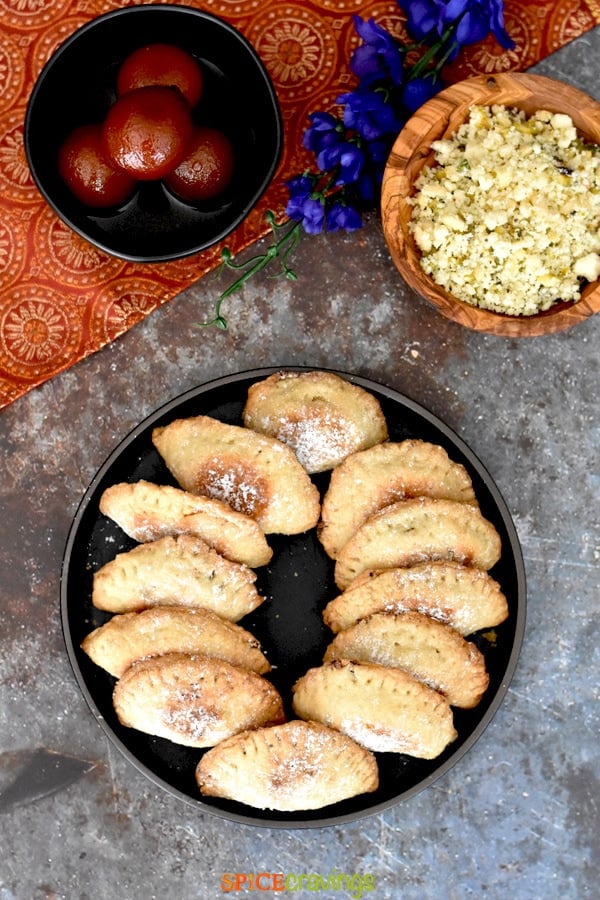
- Sprinkle some crushed pistachios or powdered sugar on top. Place on a wire-rack for setting.

Deep Fried Version
And if you're looking for the authentic Gujiya Recipe that is deep fried, here is my mom-in-law's family famous Gujiya Recipe!
Tips to Make Gujiya Crispy
Always thaw the pie dough in the refrigerator overnight and remove it just before rolling. The key is to work with 'cold' pie dough so that the fat (butter) in the dough doesn't start melting. This ensures a light and crispy texture.
How to Make Gujiya without khoya/Mawa
If you don't have access to khoya, you can easily make it at home with ricotta cheese using this recipe. It only takes 15 minutes and 2-ingredients to make it.
Tips for the Most Delicious Baked Gujiya
- For best results thaw the frozen pie dough overnight in the refrigerator.
- Take it out just before you are ready to work, and work quickly while it is still cold. The key is to keep everything ready before you are ready to roll and cut it.
- Don't overstuff the pie circles since it will be hard to seal the edges.
- Using an empanada or dumpling mold can make the folding process of the hand-pies very easy.
- If you don't have access to khoya, you can easily make it at home with ricotta cheese using this 15-minute recipe.
Frequently Asked Questions for Gujiya
Gujiya is an Indian sweet dumpling that is traditionally deep fried. The process of making is similar to making empanadas, so you can also call it dessert empanadas.
Cool the Gujiya completely and store in an air tight container in the refrigerator for up to 5 days.
Since Gujiya is made with Khoya, or Mawa, which is dairy-based, it will stay good for 5 days.
Traditional Gujiya is deep fried and contains around 177-190 calories. However, in this healthier recipe, we bake the Gujiya, which drops the calorie count to around 61 calories per Gujiya.
More Indian Desserts from my Kitchen
- Kesar Badam Halwa- a rich and delicious Saffron Almond Indian Pudding, often reserved on special occasions.
- Carrot Halwa- Called Gajar ka Halwa in Hindi, this is almost every kid's favorite dessert during winter-time.
- Moong Dal Halwa- A sweet lentil pudding that is usually a labor of love, made easy using the electric pressure cooker.
- Coconut Ladoo- These coconut fudge balls come together in 10 minutes using the microwave. Great for office parties since there'e vegan and gluten-free.
- Besan ladoo- Another fudge made with chickpeas flour and sweetened with confectioner's sugar. This is an easy microwave recipe too.
- Carrot Burfi- A variation of the popular Carrot Halwa, this is the finger food and dairy-free version.
- Sooji Sheera- A sweet pudding made with semolina, enriched with nuts and saffron.
- Rice Pudding- This one doesn't need any introduction. Enjoy this 3-ingredient dump and start Instant Pot recipe.
📖 Recipe
Baked Gujiya (Baked Indian Dessert Empanadas)
Want to save this recipe?
Equipment
Ingredients
Khoya Stuffing (this stuffing is good for 40 Gujiya, I freeze half of this stuffing for later use)
- 12 oz Khoya : 1 stick of Nanak Khoya
- ½ teaspoon Cardamom Powder : 10-12 fresh cardamom pods
- 2 tablespoons Slivered Almonds
- 2 tablespoons Chopped Cashews
- 2 tablespoons Raw Unsalted Pistachio shelled
- 3 tablespoons Desiccated Coconut unsweetened
- 4-6 tablespoons sugar : taste and adjust to your liking
Glazing Ingredients:(enough glaze for 20-22 Gujias)
- ½ cup sugar
- ¼ cup water
- 2 tablespoons slivered almonds finely chopped & raw unsalted pistachio shelled (for garnish after glazing)
Dough for Gujiyas
- 1 sheet Pie dough (store bought). Thawed overnight in refrigerator
Instructions
Make the Stuffing
- Microwave Khoya (Homemade or store-bought) for 2-3 minutes, in 30 seconds increments to make khoya easy to crumble. Heat non stick fry-pan on medium heat. Crumble khoya in to the pan.
- Using a wooden spoon or spatula, press down and break it in smaller pieces. Keep pressing till khoya becomes soft, consistency of a soft dough. (it should be pliable).
- Turn off the heat. Alternatively, you can do this whole process in the microwave by heating khoya for 3-5 minutes in 1-minute increments, stirring in between, till the khoya becomes soft.
- Add chopped nuts, coconut powder, and cardamom powder. Mix well and allow to cool off for a few minutes (4-5). Add sugar and mix well. Taste to adjust sugar to your taste preference. The stuffing is ready.
Assemble Gujiya and Bake
- Place thawed pie crust between plastic wrap and roll outwards to thin out the dough. (See video for clarity).
- Using a 2 inch round cookie cutter, cut out pie circles for filling. Fill each pie circle with roughly 2 teaspoons (or heaping ½ tablespoon) filling, and seal by pressing the edges together. (Just like you would for a turnover).
- Place them on a Parchment Paper or Silicone Baking Mat on the baking sheet. Bake for 11-13 minutes in a pre-heated oven at 400F degrees. Cool for 5 minutes.
Make Sugar Syrup
- While Gujiya is baking, heat a sauce pan on medium heat. Add sugar and water. Bring to a boil and simmer on medium heat till it thickens enough to coat the back of a spoon, about 5-6 minutes.
Glaze and garnish
- Dip baked Gujiyas in the cooled sugar syrup, coating well on all sides. Sprinkle some crushed pistachios on top. Place on a wire-rack for setting.
Notes
- Thaw the dough overnight: For best results thaw the frozen pie dough overnight in the refrigerator.
- Prep everything: Take it out just before you are ready to work, and work quickly while it is still cold. The key is to keep everything ready before you roll and cut it.
- Stuff moderately: Don't overstuff the pie circles since it will be hard to seal the edges.
- Use a mold: Using an empanada or dumpling mold can make the folding process of the hand pies very easy.
- Substitute for Khoya: If you don't have access to khoya, you can easily make it at home with ricotta cheese using this 15-minute recipe for homemade khoya.


Nanda says
Loved the baked easy gujjias. Thanks for sharing this awesome recipe!!
Aneesha says
Hi Nanda, thank you, I'm glad you enjoyed them!
Malavika says
Is it possible to bake if one makes to dough from scratch the traditional way?
Aneesha Gupta says
Hi Malavika, I haven't baked them in the oven in a really long time, but I remember it was something like 22-20 minutes in a preheated oven at 375 degrees F. I do have an air fryer recipe coming soon, let me know if you want air fryer instructions.