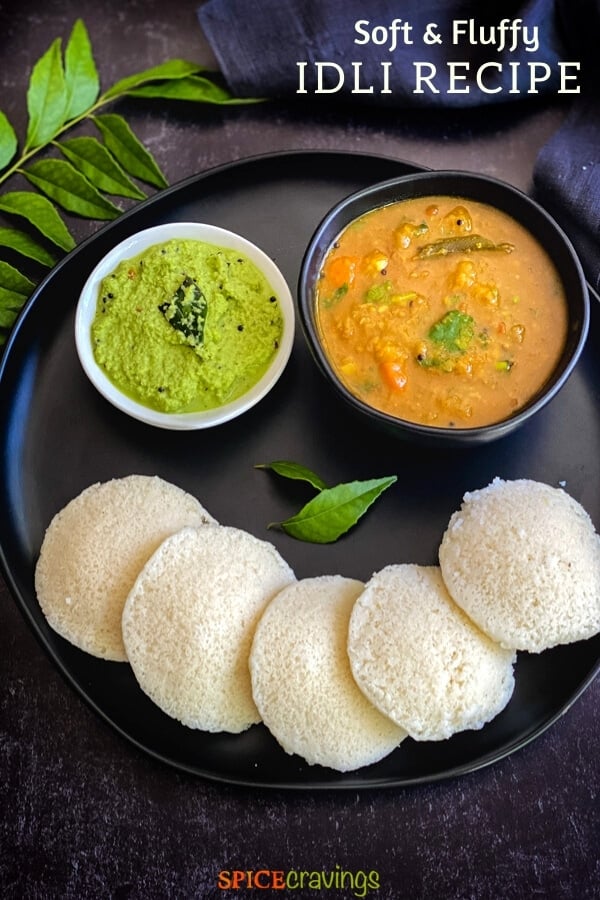
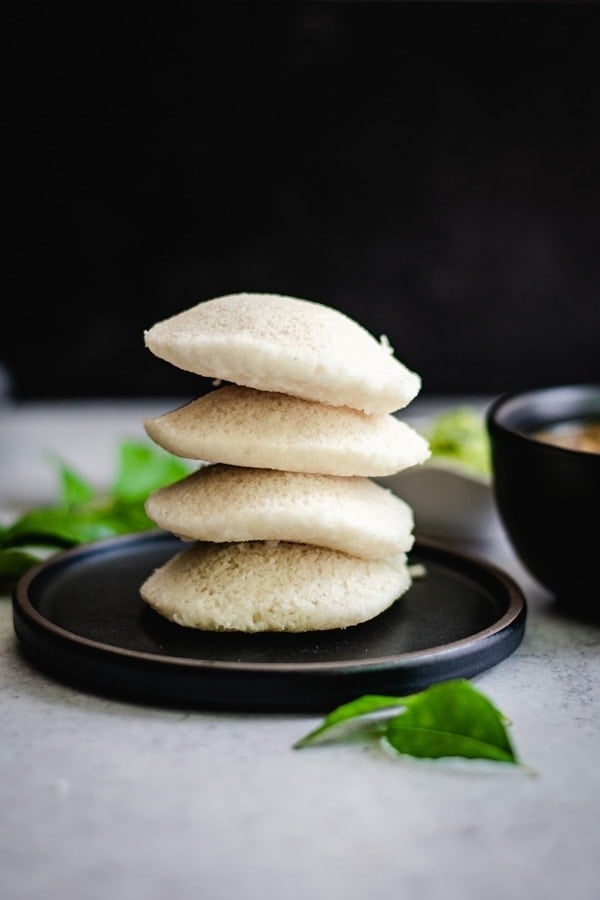
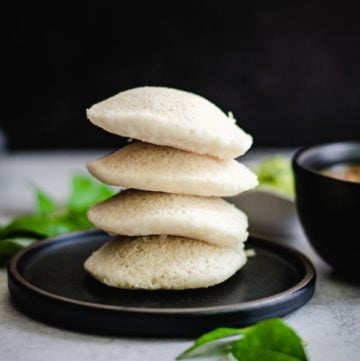
Idli is a savory steamed rice cake made with fermented rice and lentil batter. This popular South Indian treat is commonly enjoyed with sambar and chutney for breakfast.
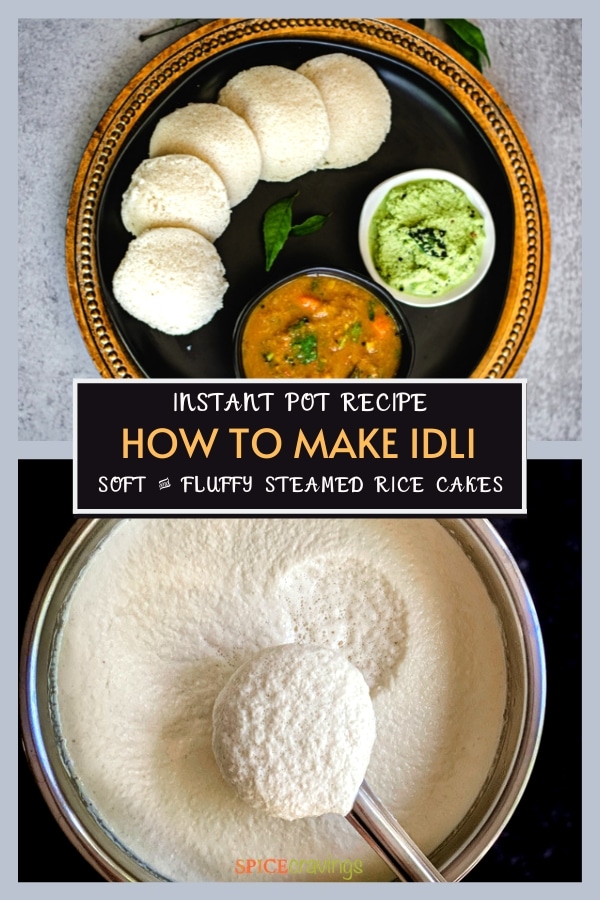
Learn how to make pillowy soft idli in the Instant Pot from homemade or store-ready idli dosa batter, in 30-minutes!
Want to save this recipe?
Soft, fluffy and delectable, idli-Sambar was one of my favorite Sunday brunches growing up. It wasn't that frequently made, which made it even more special for me. I would wake up to the smell of piping hot sambar and it was my job to make Idlis 15 minutes before serving 🙂
And now, it's a favorite in my home too. I make it often since my girls love it.
Light & Healthy South-Indian Treat
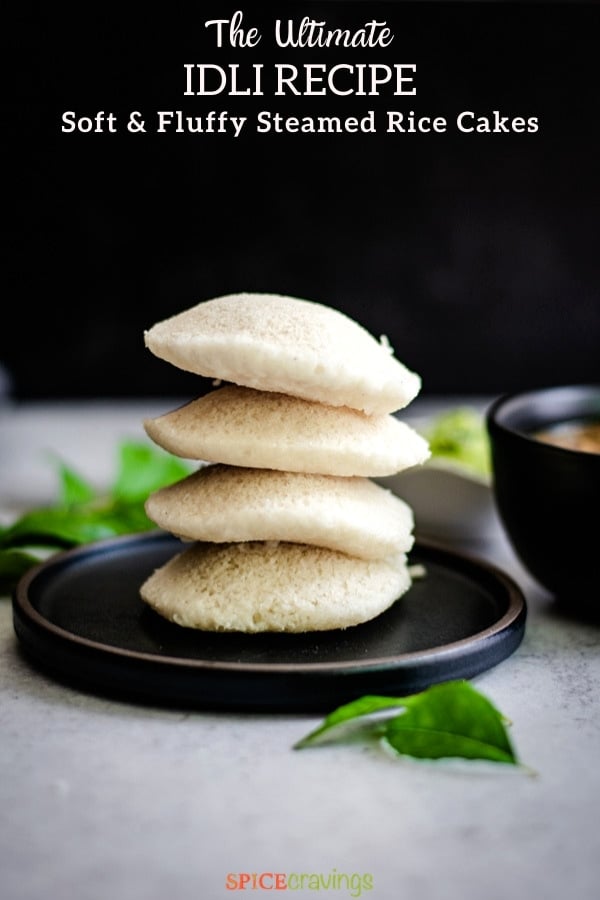
For the longest time, idli has been making South Indian cuisine proud. The unique characteristic of idli is that it is steamed, which makes these delicate rice cakes light and incredibly delicious.
Plus, idli is made from a fermented batter of rice and lentils that is good for your health and gut flora. And packed with a ton of plant-based protein.
These pillowy soft steamed rice cakes are extremely popular nationwide. It is considered to be one of the most delicious snacks and popular street foods throughout India.
The real trick behind making perfect Idli is learning how to make a foolproof idli batter, using the Instant Pot. I can assure you, with that easy-to-master batter, Idli-Sambar will become a regular addition to your breakfast or brunch table.
Let's check out this fail-proof recipe for Idli!
Jump to:
- Light & Healthy South-Indian Treat
- What is Idli?
- Perfect Idli Batter in the Instant Pot
- Ingredients & Notes- Homemade or Store-Bought Batter
- Accessories Needed - Idli Stand
- How To Make Idli in the Instant Pot - Step-by-Step Instructions
- Serving Suggestions
- Different Types of Idli Recipes
- Recipe Tips & Notes
- Commonly Asked Questions for Idli
- Popular South-Indian Recipes on the Blog
- 📖 Recipe
What is Idli?
Idli, or Idly, are soft steamed rice cakes made from a fermented batter of idli rice and urad dal (split black lentils).
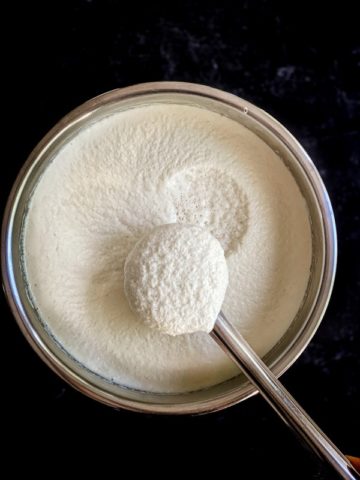
Lentils and rice are soaked for 6-8 hours, then ground to a fine consistency. These two batters are then combined and left to ferment in a warm temperature-controlled environment, for 10-12 hours (or longer depending on the weather).
Fermented batter is poured in a special idli-steamer and cooked for 10-15 minutes to get perfectly soft, spongy idli. This traditional Southern Indian treat is most often eaten for breakfast with sambar and coconut chutney.
Health Benefits of Idli
In India, idli is considered one of the healthiest protein-packed breakfasts for many reasons. These include:
- This plant-based dish is naturally vegan and gluten-free.
- Steaming at low gentle heat for a short amount of time ensures that the protein and nutrients remain intact.
- It is a low-calorie dish as the rice cakes are steamed rather than fried or slathered in butter.
- The lactic acid build-up in fermented foods enables a more efficient breakdown of minerals and vitamins in our body, which helps in digestion.
- The fermented batter further aids in the bioavailability of proteins and B-vitamins, which encourages a healthy gut flora.
In the simplest terms, idli is easily digestible as the rice and lentils are soaked, ground, fermented, and steamed.
Perfect Idli Batter in the Instant Pot
Growing up eating primarily Punjabi cuisine (north-indian), I never really had a family recipe for Idli batter.
When I first started making Idli batter at home, I would have a hard time getting the batter right. Sometimes it would not ferment and rise enough. And if the batter didn't rise properly, the idlis would be hard and flat.
But once I started fermenting the batter in the Instant Pot , it gave consistent results that made light and fluffy idli every time. And that's because electric pressure cookers create a uniform temperature controlled environment for the batter to ferment evenly.
Here's the detailed recipe for homemade Idli Dosa batter.

Ingredients & Notes- Homemade or Store-Bought Batter
- Homemade: All you need to make idli is homemade idli batter. It does take some practice getting the batter right, but I go over all my tips and tricks in this detailed Idli Dosa Batter post.
- Store-Bought: If you are short on time, store-bought idli batter is a great option. Look for it in the refrigerated section in Indian or international grocery stores. My preferred brand is Shashta.
- Consistency: The consistency of the batter should be like waffle batter- neither too thick, nor too runny.
Once you have the batter ready, it's time to steam the idli!
Accessories Needed - Idli Stand
Idlis are traditionally made in a special steamer, called idli stand or idli mold.
It is a stack of stainless steel plates (usually 3 or 4), and each plate has four (or three) concave depressions where the idli batter is poured. These days, idli stands are available in different sizes and forms, including options for the microwave and stovetop.
The Idli stand I used is a stainless steel 4-rack idli stand that makes 16 idlis total (easily available on Amazon). It's lightweight, dishwasher safe and durable (not a paid promotion, I'm just a happy customer).
There is also the option to make mini idlis with a 4-rack stainless steel mini stand which will make 72 mini idlis. But the cooking time will vary.
As far as the stovetop idli maker, different brands are compatible with gas, electric and/or induction stoves, so it is best to check with the one that is suitable for you. Stovetop idli makers are great, but lack in heat and time consistency.
I have tested this recipe with a stainless steel stand compatible with the Instant Pot.
How To Make Idli in the Instant Pot - Step-by-Step Instructions
These steamed rice cakes are ready in under 30 minutes with the Instant Pot and an idli mold. Simply:
1. Start with room temperature batter
- Whether using homemade or store-bought batter, it should be at room temperature for best results. If using refrigerated batter, remove it from the refrigerator 30 minutes before cooking.
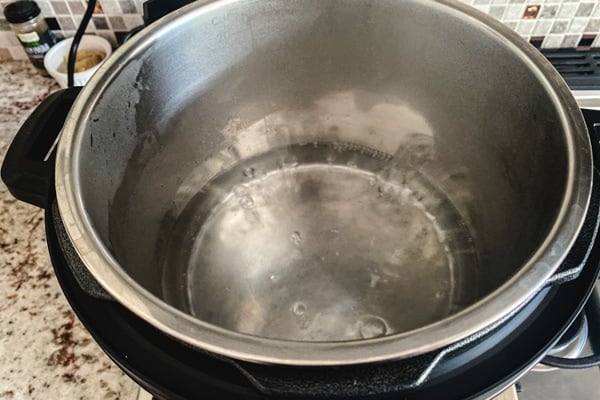
2. Turn On Instant Pot
- Turn on Instant Pot Saute mode and adjust it to High/More. Add water to the steel insert and heat it until it begins to boil. (Tip: cover the pot with a glass lid to speed up the boiling process)
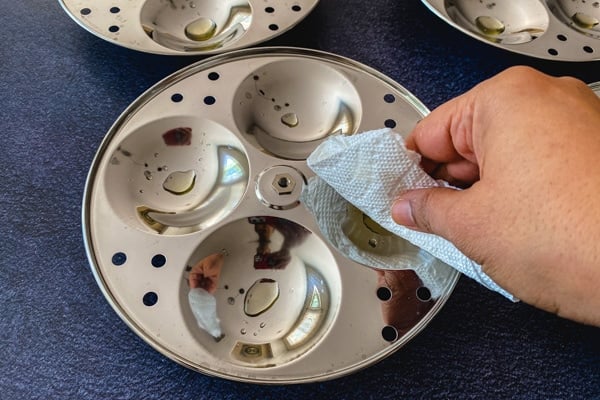
3. Grease Idli Mold
- While the water is heating, grease the idli molds with oil or ghee using a kitchen towel or pastry brush.
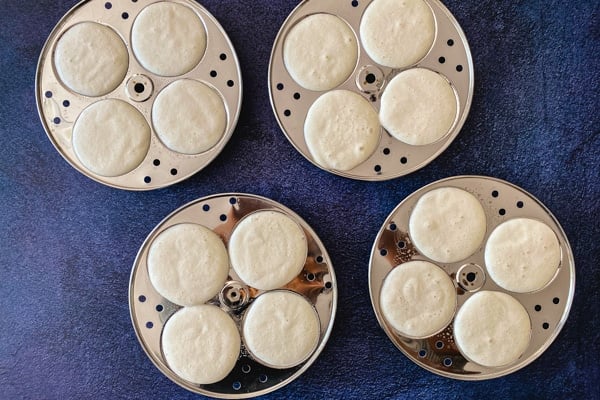
4. Fill Idli Molds
- Add a ladle full (little less than ¼ cup) of batter in each mold.
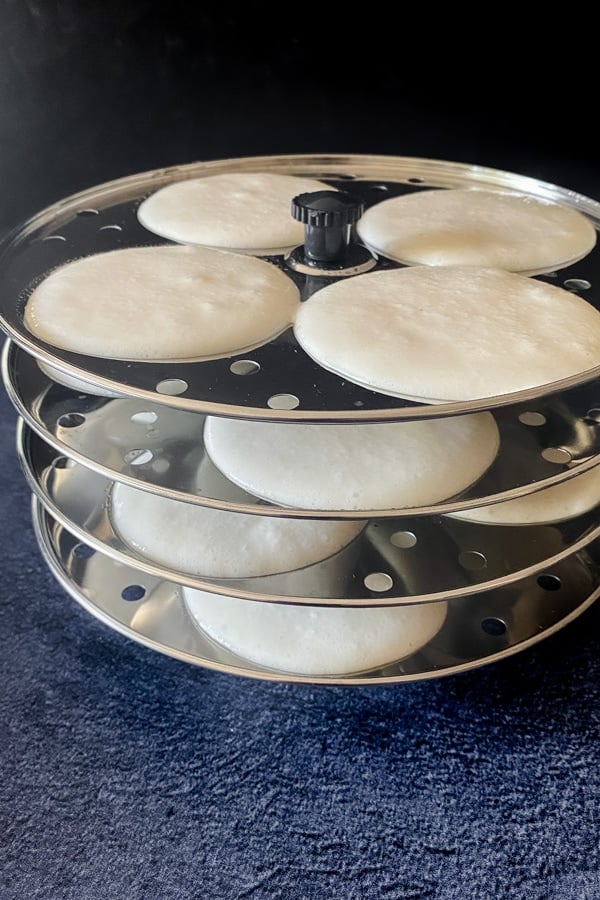
5. Assemble Idli Stand
- Assemble the steel plates back in position and screw back the top to lock the idli stand.
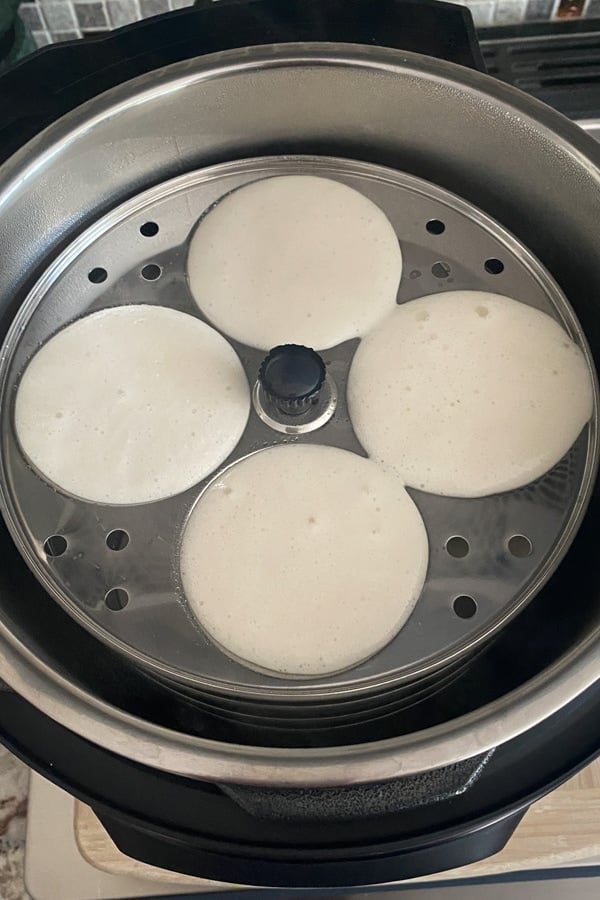
6. Steam Idli
- Place the idli stand in the Instant Pot. Select the 'Steam' function and adjust to High pressure. Turn the steam vent to 'venting' position and lock the lid in position. Since the steam function doesn't have a built-in timer, using an external timer set at 12 minutes.
- After the time is up, hit Cancel. Follow the quick release method to release any pressure that may have built up due to steam. Carefully open the lid and remove the idli stand.
- Let it rest for 5 minutes. This prevents the idli from sticking to the mold. Using a paring knife or a spoon, run around the mold to release the idli from the mold.
Alternative Method: Microwave Idli
As an alternative, you can also make microwave idli using this microwave Idli maker when you are short on time. Simply:
- Grease and fill idli mold (little less than ¼ cup batter) in each mold.
- Microwave on HIGH for 4 minutes and 30 seconds.
- Carefully remove from the microwave - the mold will be hot! Remove the lid.
- Check for doneness, the idli are fully cooked when the center springs back to the touch. If idly are not cooked, place it back in the microwave for another 30-45 seconds.
- Let rest for 5 minutes. Then, run a paring knife around the mold to release the idli.
Serving Suggestions
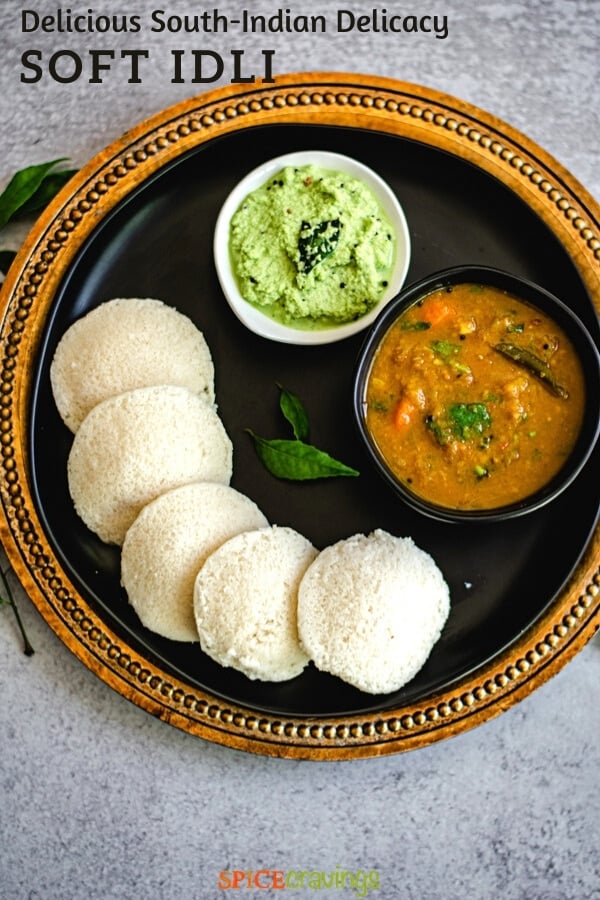
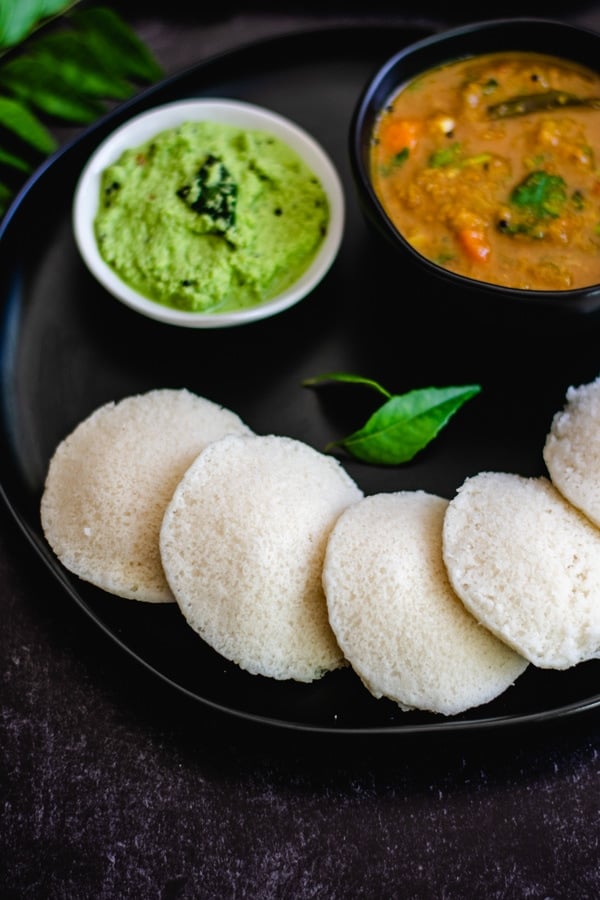
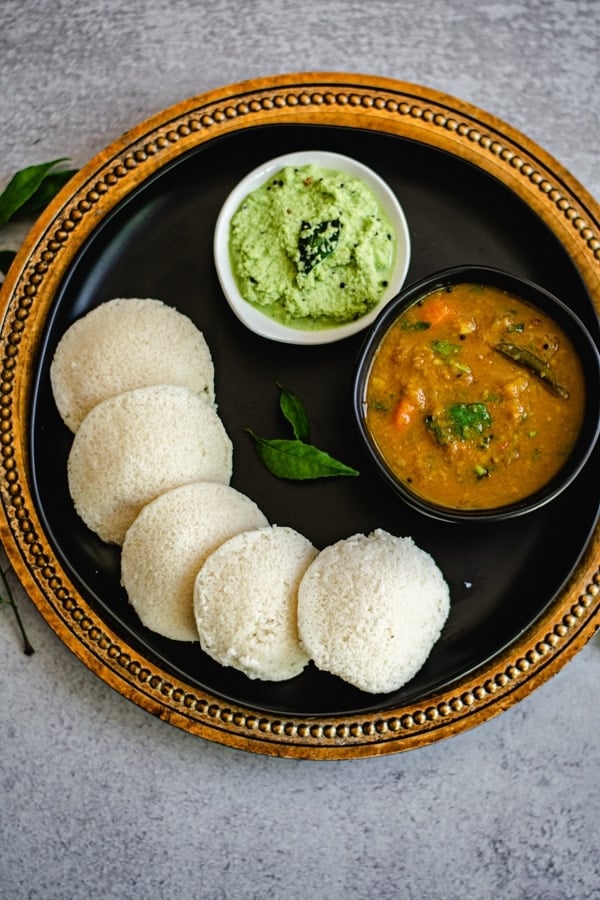
I love the traditional way to serve idli- with sambar (split pigeon pea and vegetable stew) and coconut chutney. In India, these three accompaniments are enjoyed as a healthful and filling meal for breakfast or brunch.

Different Types of Idli Recipes
This is a basic idli recipe for those new to this popular Indian snack food. But once you master the basics, there are a number of different types of idli recipes to try:
- Rava Idli - a quick variation made with semolina (rava) that can be filled with a number of different nuts, vegetables and seasonings
- Poha Idli - This Instant idli batter is made with poha (flattened rice), idli rava and yogurt. No fermentation needed.
- Oats Idli - quick oats batter recipe that does not need fermentation
- Ragi Idli - nutritious idli made with millet flour, parboiled rice and urad dal
- Kanchipuram Idli - well-known variety of idli spiced with cumin, ginger and pepper
Recipe Tips & Notes
- Learn all the tips and tricks to homemade idli dosa batter beforehand. This detailed idli batter post is a wonderful jumping-off point to making idli at home and will ensure success in this idli recipe.
- Consistency: The consistency of the batter should be like waffle batter- neither too thick, nor too runny.
- Use idli dosa batter within the first two days to make idli. This will produce the fluffiest rice cakes possible. The remainder can be used to make dosa (crisp savory crepes) or Uttapam (savory pancakes).
- Store-Ready batter: If using store-bought batter, remove it from the refrigerator 30 minutes before cooking.
- Rest Idli for 5 minutes. This prevents the idli from sticking to the mold.
Commonly Asked Questions for Idli
Idlis are made from ground rice mixed with ground urad dal, salt, methi (fenugreek seeds) and water. The mixture is allowed to ferment prior to being steamed in an idli steamer. Learn how to make homemade idli (and dosa) batter.
Use idli rice to make the batter. This is short-grain parboiled rice easily available in Indian grocery markets or online. If it is unavailable, use any type of short-to-medium size parboiled rice. I do not recommend long-grain rice for idli recipes.
Idli is made from a fermented batter, so the taste is distinct and somewhat sour (think of the taste similar to a sourdough bread). The addition of fenugreek seeds (methi) will also impart a subtle savory flavor.
Idli is said to be light as it contains no fats, saturated fats or cholesterol and is made up of rice and lentils. It is considered a healthy treat due to its lightness and nutritional value.
The main reason idli do not rise and remain flat is the use of too much water in the batter or lack of fermentation. I highly recommend reading through idli/dosa batter. I go over the proper amount of water needed, along with a number of tips and tricks for perfect fermentation.
Popular South-Indian Recipes on the Blog


📖 Recipe
Idli Recipe in Instant Pot (Steamed Rice Cakes)
Want to save this recipe?
Equipment
Ingredients
- 2 cups water
- 3 cups idli batter (may need more depending on idli size)
- ghee or oil, for greasing
Instructions
1. Start with room temperature batter
- Whether using homemade or store-bought batter, it should be at room temperature for best results. If using refrigerated batter, remove it from the refrigerator 30 minutes before cooking.
Turn On Instant Pot
- Turn on Instant Pot saute mode and adjust it to high/more. Add water to the steel insert and heat it until it begins to boil. (Tip: cover the pot with a glass lid to speed up the boiling process)
Grease Idli Mold
- While the water is heating, grease the idli molds with ghee or oil using a kitchen towel or pastry brush.
Fill Idli Mold
- Add a ladle full (a little less than ¼ cup) of batter in each mold.
Assemble Idli Stand
- Assemble the steel plates back in position and screw back the top to lock the idli stand.
Steam Idli
- Place the idli stand in the Instant Pot. Select the 'Steam' function and adjust to High pressure. Turn the steam vent to 'venting' position and lock the lid in position. Since the steam function doesn't have a built-in timer, using an external timer set at 12 minutes.
- After the time is up, hit Cancel. Follow the quick release method to release any pressure that may have built up due to steam. Carefully open the lid and remove the idli stand.
- Let it rest for 5 minutes. This prevents the idli from sticking to the mold. Using a pairing knife or spoon, run around the mold to release the idli from the mold. Serve warm with sambar and coconut chutney.
Alternative Method: Microwave Idli
- Grease and fill idli mold (a little less than ¼ cup batter) in each mold.
- Microwave on HIGH for 4 minutes and 30 seconds.
- Carefully remove from the microwave - the mold will be hot! Remove the lid.
- The idli are fully cooked when the center springs back to the touch. If idly are not cooked, place it back in the microwave for another 30-45 seconds.
- Let rest for 5 minutes. Then, run a pairing knife or spoon around the mold to release the idli. Serve with sambar and coconut chutney.
Notes
- Learn all the tips and tricks to homemade idli dosa batter beforehand. This detailed idli batter post is a wonderful jumping-off point to making idli at home and will ensure success in this idli recipe.
- Consistency: The consistency of the batter should be like waffle batter- neither too thick, nor too runny.
- Use idli dosa batter within the first two days to make idli. This will produce the fluffiest rice cakes possible. The remainder can be used to make dosa (crisp savory crepes).
- Store-Ready batter: If using store-bought batter, remove it from the refrigerator 30 minutes before cooking.
- Rest Idli for 5 minutes. This prevents the idli from sticking to the mold.


Sharon says
I have a mini-idli stand, any idea what the timing would be for those in the instant pot?
Aneesha says
Hi Sharon, for mini idli steam for 7 minutes.If it look undercooked, steam for another 1-2 minutes. Enjoy!
Jillian says
Hi! Thanks for this recipe...can you tell me which brand you prefer for the idli trays to put in the Instapot? Thank you!
Aneesha says
Hi Jillian, I have linked to those in the content. If you read through the step-by-step directions, you'll find the exact match. Please let me know if you cannot find it! Thanks
Agnes says
Hi,
I am a new user of instant pot and am not familiar with most of its applications. So I followed the steps you have mentioned above and after closing and putting in vent mode .. the display shows pre heating... should I consider this also as part of the 12 minutes ?
Thank you
Aneesha says
Hi Agnes, Yes! The total time for the external timer will be 12 minutes.