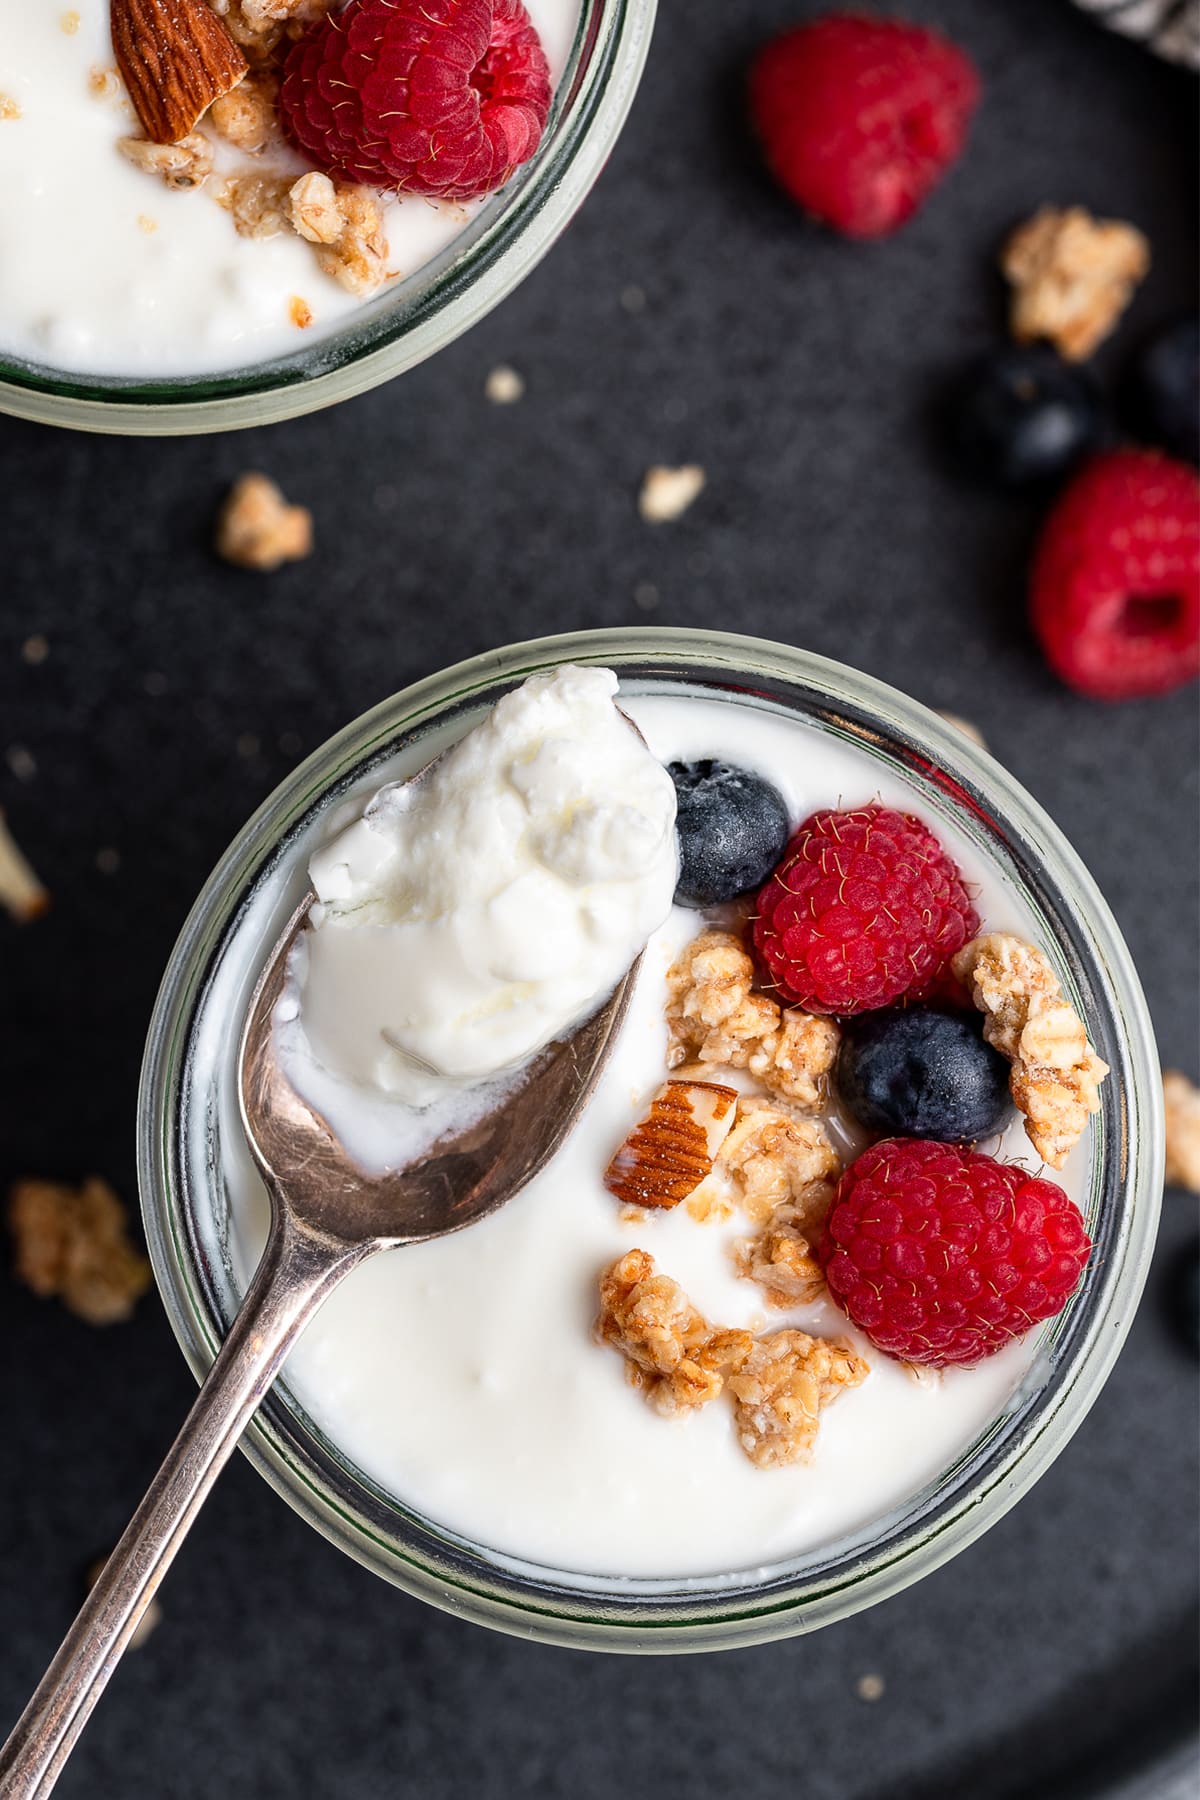
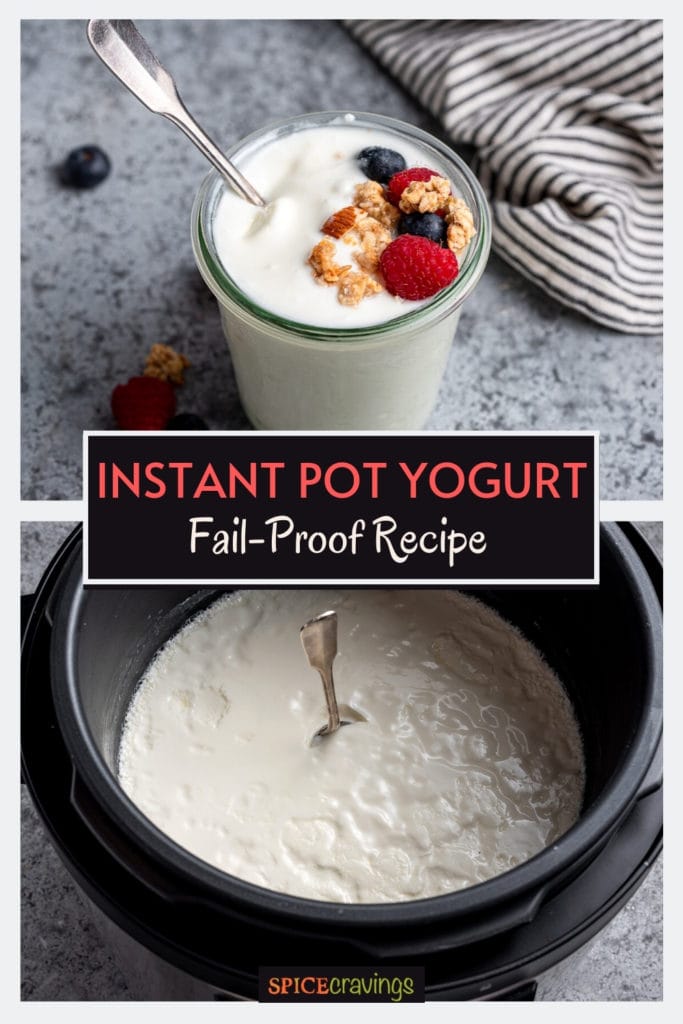
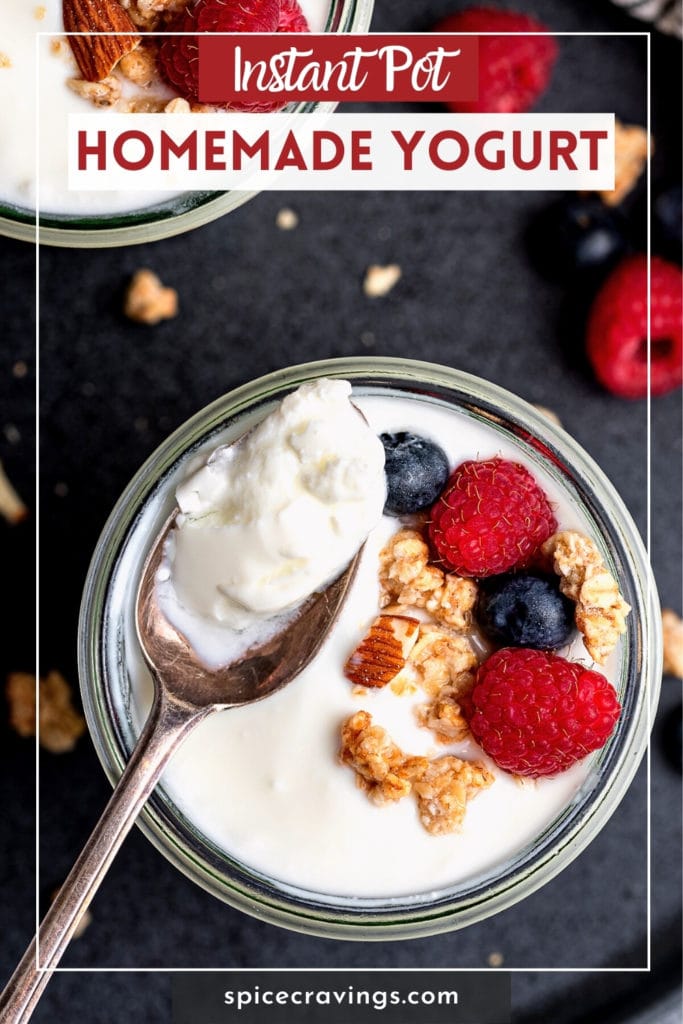
Here's a complete guide on Instant Pot Yogurt, using the traditional "boiling technique" or "cold start" method. This 2-ingredient recipe takes just 30 minutes to prep and results in homemade yogurt that is smooth, creamy, good for you, and simply delicious. Enjoy it with fresh fruit, scooped into smoothies, raita, dips, and so much more.
Want to save this recipe?
Making your own yogurt at home can seem daunting. But once you've made yogurt in the Instant Pot, you'll never look back.
Not only does it take very little time to prep, but it's creamier, smoother, and less tangy than store-bought yogurt. You know exactly what went into it, plus, you can sweeten it to suit your tastes.
Choose between the traditional boiling technique or make your Instapot yogurt using the cold start method. Both options are super easy and both yield a thick, smooth, and the best homemade yogurt.
The yogurt takes about 8 hours to incubate, but you'll spend just 30 minutes prepping for it. After that, you can sit back and wait for your pressure cooker to do the magic. Let's get started on this easy Instant Pot yogurt recipe!
Jump to:
Ingredients- Notes & Substitutions
You just need two simple ingredients for making yogurt in the instant pot. Here's what you'll need:
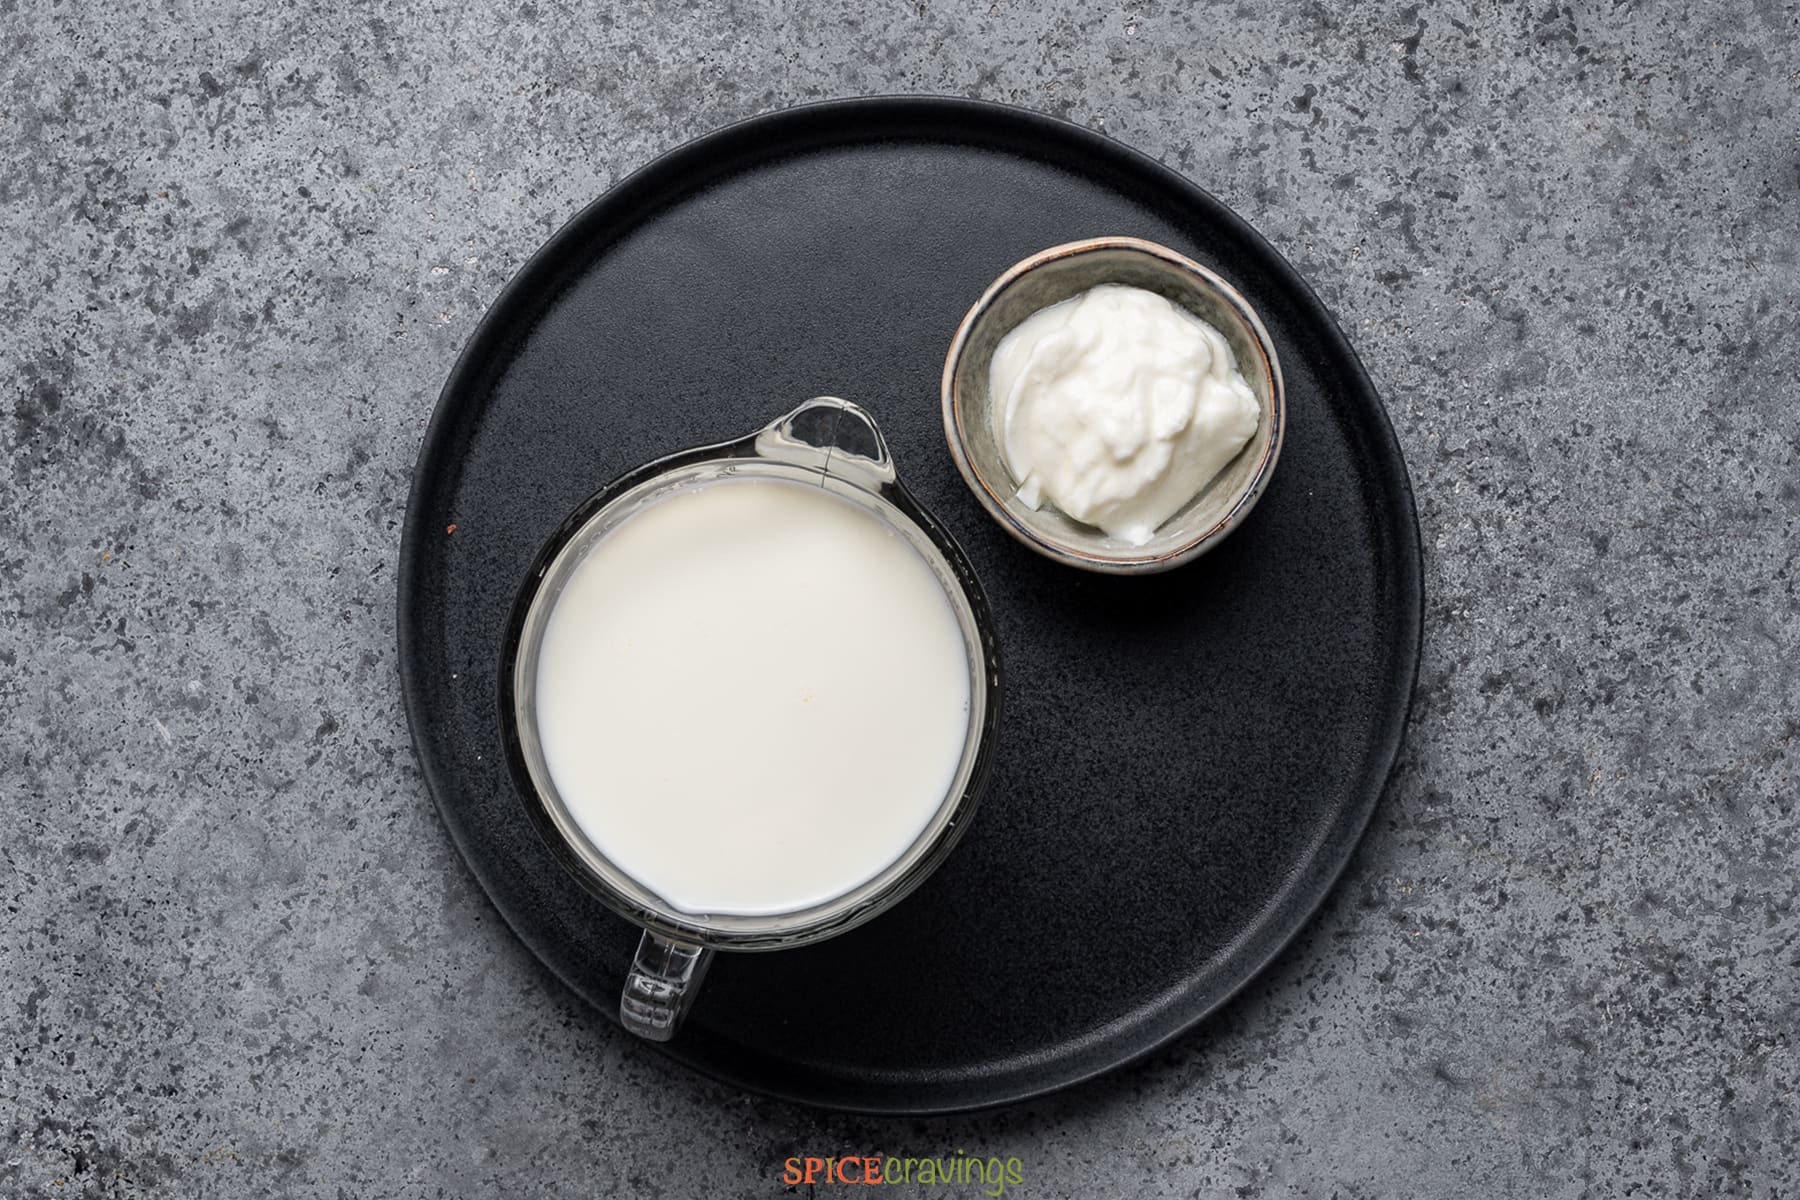
- Pasteurized Milk: I prefer whole milk for a creamier yogurt, but you can also use 1% or 2% fat milk if preferred. Just know that a reduced-fat yogurt will have a more 'jiggly' texture as compared to the full-fat one.
- Plain Whole Milk Yogurt with Active Cultures: I prefer store-bought yogurt with active cultures, but you can use a yogurt starter, or yogurt from a previous batch.
Starter Tip: For a firm texture, I use a starter from a freshly opened container of store-bought yogurt (full-fat) with active cultures.
Scroll to the recipe card for a detailed list of ingredients and quantities.
How to Make Yogurt in an Instant Pot
Here are the step-by-step instructions on how to make the best yogurt at home. For pot-in-pot yogurt, see the instructions below.
Start by cleaning your pot. Clean and dry the steel insert, sealing ring, and lid for the instant pot before starting. This eliminates any residual food or smell from previous cooking.
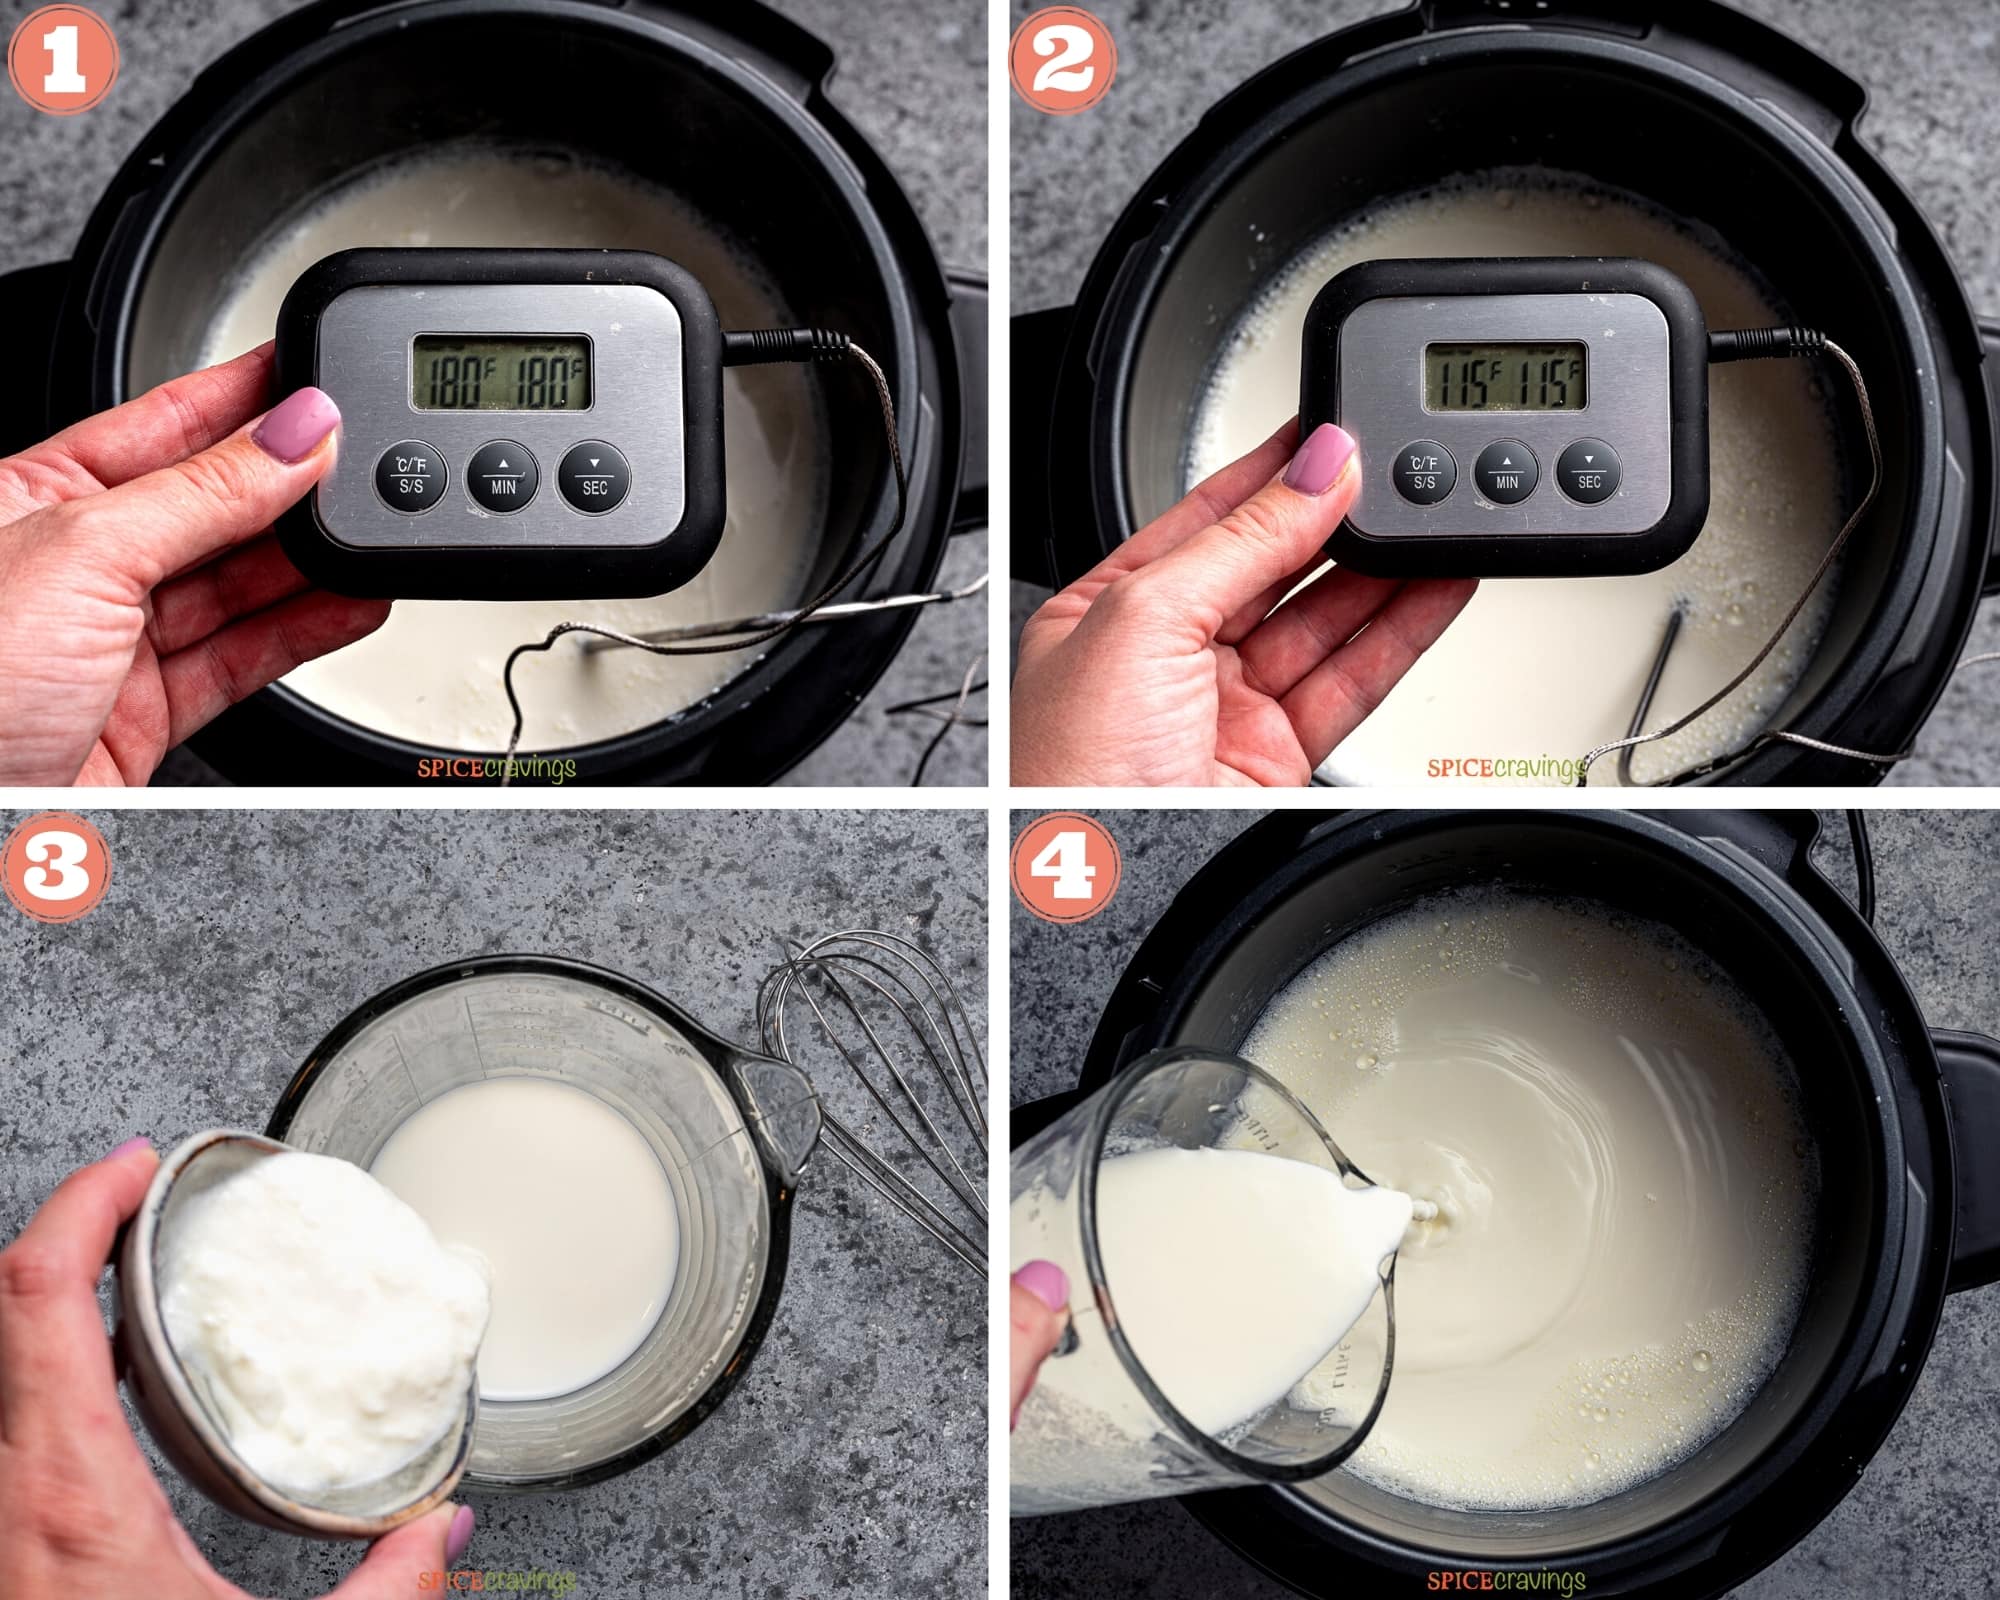
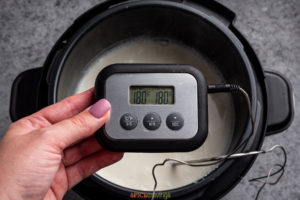
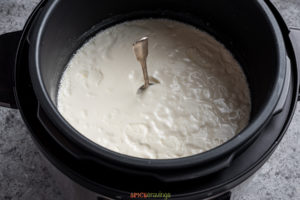
- Boil milk: Pour milk into the steel insert and close the lid. Set the vent to any position, and press the "yogurt" button. Press "adjust" until the screen displays "BOIL". You'll want to heat the milk to 180ºF (82ºC), which can take anywhere from 30-40 minutes. When it's done, the display should read "YOGT". (pic 1)
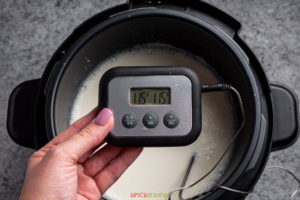
- Cool milk: let the milk cool down to 110-115ºF (43-46ºC). This can take 30-45 minutes. To speed up this process, place the pot in an ice water bath. The milk should feel lukewarm to the touch when it's done. (pic 2)
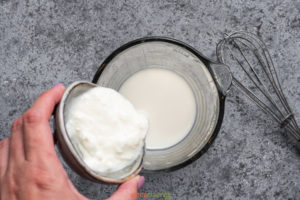
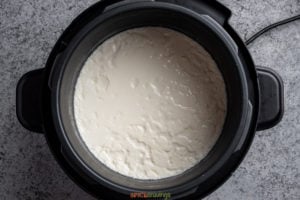
- Mix in starter: In a small bowl, whisk together yogurt and ¼ cup warm milk until smooth. Pour that mixture into the remaining milk and whisk to combine. (pic 3 & 4)
- Incubate: place the bowl of steel insert back into the instant pot, close the lid, select "yogurt", and adjust it to read "8:00" (8 hours), at normal temperature.
- Refrigerate: once the pot beeps, open the lid, remove the bowl or steel insert, wipe it dry, and cover it with a lid or plastic wrap. Refrigerate for 6-8 hours.
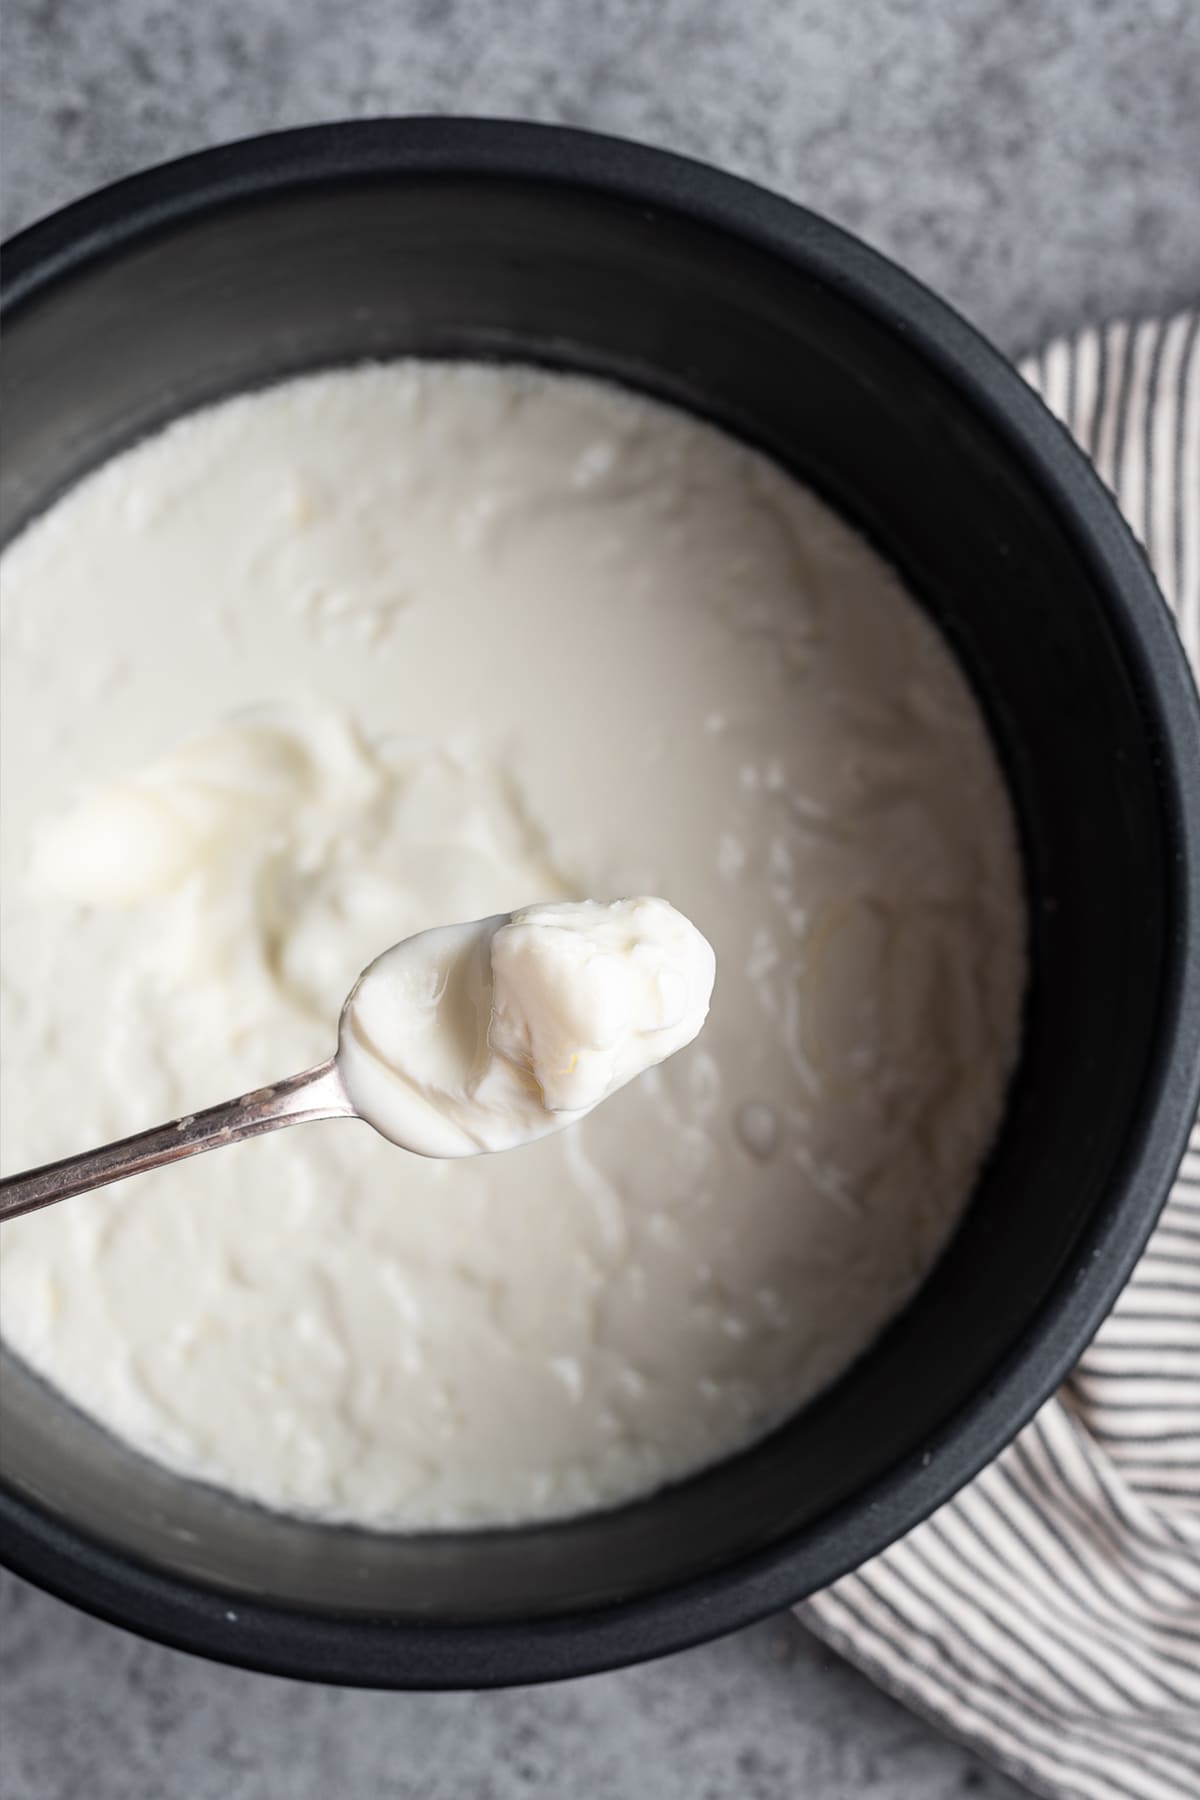
Texture Tip: Sometimes the warmed milk develops a thin film of fat on the top. Scrape that off using a fork, for a smooth texture.
Pot-in-Pot Yogurt (Small Batch)
Using the pot-in-pot technique you can make yogurt in a smaller container or bowl instead of the instant pot steel insert. Here's how:
- Pot-in-pot set-up: Pour a cup of water into the steel insert, and place a trivet inside. Pour the milk into a stainless steel or oven-safe container and place it on the trivet.
- Boil milk: Close the Instant Pot lid, and vent set to the sealing position. Select “Steam” for 2 minutes. Once the time is up, manually release the pressure. Using a thermometer ensure that the milk is >180°F. Now, let the milk cool down to 110-115ºF (43-46ºC).
- Mix starter: Whisk the yogurt into ¼ cup warm milk until smooth. Pour that mixture into the remaining warmed milk and whisk to combine.
- Incubate: Place the container back into the instant pot on the trivet. Close the lid, select "yogurt", and adjust it to read "8:00" (8 hours).
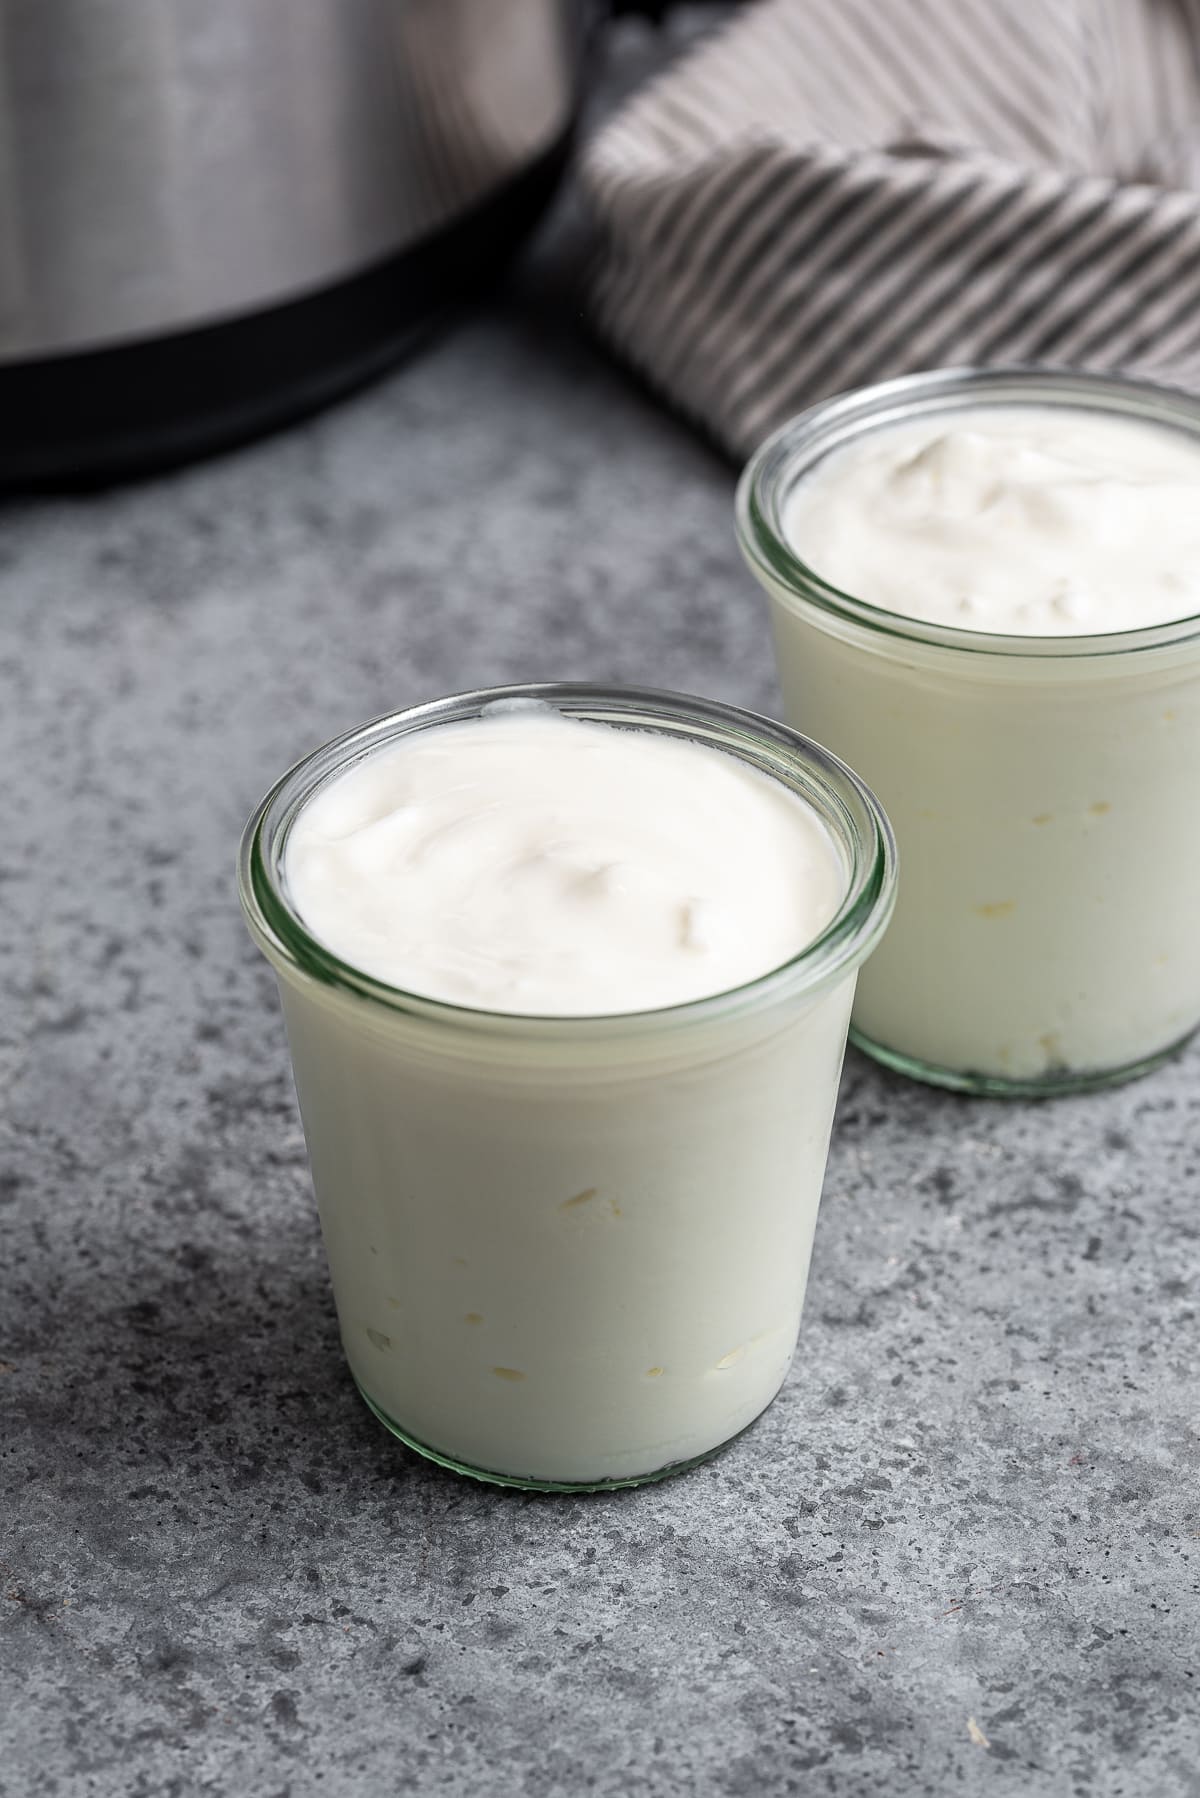
Instant Pot Cold Start Yogurt (No Boil Yogurt)
Another option you have is to make your yogurt using the cold start method. You still need just two ingredients, but the benefit is you don't have to boil the milk or worry about milk temperature.
Note: You have to use ultra-pasteurized or ultra-filtered milk for cold-start yogurt. The cold start method does not work with regular milk.
Ultra-Pasteurized milk is regular milk that goes through a special filtration process, which results in milk that has 50% more protein, 30% more calcium, and half the sugar of regular milk, and it is lactose-free. Example: Fairlife Ultrafiltered Milk. To make no-boil yogurt:
- Combine milk and starter: whisk 1 cup of the milk together with the starter until fully combined.
- Add to instant pot: pour the remaining 3 cups of milk into the instant pot, then whisk in the starter mixture.
- Incubate: place the lid on the instant pot, hit "YOGT", then adjust it to read 8:00 (8 hours) at normal temperature. Let it incubate.
- Refrigerate: remove the inner pot from the instant pot, cover it with plastic wrap, then refrigerate for another 6-8 hours to thicken and cool.
How to Make Greek Yogurt in Instant Pot
To make Greek yogurt, prepare yogurt as per the instructions. Let it set and chill overnight. Line a wide bowl with double-layered cheesecloth. Add yogurt and let it strain overnight or for at least 8 hours in the refrigerator.
How to Store
Homemade yogurt will last in the fridge for up to 2 weeks or in the freezer for up to 1 month. Thaw overnight in the fridge, if frozen.
Tip: Store yogurt in an ice cube tray in the freezer and use it as a starter for another batch.
Serving Suggestions
Homemade yogurt can be served on its own, topped with fruit, in parfaits, in smoothies, raita, dips, you name it. Here are some of my favorites:
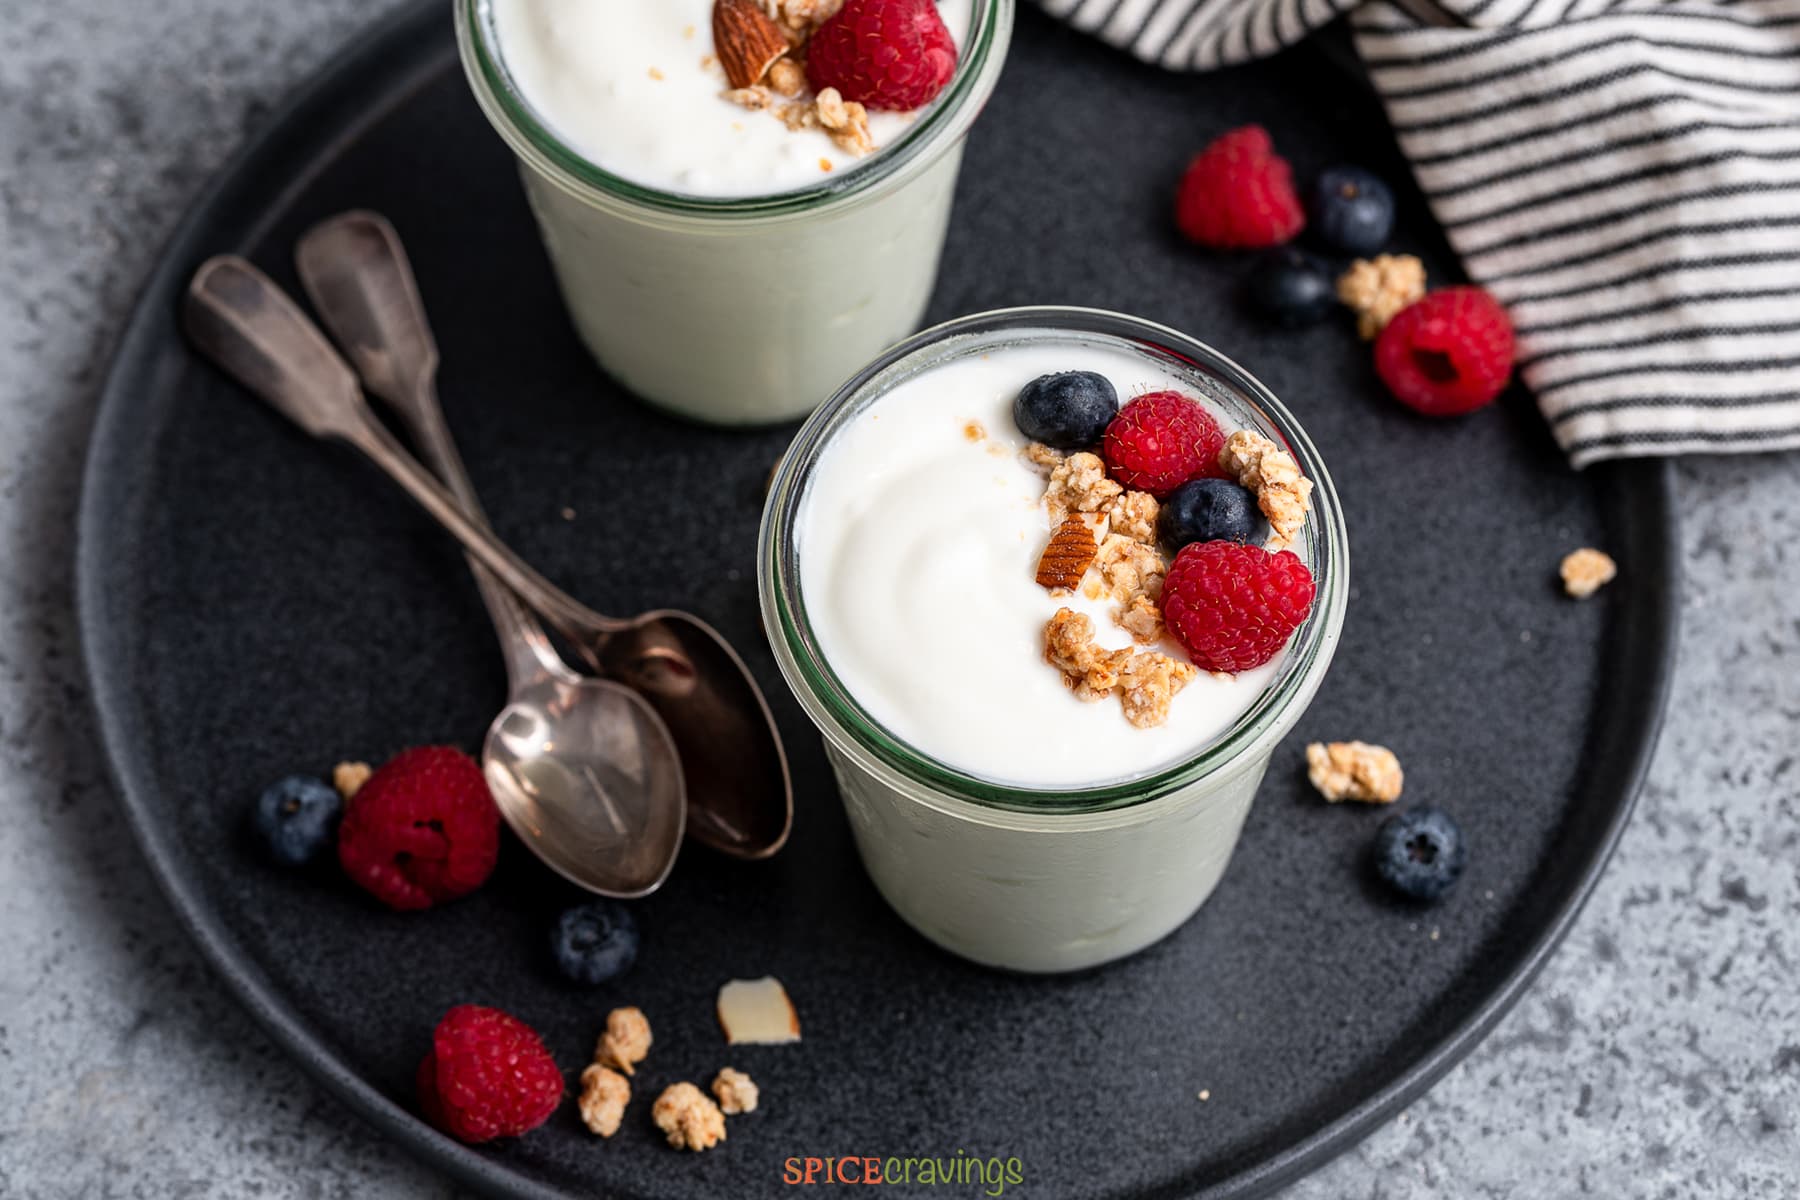
- Yogurt Parfait: Scoop ½ cup yogurt in a small bowl. Top that with ½ cup of mixed berries followed by ⅓ cup of your favorite granola.
- Lassi & Smoothies: Make this popular Indian smoothie called Mango Lassi.
- Raita: You can make a variety of Indian yogurt dips (raita) with yogurts, like cucumber raita, avocado raita, mint raita, and boondi raita.
- Dips: Yogurt forms the base for this creamy tzatziki recipe and green goddess sauce.
- Curries: You can also make this popular Indian yogurt curry called Kadhi, or add it to provide creaminess to curries like chicken tikka masala.
Recipe Tips & Notes
- Milk: You can use 2% or whole milk interchangeably. If using 1% fat or fat-free, the yogurt might not have the usual 'firm' consistency.
- Yogurt Starter: I have found the best results by using whole milk yogurt as a starter. Ideally, use yogurt from a freshly opened container. Alternatively, use yogurt from a previous batch, store-bought yogurt (with active cultures), or a yogurt starter. If using a yogurt starter, follow the quantity mentioned on the packaging.
- Clean your pot and sealing ring thoroughly before using the instant pot to rid it of any residual smell or taste from other foods.
- Storage: For fresh taste, refrigerate yogurt in an airtight container for up to 2 weeks.
- Sweetening yogurt: it is best to add a sweetener after the yogurt is set and cooled. You can sweeten the yogurt using vanilla extract, honey, maple syrup, jam or fruit preserves, fresh fruit, etc.
- Monitor temperatures: Use a digital thermometer to ensure that the milk reaches the suggested temperatures.
- To make Greek yogurt: Line a wide bowl with double-layered cheesecloth. Add yogurt and let it strain overnight or for at least 8 hours in the refrigerator.
- Save a bit of one batch of yogurt and freeze it in ice cube trays to use as starters later. When you're ready to use, thaw it in the fridge.
Frequently Asked Questions
Very! Homemade yogurt has healthy bacteria and probiotics that help with gut health. Making homemade yogurt also gives you the freedom to avoid added sugar and sweeteners that often come with store-bought.
There is actually a setting, called the "yogurt" setting, built into the instant pot that you can use to make homemade yogurt.
The yogurt button has a couple of capabilities. It first heats the milk to 180ºF, which is where it needs to be to boil before you chill it and add the starter. It also incubates the yogurt for 8 hours which thickens the milk into curd.
There may be a couple of reasons your instant pot yogurt didn't set properly:
1. You didn't use the right starter. Make sure the starter you use has active cultures.
2. It didn't boil correctly. The "YOGURT" button on your instant pot should take care of this, but to be safe you can check that the milk is boiled to 180ºF or higher.
3. Chill before adding the starter. Make sure you cool the milk to 110-115ºF before you add the starter.
4. You didn't chill long enough. Chill the finished yogurt for 6-8 hours in the fridge after it incubates. This allows it to thicken into that classic yogurt consistency.
Too much starter can cause the bacteria in the starter to run out of lactose, which is the food it needs to form the curd before the yogurt is finished. This can end up producing a sour-tasting yogurt.
📖 Recipe

Instant Pot Yogurt
Want to save this recipe?
Equipment
- trivet
- stainless steel container
Ingredients
- 4 cups pasteurized milk I prefer whole milk
- 1 tablespoon plain whole milk yogurt with active cultures or yogurt starter (see notes)
Instructions
- Clean the pot: Clean and dry the Instant Pot steel insert, sealing ring and lid before starting to eliminate any residual food or smell from previous cooking. Remove the starter from the fridge and keep aside.
- Boil Milk: Pour milk into the steel insert and close the lid. Set the vent to any position, and press the "yogurt" button. Press "adjust" until the screen displays "BOIL". You'll want to heat the milk to 180ºF (82ºC), which can take anywhere from 30-40 minutes. When it's done, the display should read "YOGT".For making yogurt pot-in-pot: Pour a cup of water and place a trivet in the Instant Pot. Pour the milk in a stainless steel bowl or any oven-safe container, and place it on top. Close the Instant Pot lid, vent set to sealing position. Select “Steam” and set it for 2 minutes. Once the cooking time is up, release the pressure manually. Open the lid after the pin drops. Using a thermometer check the temperature of milk to ensure that it is >180°F.
- Cool Milk to 110-115°F (43-46°C): Let the milk cool down for about 45 minutes to an hour until it drops to 110-115°F. To speed the process, place the bowl or pot in an ice water bath. Use a digital thermometer to ensure it doesn't drop below 110°F. If using the finger to check temperature, it should feel luke warm to the touch.
- Mix in Starter: The warmed milk has a thin film of fat on the top, remove that using a fork, for a smooth texture (optional). In a small bowl, whisk together yogurt and ¼ cup warm milk, until smooth. Pour this into the remaining milk and whisk to combine.
- Incubate: Place the bowl or steel insert back into the Instant Pot. Close the lid. Select yogurt, and adjust it to read 8:00 (8 hours), at normal temperature.
- Refrigerate: Once the pot beeps, open the lid and remove the bowl or steel insert. Wipe it dry and cover it with a lid or plastic wrap and refrigerate for 6-8 hours.
Notes
- Milk: You can use 2% or whole milk interchangeably. If using 1% fat or fat-free, the yogurt might not have the usual 'firm' consistency.
- Yogurt Starter: I have found best results by using whole milk yogurt as a starter. Ideally, use yogurt from a freshly opened container. Alternatively, use yogurt from a previous batch, store-bought yogurt (with active cultures), or a yogurt starter. If using yogurt starter, follow the quantity mentioned on the packaging.
- Clean your pot and sealing ring thoroughly before using the instant pot to rid it of any residual taste from other food.
- Storage: For fresh taste, refrigerate yogurt in an airtight container for up to 2 weeks.
- Sweetening yogurt: it is best to add a sweetener after the yogurt is set and cooled. You can sweeten the yogurt using vanilla extract, honey, maple syrup, jam, fresh fruit, etc.
- Monitor temperatures: Use a digital thermometer to ensure that the milk reaches the suggested temperatures.
- To make Greek yogurt: Line a wide bowl with double layered cheesecloth. Add yogurt and let it strain overnight or for at least 8 hours in the refrigerator.
- Save a bit of one batch of yogurt and freeze it in ice cube trays to use as starters later. When you're ready to use, thaw it in the fridge.




Priyanka says
My instant pot does not have a Yogurt setting. Is there a different setting I can use to achieve the same result?
Aneesha says
Hi Priyanka, sorry, I've never tried making yogurt without that setting, so can't say. I would think that setting is critical for the process of making it though.
Lori Jean Finnila says
Yummy. The best no-nonsense approach. Do I need to use extra yogurt from frozen starters from this batch?
Aneesha says
Thank you Lori! You do need to use a yogurt starter to make fresh yogurt, so put some aside for later.
Kimberly P. says
If I’m using store bought yogurt, do I need 1 or 2 tablespoons?
Aneesha says
1 tablespoon for 4 cups of milk. Hope you enjoy it!