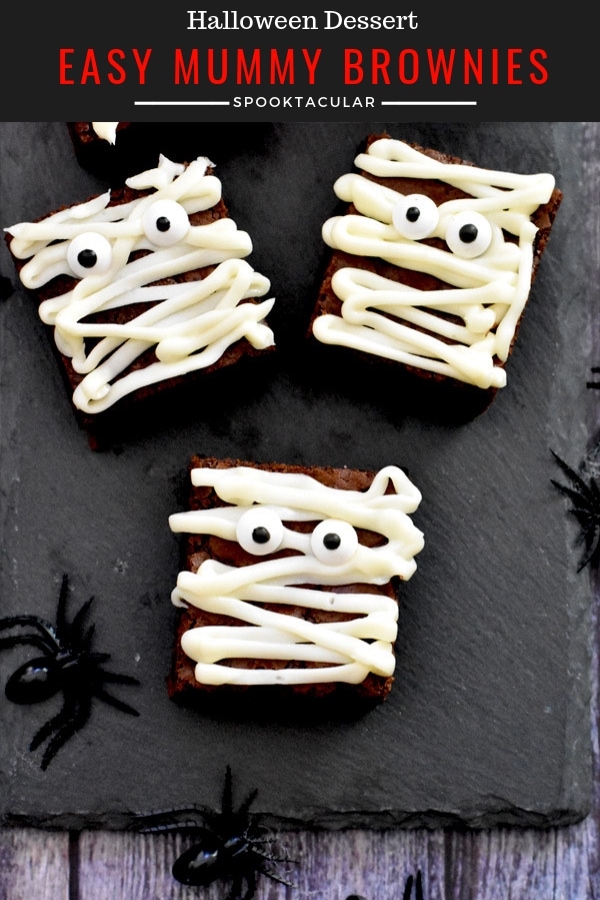
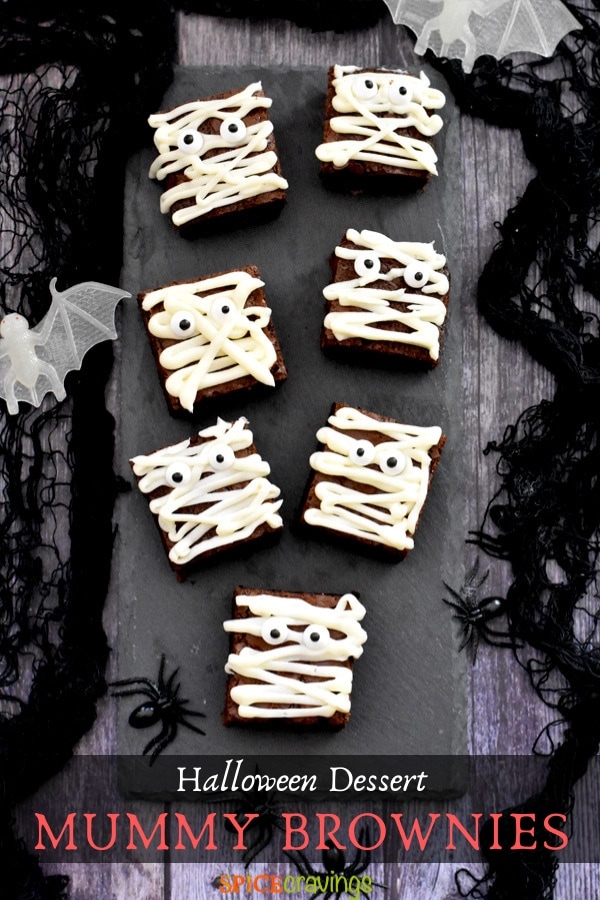
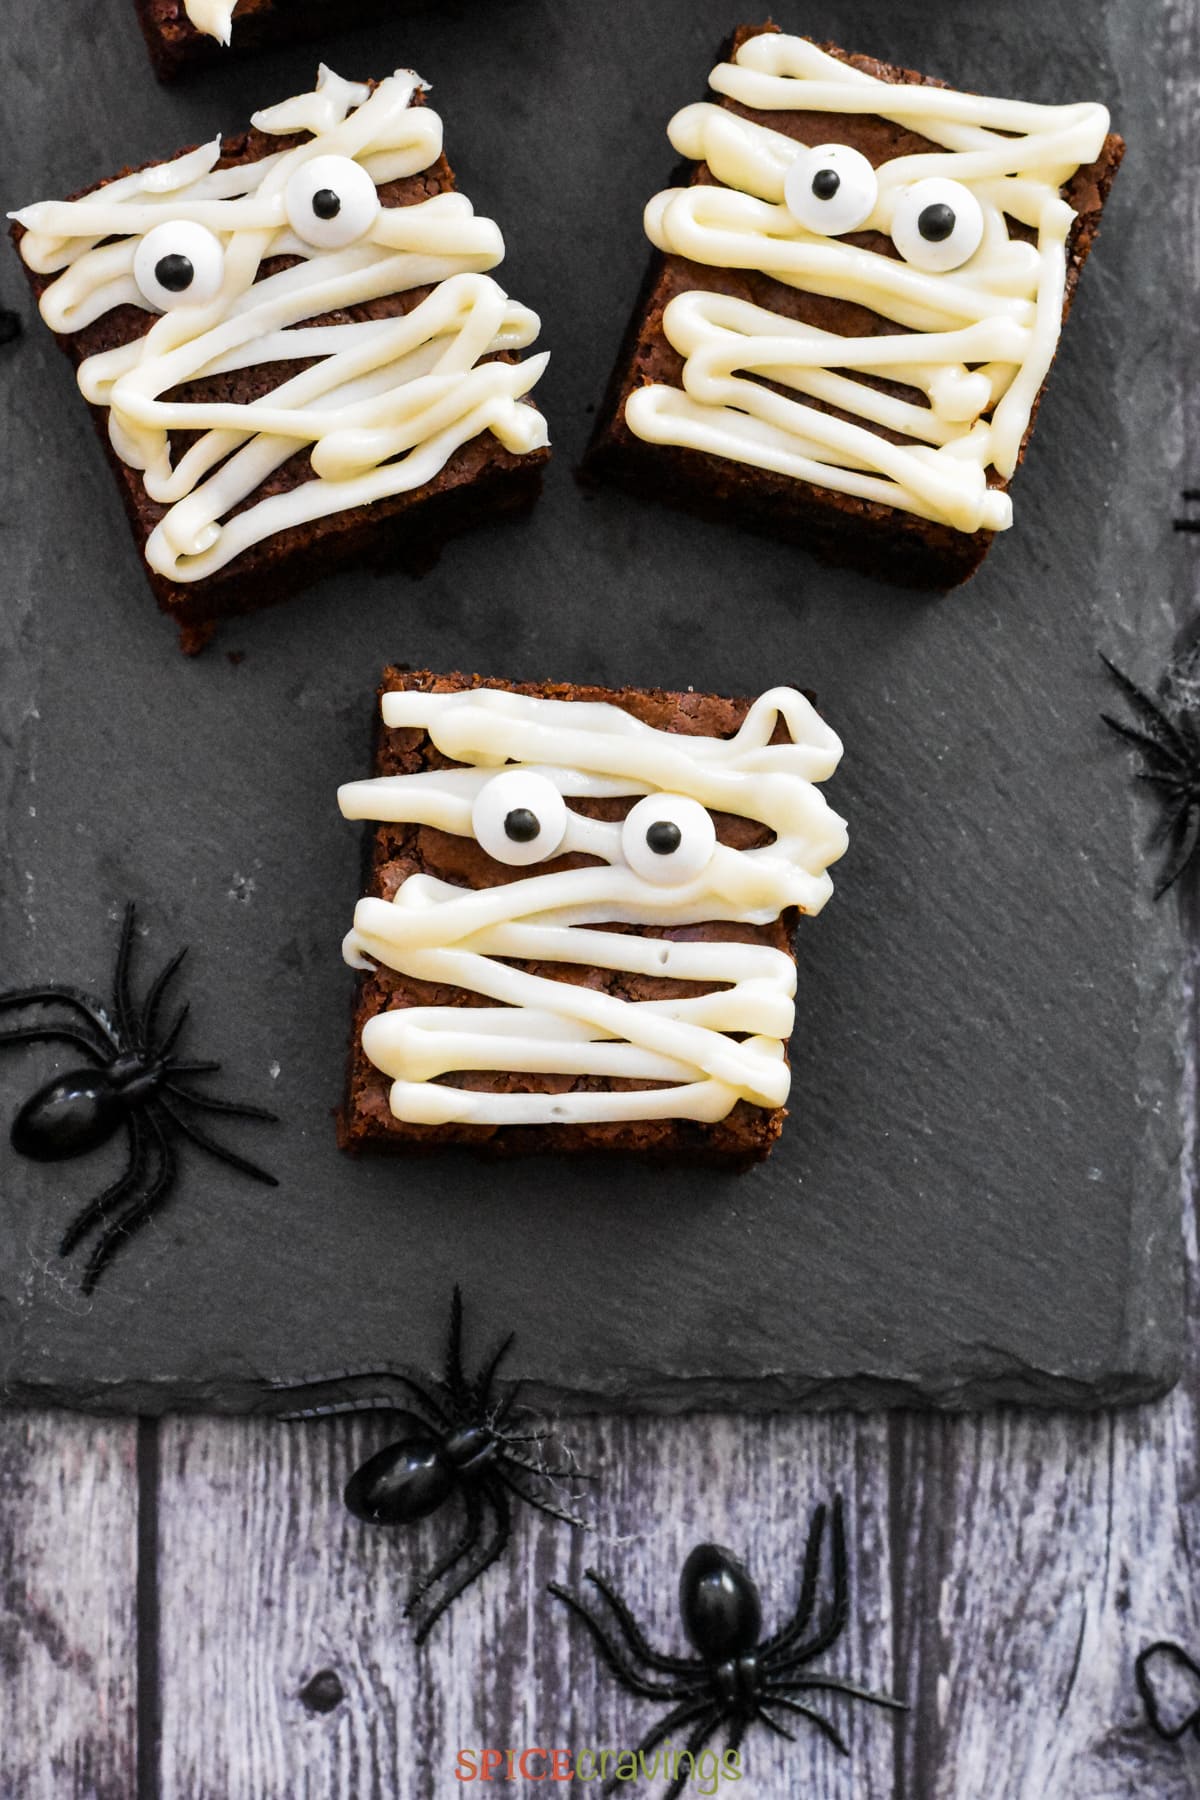
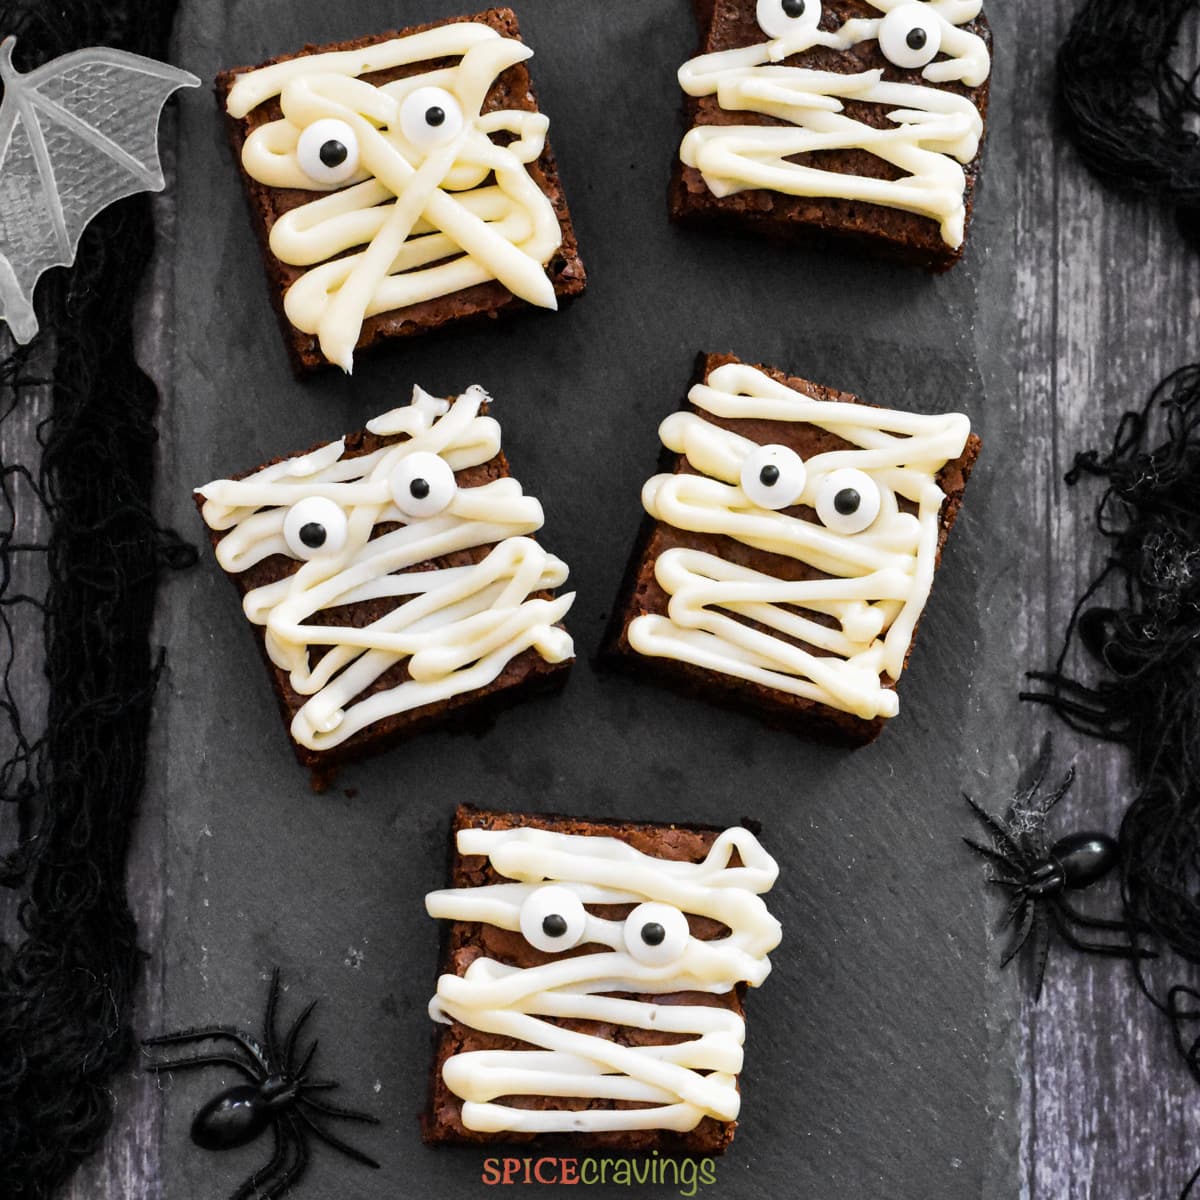
Ooey gooey fudgy brownies dress up for Halloween in this easy and fun Mummy Brownies recipe. Store-bought brownie mix and homemade cream cheese icing come together to make this spooktacular dessert. Make it with your kids and double the fun!
Want to save this recipe?
When my girls were in elementary school, I was the room parent for each of their classes and used to be in charge of planning class Halloween parties.
I'm sure many of you who volunteer at your kid's school will agree with me that those kids are hard to please 🙂 You have got to bring on your A game, or else they'll come up to you and tell you exactly how they feel about your planned activity.
This Halloween Mummy Brownies activity was one of the most successful activities I planned during those years. Kids had so much fun customizing their 'Mummies' and got really creepily creative.
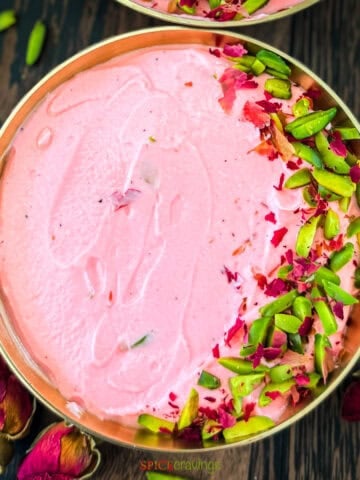
Another Yum Halloween Dessert: Chocolate Mousse Graveyards
In my opinion, the icing is more important than the brownies in this recipe. The icing is what transforms these everyday brownies into "Mummy Brownies".
This is why I had to test a few icing options that could hold their shape, stand out, and give the 'bandage-wrapped' effect.
I tried using sugar glaze icing, but that didn't stand out as much (use that for Vegan Mummy Brownies). I tried buttercream, but it was more creamy-yellow in color and didn't have that WOW factor.
Finally, I used my trusted 4-ingredient cream cheese icing and that worked like a charm!
Let's get started on this easy Halloween treat!
Ingredients for Mummy Brownies
To make Mummy Brownies, you will need the following ingredients. All these are easily available in the baking aisle of supermarkets or specialty stores.
- Chocolate Brownies: You can use homemade brownies or store-bought
- Cream Cheese: I use regular full-fat cream cheese for this. You just need 2 ounces from that. I highly recommend the Philadelphia brand.
- Unsalted butter: This makes the icing creamy. Go for unsalted butter at room temperature.
- Sugar: We need confectioner's sugar which is also labeled as powdered sugar.
- Vanilla Extract: Just a little bit adds a won of floral aroma to the icing.
- Candy Eyeballs: You can easily find them in the baking aisle of large supermarkets.
Scroll to the recipe card for a detailed list of ingredients and quantities.
How to Make Mummy Brownies
Here are the step-by-step instructions and pictures on how to make these creepy and fun Brownies for Halloween:
Step 1: Make brownies
I bake the brownies ahead of time for this recipe and let them cool completely before icing. This can be done 1-2 days in advance. You can use your favorite store-bought mix and simply follow package instructions.
Step 2: Prepare cream cheese icing
For best results, all ingredients should be at room temperature. I remove the cream cheese and butter from the fridge approximately 30 minutes before mixing. This time can vary depending on the season and temperature in you home.
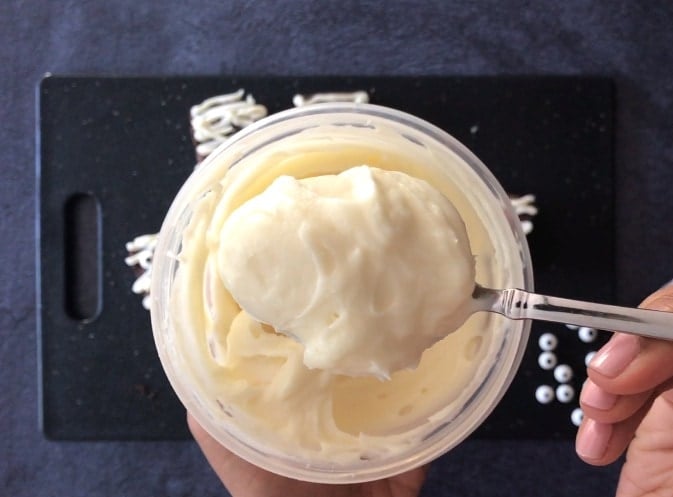
Using a hand mixer (electric mixer), or a stand mixer, whip the cream cheese for 30 seconds. Add butter to that and whip till it looks creamy (about 1 minute).
Add confectioners sugar and vanilla extract and beat till sugar is incorporated. This can take a few minutes. The end result should be smooth and creamy. You can adjust the sugar to customize the sweetness to your taste.
Tip: Refrigerate the icing for 30 minutes before piping on onto the brownies. This helps it firm up a bit and hold its shape better.
Step 3: Prepare the Icing Bag
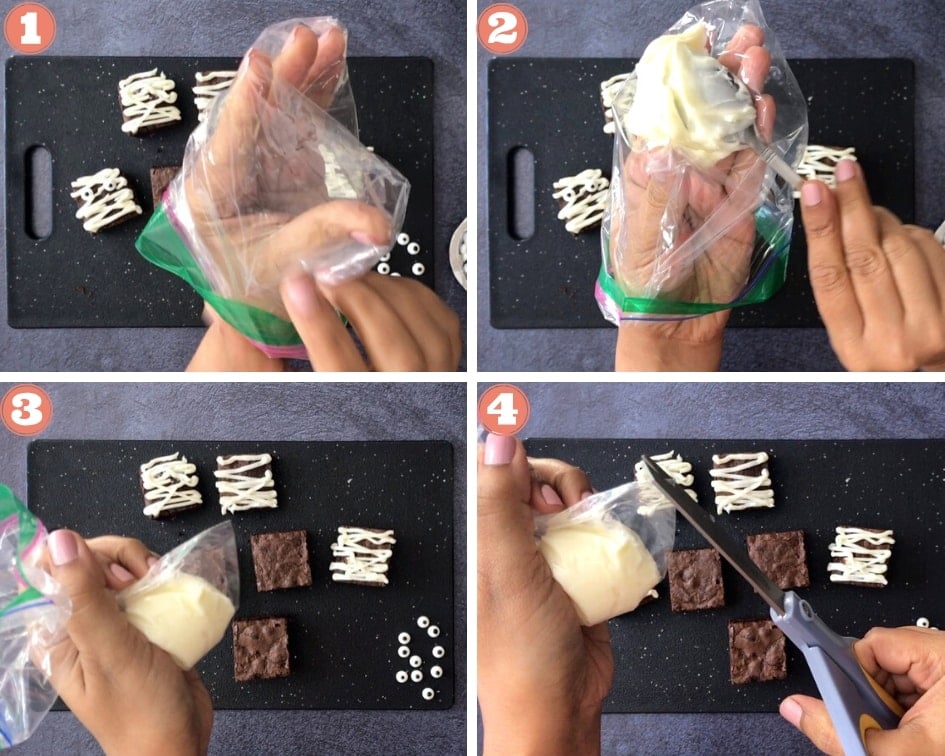
You can use an icing bag or a simple ziplock bag for piping. If using a ziplock bag, hold it such that one of the corners is facing down. Hold the bag in the middle and fold the top half down over your hand. (pic 1)
Using a spoon or spatula, add about ⅓ cup of icing to the bag, pushing it down into the corner. (pic 2)
Start twisting the top of the bag while releasing any excess air in the bag. This pushes the icing down in the corner further. (pic 3)
Using a pair of kitchen scissors, make a small cut diagonally so the icing can flow through that. The cut should be about ⅛th of an inch. (pic 4)
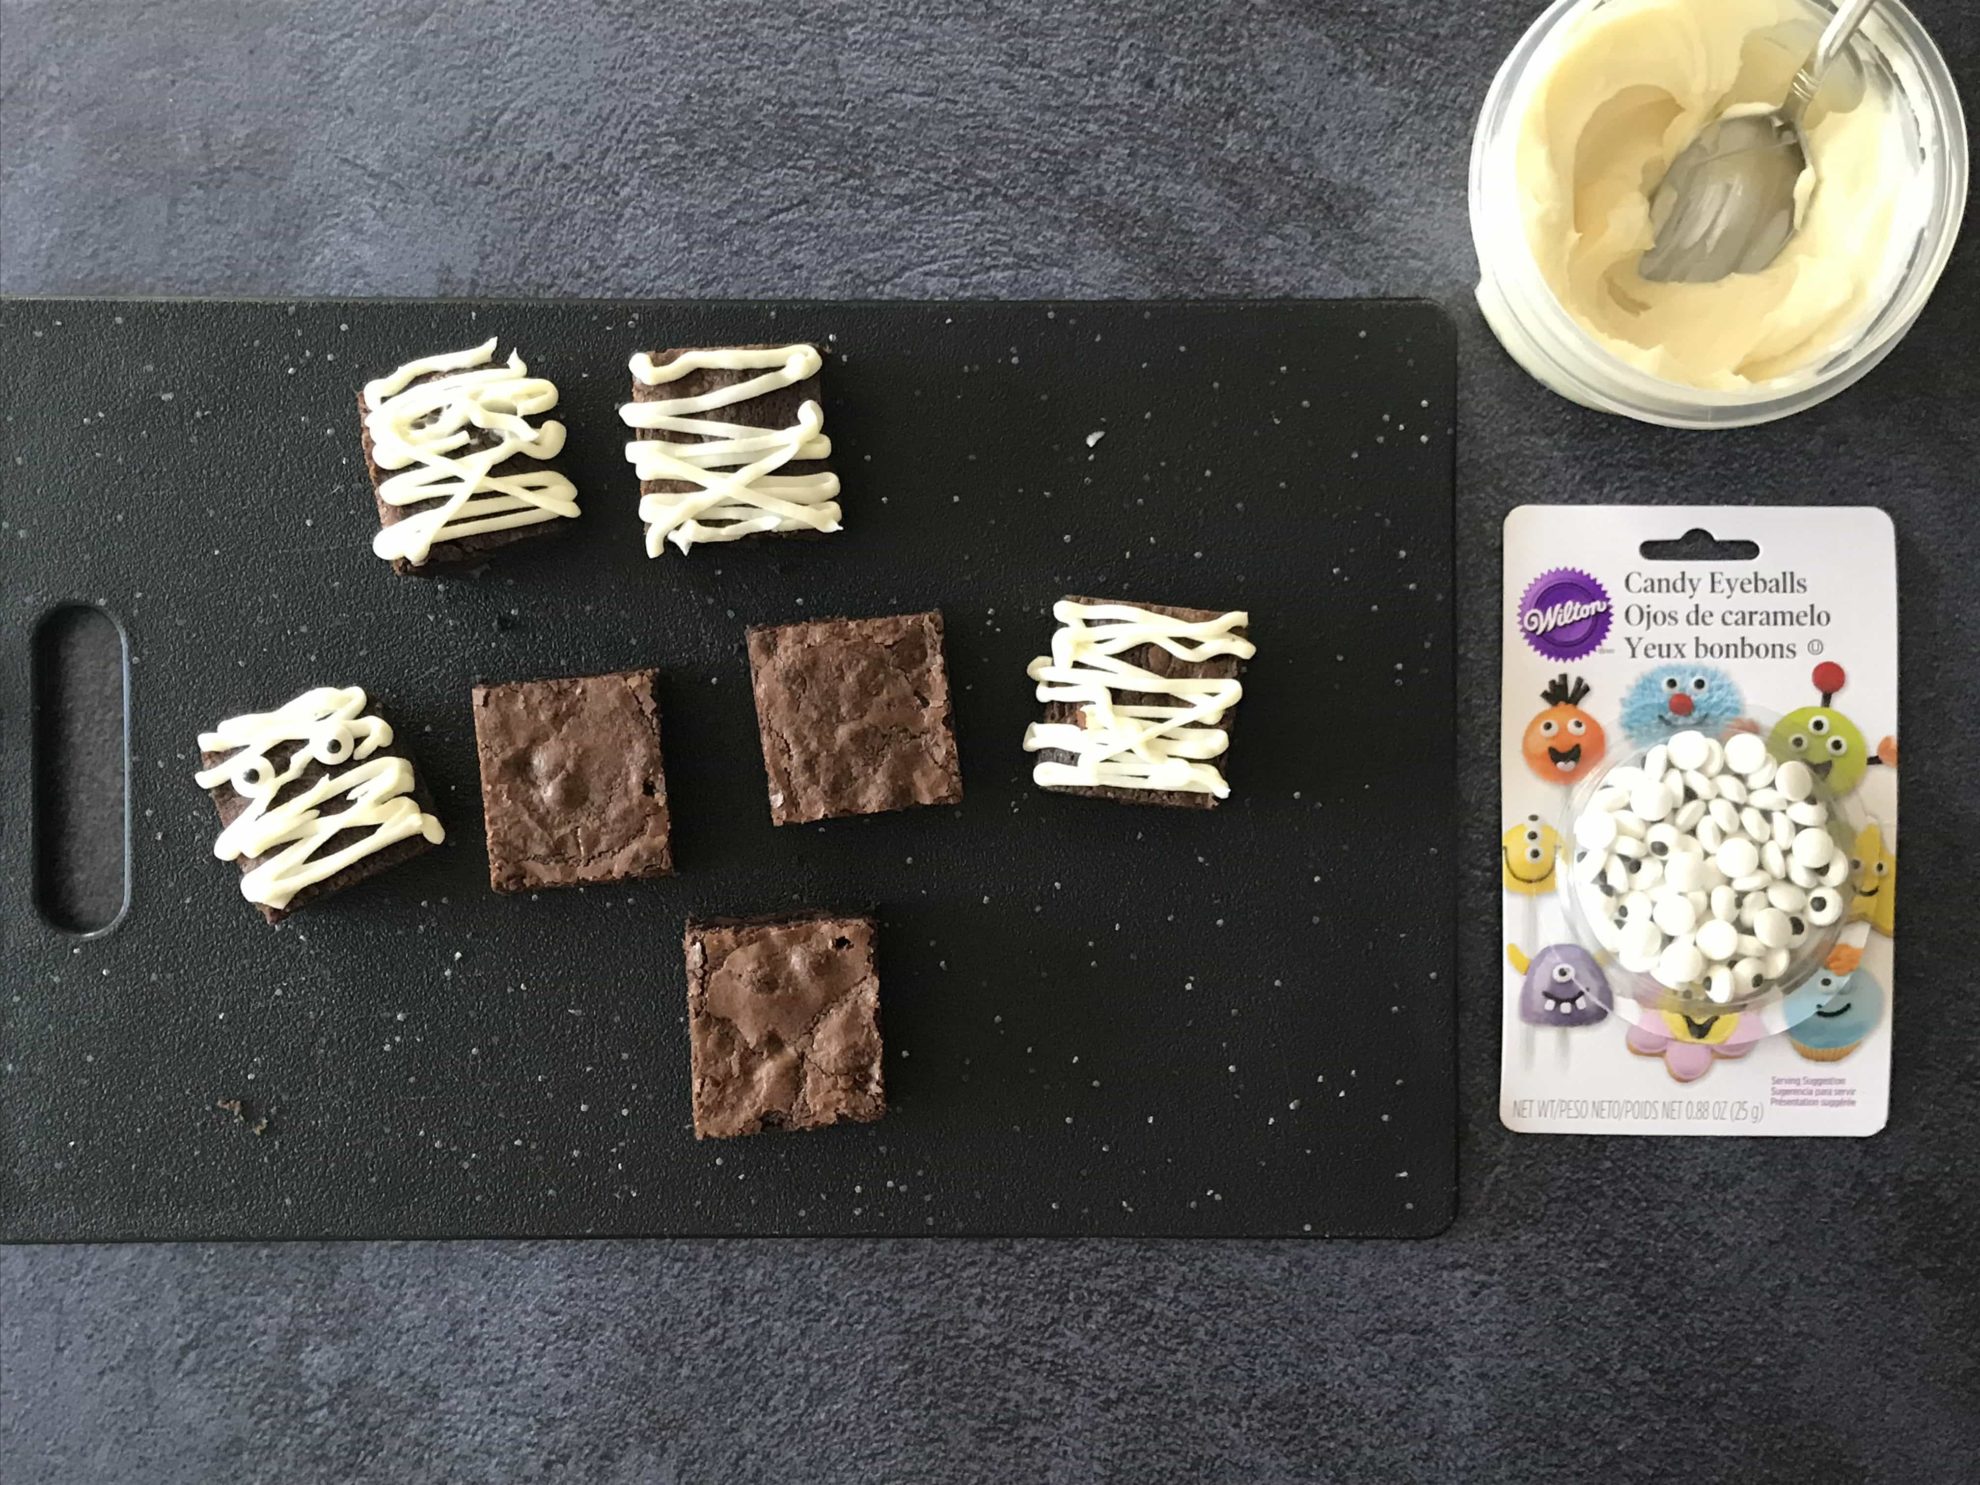
Step 4: Pipe the Icing
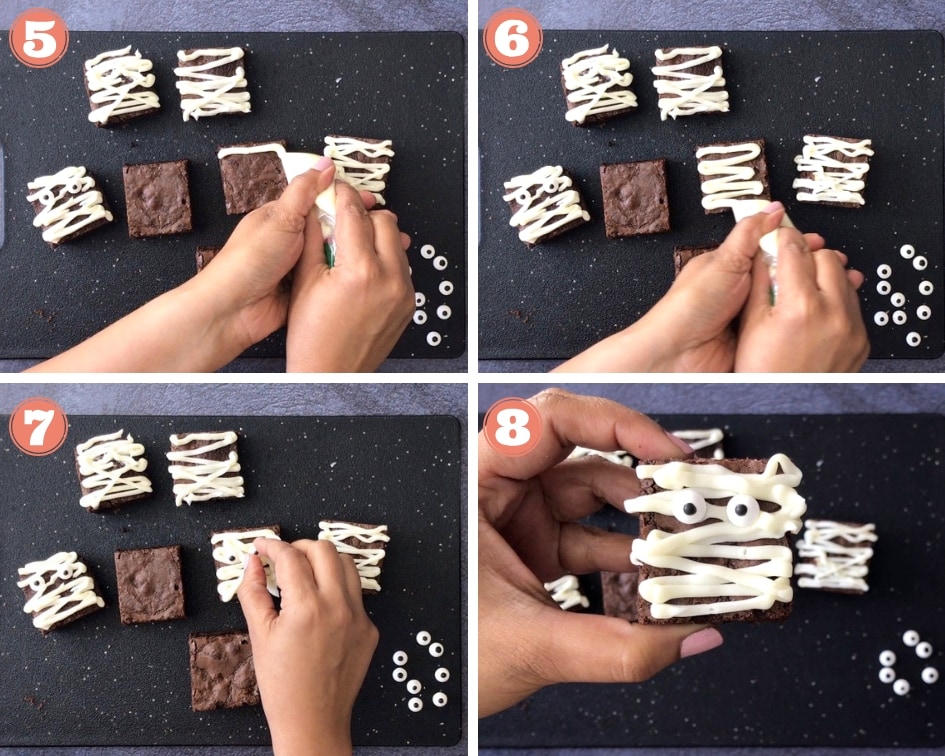
Apply gentle and steady pressure on the bag. Starting from the top left corner, pipe the icing on the brownies in a continuous zig-zag pattern, finishing at the bottom right corner. (pic 5 & 6)
If you're left-handed, you can start at the top right corner and end at the bottom left.
You can leave it at that, or, add more icing making an 'X' mark, starting and ending at opposite corners.
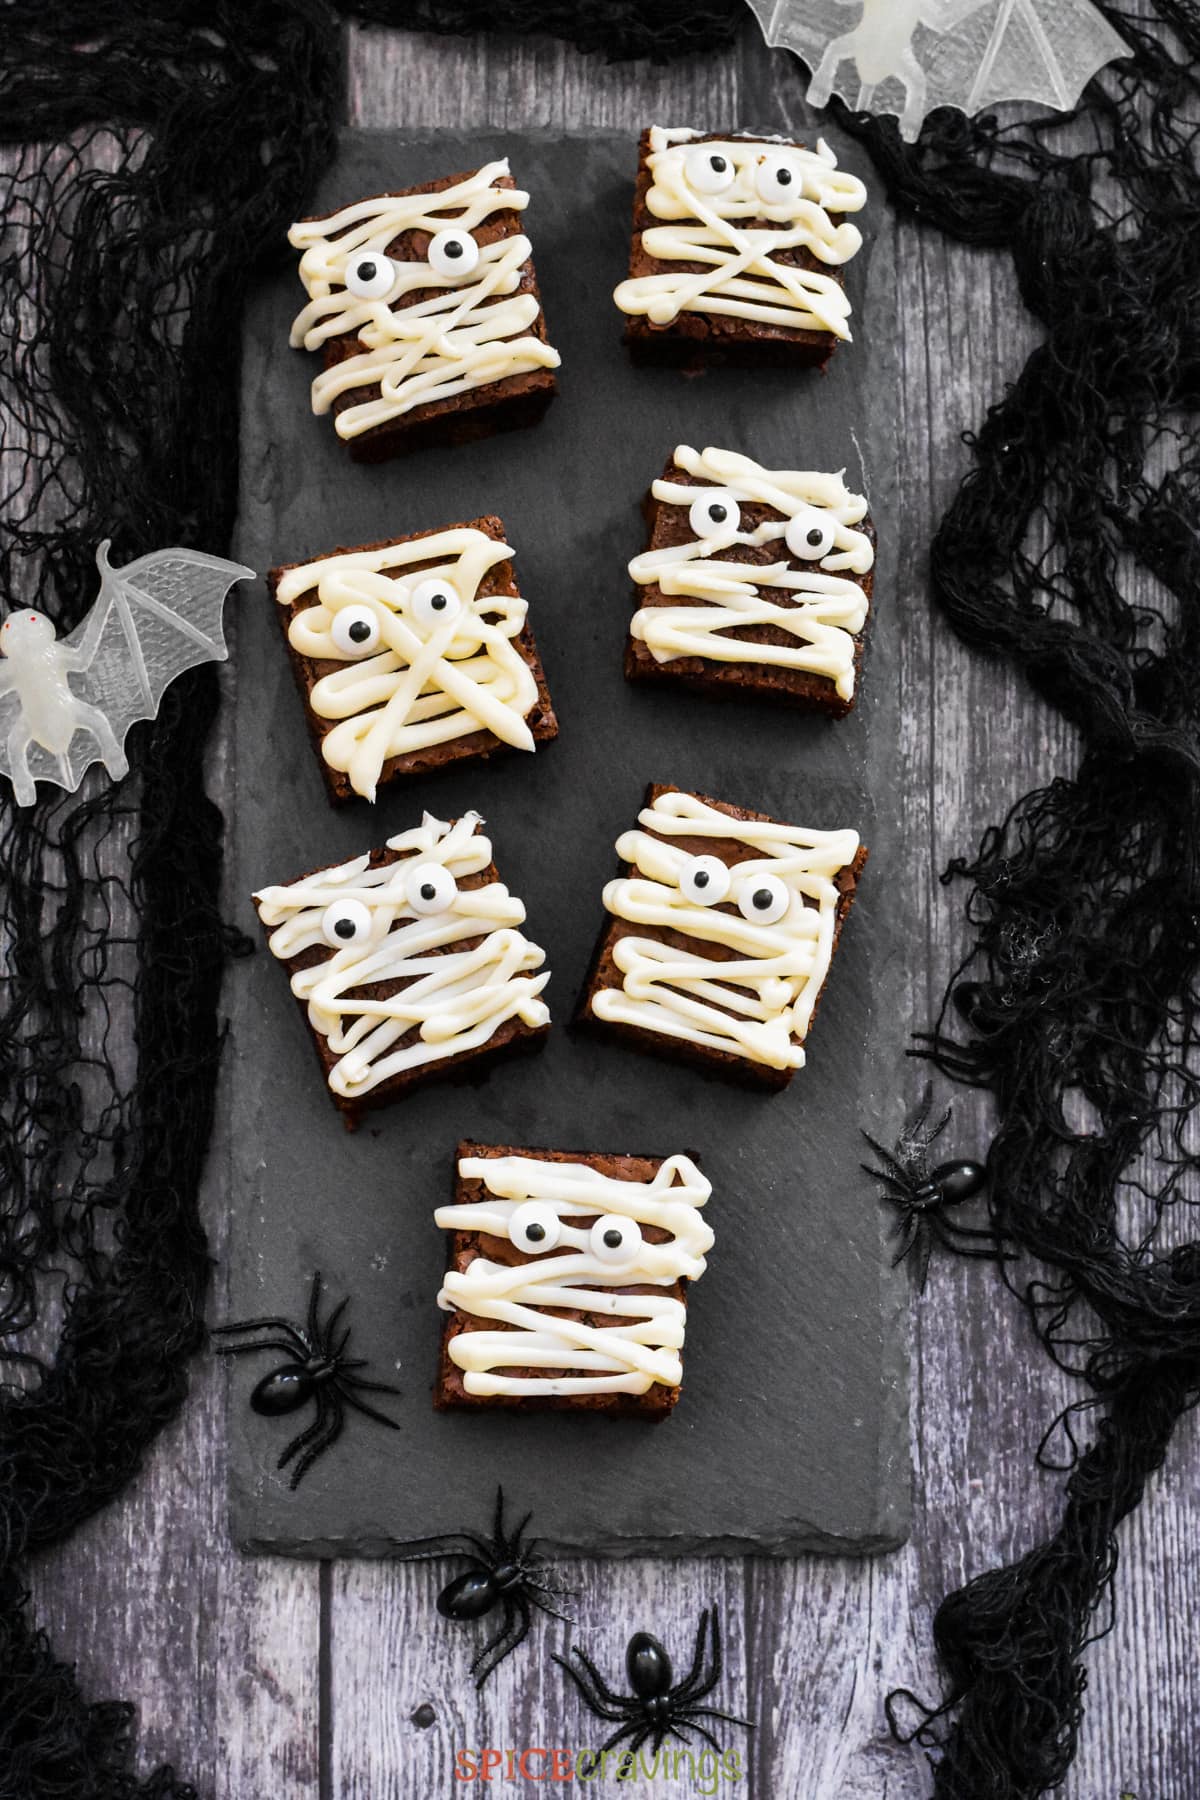
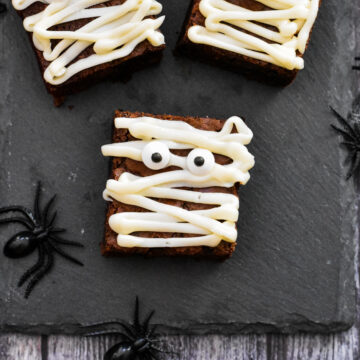
Place two Candy eye balls to make the eyes (pic 7 & 8). Your mummy brownies are ready to party!!
And just like that, these Easy Mummy Brownies are ready to creep your guests out 🙂
Variation: Vegan & Gluten-Free
Gluten-Free: To make these yummy mummy brownies gluten-free, simply use a store-bought gluten-free brownie mix.
Vegan: Replace butter with vegetable oil, and eggs with apple sauce. Most store-bought brownie boxes call for 2 eggs, you can replace that with ¼ cup of apple sauce.
Recipe Tips & Notes
- It's easy to customize this recipe to Vegan or Gluten-Free. The details for both are mentioned in the post above.
- This recipe works great with homemade brownies, brownies made using store-bought mix, or even store-bought brownies.
- Brownies can be made 1-2 days ahead of this recipe.
- For best results, all ingredients should be at room temperature. I remove the cream cheese and butter from the fridge approximately 30 minutes before mixing. This time can vary depending on temperature and season.
- Refrigerate the icing for 30 minutes before piping on onto the brownies. This helps it firm up a bit and hold its shape better.
📖 Recipe
Mummy Brownies For Halloween
Want to save this recipe?
Ingredients
Cream Cheese Icing
- 8 oz cream cheese at room temperature (1 bar)
- 8 tablespoon butter unsalted, at room temperature, (½ cup or 1 stick)
- 1 teaspoon vanilla extract
- 1 cup confectioners sugar
Brownies
- 16 brownie pieces square or round
- 1 pack Candy Eye Balls
Instructions
Make Brownies and Cool Completely
- I bake the brownies ahead of time for this recipe and let them cool completely before icing. This can be done 1-2 days in advance. You can use your favorite store-bought mix and simply follow package instructions.
Cream Cheese Icing
- For best results all ingredients should be at room temperature.For best results all ingredients should be at room temperature.
- Using a hand mixer (electric mixer), or a stand mixer, whip the cream cheese for 30 seconds. Add butter to that and whip till it looks creamy (about 1 minute).
- Add confectioners sugar and vanilla extract and beat till sugar is incorporated. This can take a few minutes. The end result should be smooth and creamy. You can adjust the sugar to customize the icing sweetness to your taste.
- Tip: Refrigerate the icing 30 minutes before piping on to the brownies. This helps it firm up a bit and hold it's shape better.
Prepare the Icing Bag
- You can use an icing bag or a simple ziplock bag for piping. If using a ziplock bag, hold it such that one of the corners is facing down. Hold the bag in the middle and fold the top half down over your hand.
- Using a spoon or ice cream scoop, add about ⅓ cup of icing in the bag, pushing it down into the corner.
- Start twisting the top of the bag while releasing any excess air in the bag. This pushes the icing down in the corner further.
- Using a pair of kitchen scissors, make a small cut diagonally so the icing can flow through that. The cut should be about ⅛th of an inch.
Pipe the Icing on Brownies
- Apply a gentle and steady pressure on the bag. Starting from the top left corner, pipe the icing on the brownies in a continuous zig-zag pattern, finishing at the bottom right corner. If you're left-handed, you can start at the top right corner and end at the bottom left.
- You can leave at that, or, add more icing making an 'X' mark, starting and ending at opposite corners.
- Place two Candy eye balls to make the eyes (pic 7 & 8). Your mummy brownie is ready to party!!
Notes
- It's easy to customize this recipe to Vegan or Gluten-Free. The details for both are mentioned in the post above.
- This recipe works great with homemade brownies, store-bought brownie mix, or even store-bought brownies.
- Brownies can be made ahead of 1-2 days for this recipe.
- For best results, all ingredients should be at room temperature. I remove the cream cheese and butter from the fridge approximately 30 minutes before mixing. This time can vary depending on temperature and season.
- Refrigerate the icing for 30 minutes before piping on onto the brownies. This helps it firm up a bit and hold its shape better.


Leave a Reply