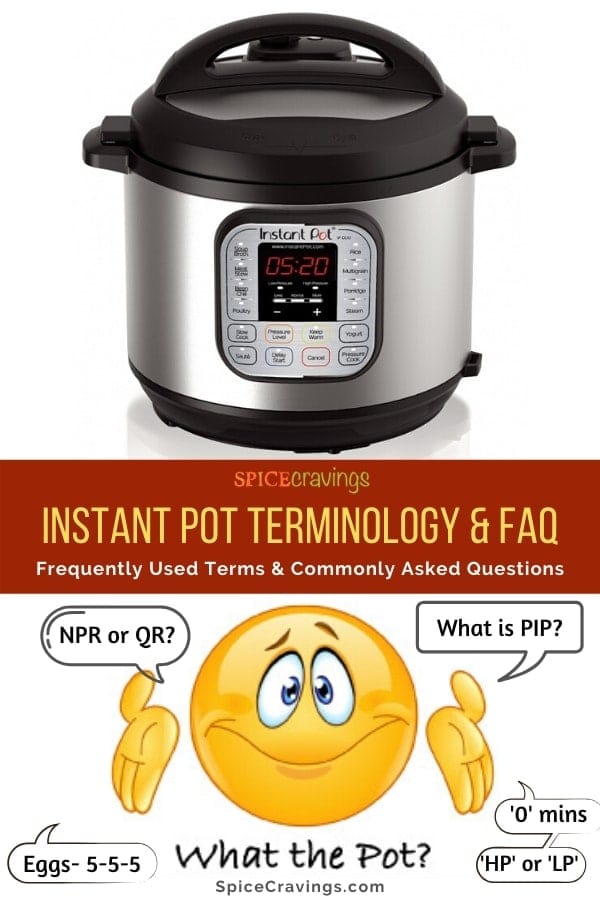
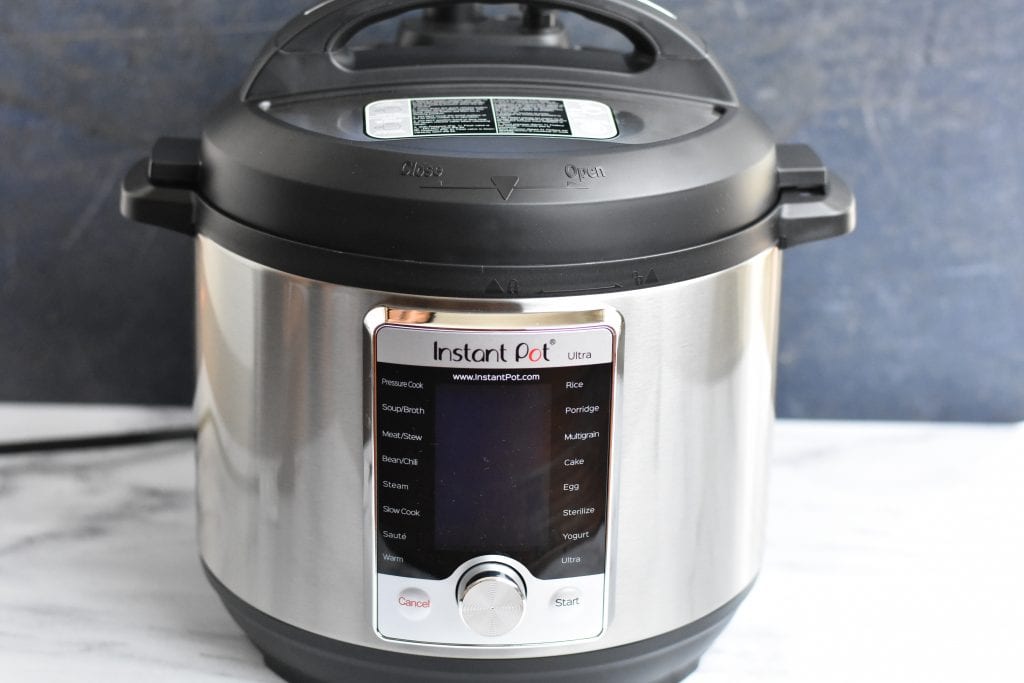
Learn the Instant Pot Terminology and find the answers to Commonly Asked Questions so that you can get started on the right track. Here is a list of the most popular terms, abbreviations, parts, error messages and FAQs to ensure success in all your Instant Pot recipes.
Want to save this recipe?
Jump to:
When I first purchased the Instant Pot, I honestly had no idea what I was doing. It was a new kitchen appliance on the market that seemed to offer convenience. And they were certainly right!
Ever since I purchased my Instant Pot (and many more!), I have never looked back. It is an electric pressure cooker that allows me to get nutritious and delicious food for my family on the table in half the time or effort. But, like with any gadget, there is a little bit of a learning curve to really master the Instant Pot.
Here you will find a list of Instant Pot Terminology, along with Parts, Error Messages & Frequently Asked Questions (FAQs). Think of this post as somewhat of an Instant Pot Manual. It will help to ensure success in all your Instant Pot recipes!
Recommendations: Check out the Spice Cravings Amazon Store for recommendations for Instant Pots and useful accessories.
Commonly Used Instant Pot Terminology
Below is a list of the most common Instant Pot Terminology, or abbreviations, you will come across in many Instant Pot recipes.
IP: Instant Pot
PC: Pressure Cooker
EPC: Electric Pressure Cooker
HP/Hi : High Pressure that cooks at 10.2 - 11.6 psi.
LP/Low :Low Pressure that cooks at 5.8 - 7.2 psi.
Dual Pressure: The cooker includes both HIGH and LOW-pressure settings.
Delay Start/Timer (Older Models): Sets the time delay before a cooking program starts.
Manual or Pressure Cook (Newer Models): Use the Manual or Pressure Cook program to set custom time and/or pressure level when you pressure cook.
QR/QPR: Quick Release/Quick Pressure Release: This means you can manually turn the pressure valve to the 'Venting' position. Do that with extreme caution since you're dealing with hot steam after all.
NR/NPR: Natural Release/Natural Pressure Release: NR or NPR stands for natural release or natural release of pressure, respectively. This means leave the pot alone to cool down and depressurize. When the pin drops, you know the pressure is released.
HA: High Altitude: High Altitude, your location's altitude will affect the cooking time. If you live in a high-altitude city over 3000 feet above sea level adjust the cooking time based on a High Altitude Cooking Chart.
PIP: Pot-In-Pot: Pot-in-Pot, when you're cooking multiple dishes using another insert or bowl inside the Instant Pot. Here's a detailed post explaining how to use pot-in-pot method.
5-5-5 (or 6-6-6): Used for hard-boiled egg recipe. It means, cook for 5 (or 6) minutes, naturally release pressure for 5 (or 6) minutes, then put eggs in ice-bath for 5 (or 6) minutes prior to peeling.
Venting: Same as QR or Manually releasing pressure (depressurize).
Sealing: Turning the pressure knob to the "Sealing position", which traps the steam in the pressure cooker.
#1 Rule To Remember ⇒ Never Open a Pressured Pot
Pressure cookers cook by building a 'high-pressured' steam environment in the pot. It seals the lid tight to do that.
Do NOT try to open the pot if it has pressure in it. ALWAYS, turn the pressure valve to "Venting" mode, let the pin drop to ensure that the pot has released all the pressure and then proceed to open the lid. If it's giving you resistance, you may not have released all the pressure, so check the valve again.
Instant Pot Parts
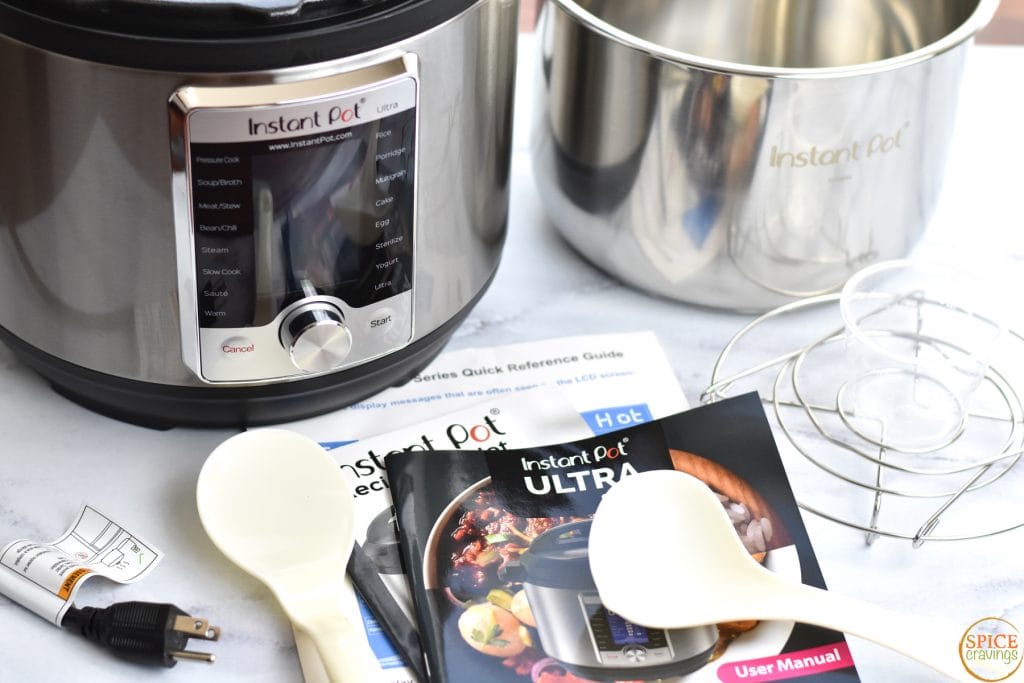
Before we get to the cooking questions, it's good to have a basic understanding of the Instant Pot Parts that come along with it.
Anti-Block Shield
The Anti-Block Shield is the round metal part with 5 holes underneath the lid. It is designed to prevent food particles from interfering with the steam release valve and should be removed and cleaned after each use.
To remove using your thumb, push the side of the anti-block shield towards the lid rim and lift up. It may take a little effort, but the anti-block shield will pop out.
Cooker Base (Exterior Pot or Exterior Housing)

The cooker base contains the microprocessor and heating element aka the outer brushed stainless steel part where you place the inner pot. You should never place anything on the inside of the cooker base without the stainless steel inner pot in position.
Note that the base and the lid can easily be damaged from any external heat source. Never immerse the exterior Instant Pot housing in any liquid.
Inner Pot (Insert, Liner or Stainless Steel Inner Pot)
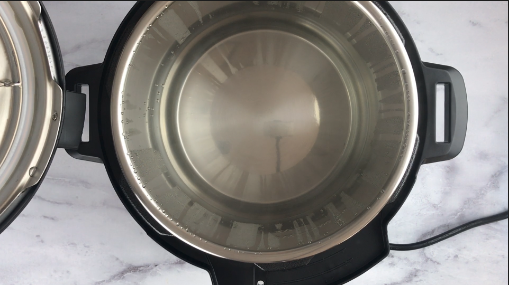
The Stainless Steel Inner Pot is the removable cooking pot where you place the food or liquid. It's Dishwasher Safe, too!
Condensation Collector
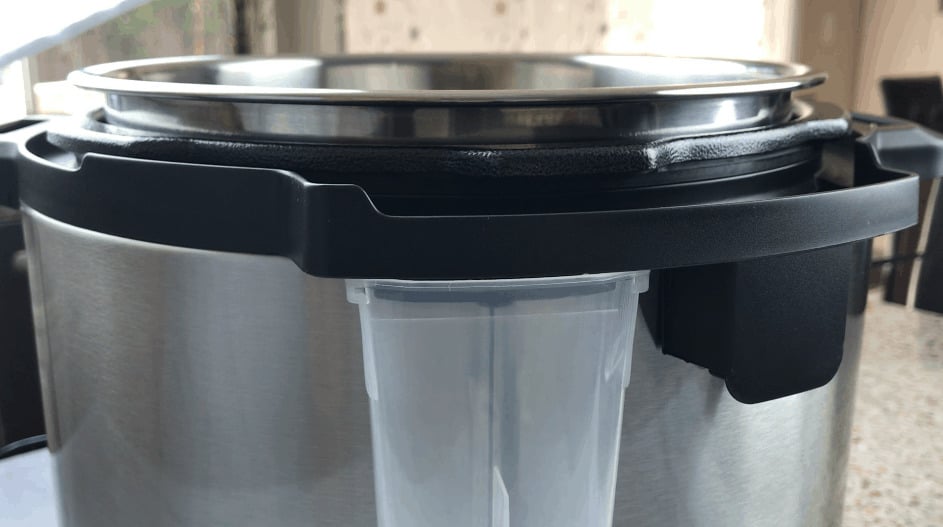
The Condensation Collector is the cup positioned at the rear of the Instant Pot that is used to capture any condensation that builds up during cooking.
Note the LUX series does not include a condensation collector.
Trivet
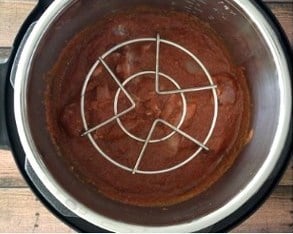
Instant Pot comes with a trivet or a stand on which you can stack something for steam cooking. It is used in many recipes, like hard-boiled eggs, cooking meats or veggies in a pot placed over that trivet. It is also used for Pot-in-Pot Cooking.
The important thing to remember is to pour the recommended amount of water in the inner pot as per your pot size.
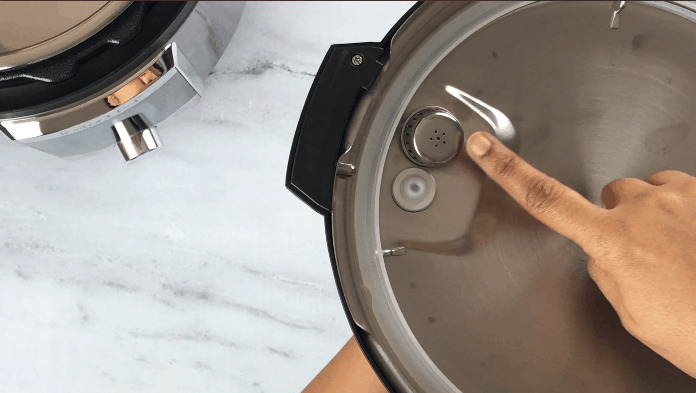
The Pin (Float Valve)
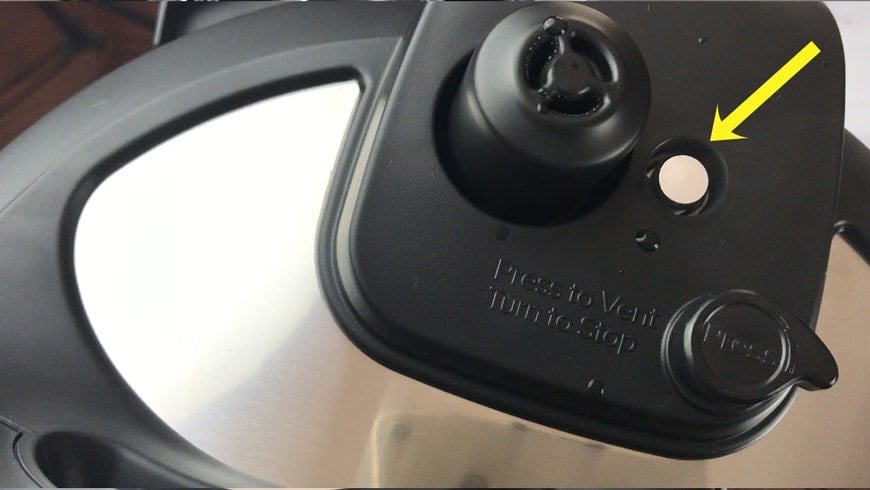
When the IP has built pressure to start cooking, two things happen.
The Pin (aka Float Valve), which is located right next to the pressure valve, pops UP. After this, the timer starts counting down. There is a few seconds or a minute delay in that sometimes, so don't worry.
Similarly, when the pot has depressurized, the pin DROPS. Sometimes, the pin gets stuck.
So make sure that the pot has no pressure is left by turning the pressure knob on Venting position and then simply touch the pin with the tip of your finger or a wooden spoon. 99.9% of the time the pin drops immediately.
If it doesn't, you may have to call support and check what's happening.
Sealing Rings

Another important part of the Instant Pot is the Sealing Ring you place underneath the lid which locks in pressure and steam.
If the sealing ring is damaged, worn-out or not properly placed, it can prohibit the Instant Pot from reaching pressure while simultaneously evaporating the liquid. This could cause a number of issues, including the Burn error message, which we will discuss below.
Instant Pot Error Messages
These are the most common Instant Pot Error Messages that may appear on your LED display. For some, I offer solutions to correct the problem. For others, you may need to contact Instant Pot customer support and open a support ticket. Always make sure to keep your receipt in case of manufacturer errors.
Lid
The Lid is not in the correct position for the selected program. To correct this, make sure the lid has been turned clockwise all the way when pressure cooking, and also make sure the lid is NOT on for the 'Saute' function.
Ovht
Instant Pot is overheating.
Burn
When you saute ingredients, especially to brown them, it is very important to "deglaze" the pot with some liquid after that. This means you can use broth, water, wine or whatever liquid you're adding in your recipe and scrape the brown bits off the base of the pot.
This will prevent them from sticking to the pot and continuing to brown, causing the pot to give you this error message. Sometimes, it is an indicator that there is not enough liquid in the pot.
noPr
The working pressure is not reached during the pre-heating cycle. This could be one of two issues - the lid is leaking steam or you have frozen food in the Instant Pot. If the lid is leaking steam, there could be damage to the sealing ring. If you have frozen food in the Instant Pot, try restarting the current program.
C1
Faulty temperature sensor - contact support.
C5
Temperature is too high. To correct this, make sure the inner pot is placed properly in the base unit and make sure there is enough liquid in the inner pot.
C6
Faulty pressure sensor - contact support.
C6L
Faulty low-pressure sensor - contact support.
C6H
Faulty high-pressure sensor - contact support.
Frequently Asked Questions
These are the most Frequently Asked Questions (FAQs) people ask when cooking in the Instant Pot. After some time, you'll start to become more familiar with the Instant Pot and how to work with it. But for now, let's really break it down.
QR vs. NPR?
Let's get the basics out of the way first- QR stands for quick release of pressure, which means, you can manually turn the pressure valve to 'Venting' position. Do that with extreme caution since you're dealing with hot steam after all.
NPR stands for natural release of pressure, which means, leave the pot alone to cool down and depressurize. When the pin drops, you know the pressure is released.
Cross-check by turning the valve to "Venting" position. The times of NPR may vary depending on what and how much is in the pot.
As a general rule for meat, I go for NPR unless I'm following a two-step recipe which either requires me to add more stuff to the pot after the first part of cooking or, I have to finish the cooking by grilling or broiling in the oven.
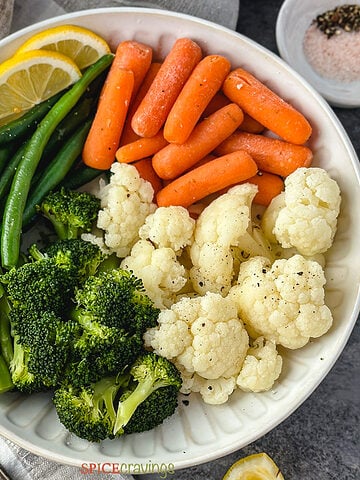
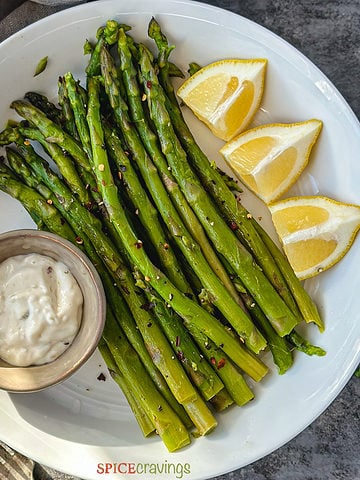
For vegetables, I "always" do QR otherwise the veggies get overcooked.
When a recipe says "NPR 5 minutes" or "QR 5 minutes", it means to let the pressure release naturally for 5 minutes after which you can manually turn the valve to "Venting" mode.
My rule of thumb: As a general rule, I do QR for veggies and seafood, NPR 10 for rice and chicken and NPR 15 for red meat!
Water Test - Is It Really Necessary?
I always recommend doing the water test. I'm sure there are many reasons, but I will state two good reasons for it:
First: The Instant Pot is a pressure cooker that works by building steam in the Sealed Pot. So, it makes sense to test out that very essential "steam building process". It also ensures that the sealing ring is working, the pressure valve is fully sealed when at "Sealing mode", the cooker is able to build steam, etc.
Second: It "deep cleans" your Instant Pot inside out, so it's safe for you to use. The water test removes any odors or the funny plastic smells that we get when we first hook up an electrical appliance. It's a fairly easy step too!
How do I do the Water Test? I have a dedicated post and a VIDEO that has step-by-step instructions on how to do the WATER TEST - Click here.
My Instant Pot Display Reads "L022" - What Does That Mean?
That display means your pressure cooking was done "22" minutes ago, so this is effectively your NPR - Natural Pressure Release time.
As soon as your pressure cooking time is done, unless you hit "Cancel", the IP automatically switches to a "Keep Warm" mode and starts counting L001, L002…and so on.
What Does D and S Mean? - Cooking Times For Beans
Although I typically do not follow the Instant Pot Cooking Time Tables, many people get confused between the D and S label for beans. It's as simple as this - D is for Dried beans and S is for Soaked beans.
What Is The Keep Warm Mode?
The Instant Pot switches to this mode "automatically" after the cooking time is done. This is your effective 'natural pressure release' time. It will start counting up starting from L000, L001, L002…. You can, however, turn it off before starting the cooking cycle.
How Does Saute Mode Work?
The Saute mode has three temperature ranges - Low, Normal and More. Depending on the model you have, you can switch between the 3 settings using the 'Adjust' button or by pressing on the 'Saute' button.
Once you turn it on, on whichever setting, it will display "On". It will take a few minutes to come up to temperature. Once it does, it will display "Hot".
If you add oil or your saute ingredients before it displays 'Hot', it will take a bit longer, since now it has to heat and bring the ingredients up to temperature too.
So, if you're looking to sear chicken or saute onions, set it to "More" setting and wait for it to display "Hot".
My IP Doesn't Have a "Manual" Button?
In the newer models, the "Pressure Cook" button is the equivalent of 'Manual'.
When Cooking Meat In The Pot, Do I Need To Add Liquid?
Yes! There are two ways of cooking meat in the pot:
One: On the trivet, if you want it to be a dry cook vs. a wet curry/gravy dish. In this case, you would add the recommended water in the main pot, place the trivet and then the meat. The meat doesn't have to touch the liquid.
Two: When you add meat to the main pot (inner pot). In this case, you have to make sure the total liquid in the pot matches the recommended water level for your pot size.
When calculating this liquid, include any wet marinade quantity, any sauce that you're topping it with, etc. Each pot has a recommended liquid level based on its size, for it to come up to pressure.
How Much Water Do I Add?
In the IP, you have to account for the water/juices released by meats or veggies, plus some condensation that will happen in your pot while cooking.
The extra water has no way to evaporate. In all my recipes, you'll see that I add minimum water, depending on what I'm cooking.
Size and type of veggies and meats also determine how much liquid you'll end up with.
Check out some of my recipe videos on this site here to see how much water is really needed in different dishes.
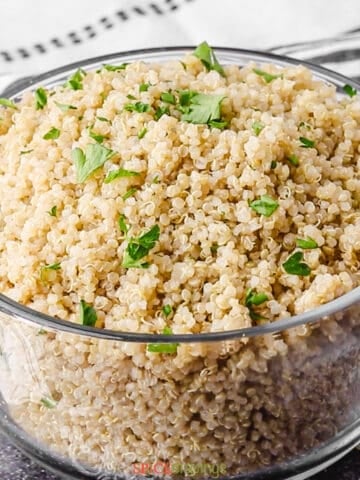
How To Cook Rice In Instant Pot?
The ratio that you use for cooking rice on the stove-top will be different from the one in IP.
Account for the steam turning into condensation, which has no way of evaporating, so it will add to the rice. I have seen that, generally, 1:1+ 2 Tablespoon ratio works for me for white rice and brown rice, as well as quinoa.
But again, how you like your rice will also determine the ratio.
If you like your rice more firm and al dente, reduce the cook time by 1 minute or so.
If you like it more soft and sticky, increase the water by 2 tablespoons to ¼ cup.
For me, white Basmati or Jasmine rice takes 6 minutes, NPR. For Brown Basmati or Jasmine, it takes 22 minutes, NPR.
How Long Does It Take To Cook Meat In Instant Pot?
One size doesn't fit all here. There are many variables involved. The weight and size of the meat pieces are a big factor here. What you're cooking is also a factor - dry or curry?
If you're wrapping the meat in a foil pack and cooking, it'll take longer than direct cooking.
Whether the meat is frozen, fridge cold or room temperature also affects the cooking time.
If you're going to shred the meat in the end anyway, I'd say, cut it into 2-inch pieces, that reduces the cook time to half.
So I'd say, search up the specific recipe and adjust the time based on the variables.
Does Double The Recipe Mean Double The Time?
The answer is "no" in most cases.
For example, cooking 2 chicken breasts takes the same time as cooking 6. Cooking 1 rack of Pork BBQ Ribs takes the same amount as cooking 2 racks.
The reason is that it takes the Instant Pot a certain amount of liquid to come up to pressure, once it reaches that, the cooking process starts. It doesn't matter what quantity it's cooking.
The density of what you are cooking will determine your total cooking time more than quantity.
The increase in quantity will affect your total time since the pot will take a bit longer to come up to pressure.
When A Recipe Says 8 Minutes Manual/Pressure Cook, Will Dinner Be Done In 8 minutes?
The answer to that is "no". Unfortunately, nothing is 'Instant' in the Instant Pot.
For example, if you put some chicken breasts and salsa in your pot to make shredded chicken tacos for dinner, the timer you would set on Manual would be '8 minutes'.
BUT, it will take roughly 10 minutes for the IP to come up to pressure, AFTER which, it will start counting down the 8 minutes.
Then, you would want to let the pressure release naturally for at least 10 minutes, which would make your start-to-finish time for dinner to be served as roughly 28-30 minutes.
Now, that's all inactive cooking time for you, so you don't have to babysit the pot while it's cooking dinner for you - which is what makes the Instant Pot so great.
Can The Instant Pot Replace All My Cookware?
The answer is 'No' and 'Yes'.
The answer to that will really depend on your situation and what you cook, how often you cook and for how many. Let me give you some examples:
If I have to cook a curry with rice, I use the Instant Pot.
For steak and potatoes, I use the stove-top in combination with my oven - I prefer the heat and control of cooking a steak in a skillet and the crispness of the potatoes in the oven.
But when I am cooking only for myself, then I use the skillet most of the time. I just marinate and pan grill a chicken breast, throw in some veggies towards the end and my meal is ready in under 10 minutes, no waiting for pressure time or NPR time.
BUT, if you're like my nephew and niece who just started college and are renting apartments, the Instant Pot is one cookware that they can make everything in.
Why Do Most Recipes Say 'Manual XX Minutes" When There Are So Many Other Buttons?
Well, think of the Instant Pot as your microwave. My microwave has so many buttons, but I only use 4 out of all of them.
The thing with IP is that they have all these wonderful buttons with pre-set pressure settings and timings, but I don't remember them off the top of my head and most of the time, I want to cook something for a little longer or shorter time than the pre-set settings, depending on what I'm cooking.
It's easier and more uniform to remember recipes when you have to remember only two things at Manual (also called "Pressure Cook" in some models) - Pressure (HIGH or LOW) and Time.
Just like the oven, you only have to remember what temperature and for how long.
How Do You Know When The Pressure Is Finished Coming Down?
The pot is done depressurizing when the pin drops.
The NPR time varies depending on the cook time as well as the contents of the pot. In general, for red meat, I follow a 15 minute NPR. For chicken, 8-10 minutes is good. For soups and sauces, 10 minutes, or else the hot liquid squirts out too.
In any case, NEVER open the pot till you verify manually that the pressure is done - you can manually move the knob to Venting position and you'll know if the pot is depressurized fully.
My Sauce Is Too Thin - What Do I Do?
Turn on Saute on the highest temperature and cook down the sauce to your desired consistency. Depending on the quantity, it can take a few minutes.
Click here for some of my favorite Instant Pot Pressure Cooker Recipes.
My Recipe Turned out Bland- What Did I do Wrong?
It's not you, it's the 'extra liquid' that recipes require for the pot to build pressure. THAT waters down flavors.
But, here's a fix --> After pressure cooking, turn on saute and simmer for a few minutes to reduce the sauce. You'll see that the flavors concentrate again. This has worked for me 99% of the time when a dish didn't come out as I expected.
More Instant Pot Resources For You
- Best Instant Pot | Which Instant Pot To Buy?
- How To Use Your Instant Pot - Quick Set-Up Guide
- Instant Pot Accessories
- How To Do The Water Test
- Instant Pot Recipes
- Instant Pot Mini 3QT Recipes
I hope you find this guide to Instant Pot Terminology & Commonly Asked Questions useful. After a bit of time and patience, working with the Instant Pot pressure cooker will become second nature. As always, please reach out in the comments below with any additional questions or comments you may have.
Leave a Reply