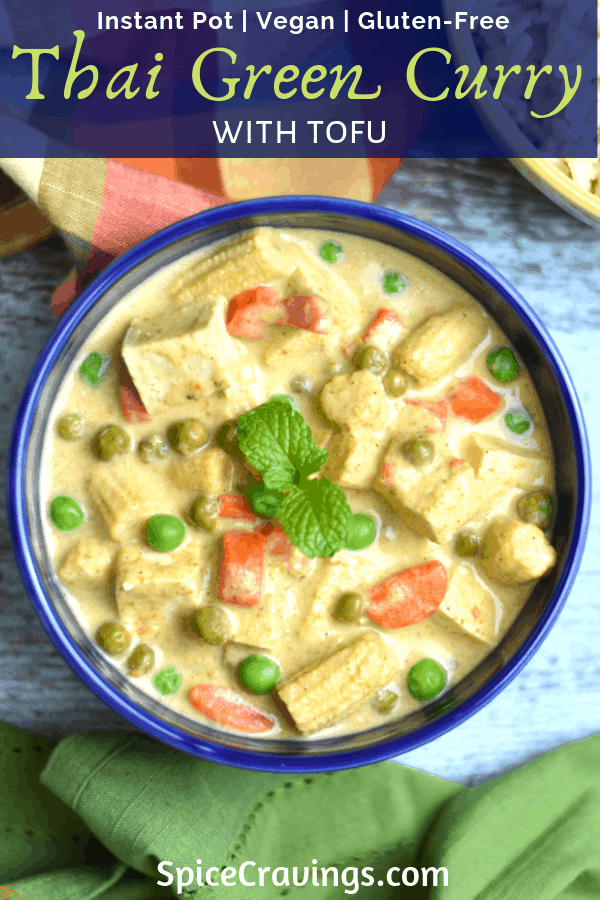
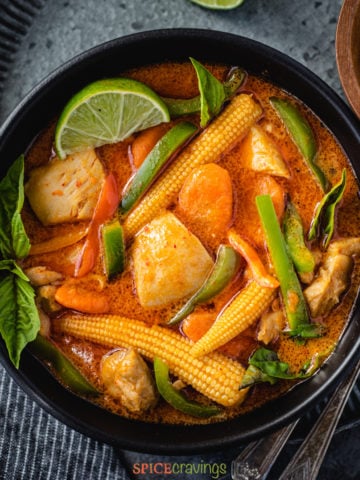
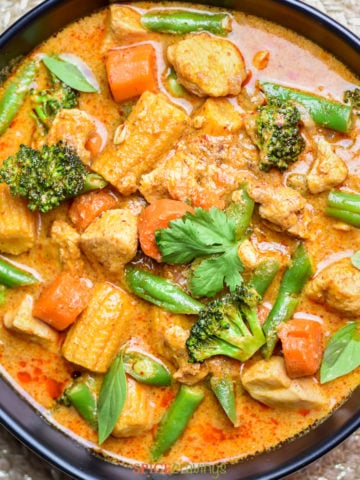
This quick and effortless Instant Pot Thai Green Curry with Tofu is a delicious weeknight dinner ready in under 30 minutes. Made with crisp veggies and soft tofu cooked in a creamy coconut milk sauce seasoned with green curry paste, this sweet and spicy curry beats take-out any day!
Want to save this recipe?
Jump to:
Why We Love This Recipe
This is one of my go-to weeknight dinners because:
- It's a dump-and-start recipe that takes minimal effort. Add all ingredients to the pot and pressure cook- that's it!
- It's a hands-off recipe- you don't have to stand and watch over the pot while it cooks.
- Using a store-bought shortcut for Thai curry paste gives this a restaurant-quality flavor.
- Dinner is on the table in 30 minutes- you can make a pot of rice simultaneously while the curry is cooking.
Ingredients - Notes & Substitutions
We need a handful of ingredients to make this delicious green curry. You can find them in your local Asian store, or in the Asian cooking section of your supermarket, or online. Here's what you need:
- Green Curry Paste - This key flavor base contains lemongrass, kaffir lime, green chilies, and other aromatics. For convenience, I use store-bought paste by Maesri brand (my preferred), or Thai Kitchen (milder). Both brands are vegetarian and don't contain any shrimp.
- Coconut Milk (Full-Fat) - Creates a rich, creamy texture and balances the spice. You can use lite coconut milk for a lighter version, but know that the curry will be more liquidy.
- Tofu (Extra-Firm or Firm) - Holds its shape well in curry. Cut into ½-inch cubes. I don't recommend Silken tofu as that falls apart easily.
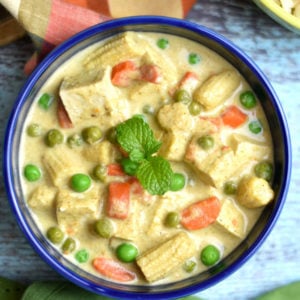
- Vegetables - Add any mix of your favorites. I use carrots, baby corn, peas, and optionally, broccoli. You can also use a frozen veggie medley (no need to thaw).
- Brown Sugar - Balances the spice and acidity with a hint of sweetness. Can also use palm sugar (also known as coconut sugar).
- Thai Basil (or Regular Basil) - Infuses the curry with a fresh herbal flavor.
- Lime Juice - Brightens up the flavors with a hint of acidity.
- Optional Ingredient- Kaffir Lime Leaves - Adds an authentic citrusy aroma. If you cannot find them, substitute with 1 teaspoon lime zest. You can omit this completely.
Scroll to the recipe card for a detailed list of ingredients and quantities.
How to Make Instant Pot Thai Green Curry With Tofu
Here are the step-by-step instructions and photos on how to make Tofu Green Curry in under 30 minutes:
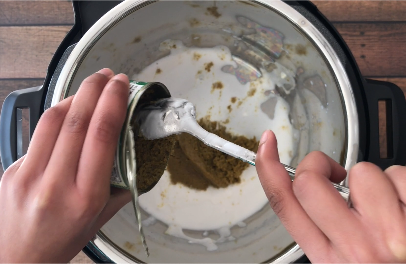
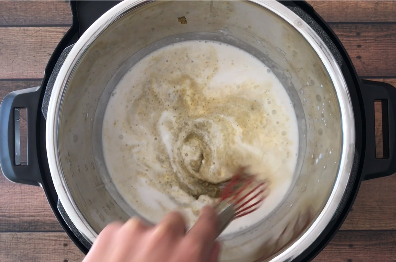
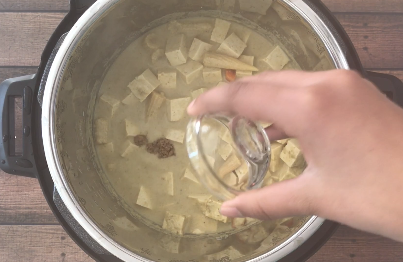
Step 1: Turn the Instant Pot on Saute. Add coconut milk and curry paste and whisk it till it is blended with the coconut milk.

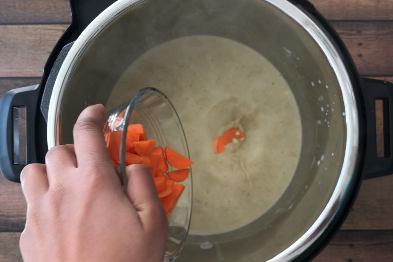
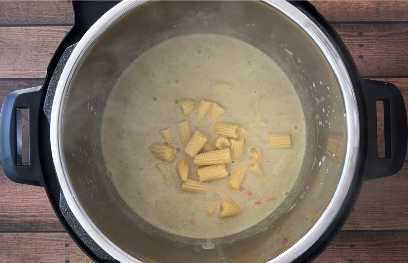
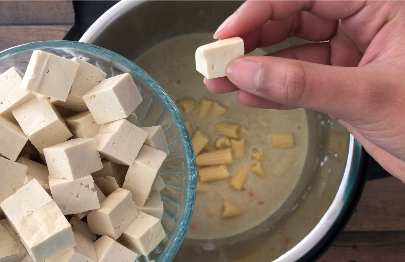
Step 2: Add baby corn, carrots, and tofu cubes. Stir everything. Make sure the curry mix is simmering at this point before you close the lid. (This prevents the coconut milk from curdling.)
Step 3: Cancel Saute and close the lid. Set the vent to sealing position. Set 2 minutes on Manual/Pressure cook mode and change the pressure to Low. After the cooking time is up, let the pressure release naturally for 5 minutes followed by manual release.

Step 4: Open the lid after the pin drops. Turn on Saute. Check for seasoning. Add brown sugar and lime juice.
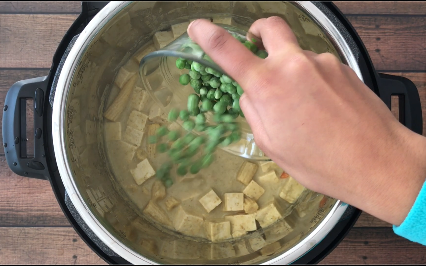
Step 5: Now stir in thawed peas and broccoli florets (if using). Let the curry simmer for 2-3 minutes so the vegetables absorb the flavors and the curry thickens.
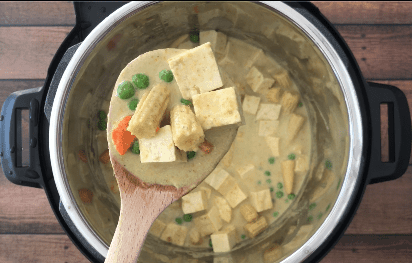
Cancel Saute when the curry thickens to your liking. Stir in fresh basil leaves. Thai Green Curry is ready to serve.
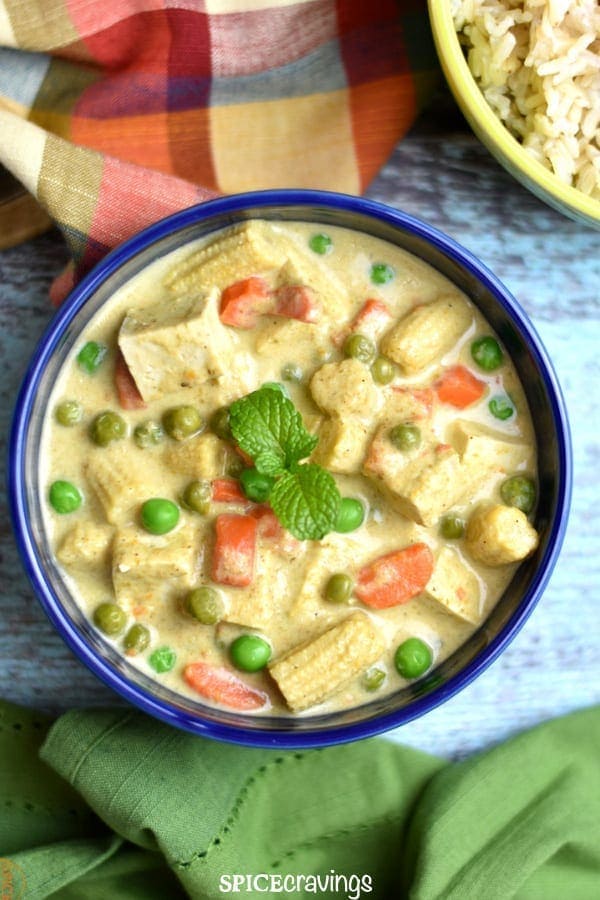
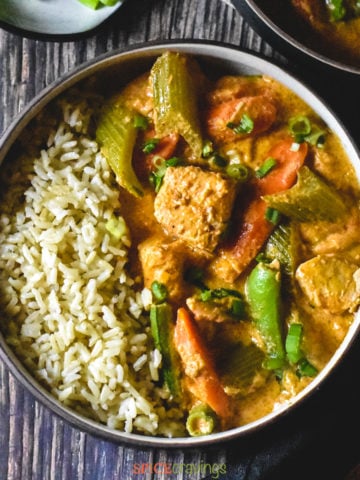
What to Serve with Green Curry
Green curry tastes great with steamed long-grain rice, especially Jasmine rice, a fragrant variety of rice from Thailand. You can pick from the following variations:
- White Jasmine rice
- Brown Jasmine Rice
- Coconut Rice
- For a low-carb side dish, pair it with Cauliflower rice.
Try a Variation
Here are a few ways you can customize this curry to your taste:
Switch the Vegetables: You can also add your choice of vegetables like water chestnuts, bamboo shoots, bell peppers, or zucchini. Add these after the pressure cooking step and saute for 2 minutes.
Use Frozen Veggies instead: You can use a frozen veggie blend instead of fresh vegetables. Add the frozen veggies without thawing.
Swap the Protein: You can make this curry with chicken or shrimp. For Chicken, increase the cooking time to 4 minutes for bite-size boneless chicken pieces. For Shrimp, add after pressure cooking and simmer for 2-4 minutes or until they turn opaque.

Recipe Tips & Notes
- Low-Pressure setting: This recipe has been successfully re-tested using the 'Low Pressure' setting. The texture of tofu and vegetables turns out better, and it also prevents the coconut milk from curdling.
- Simmer coconut milk: Bring the coconut milk to a simmer before pressure cooking. This increases the milk's temperature and reduces the chances of curdling.
- Cooker size: This recipe has been tested in a 3qt and 6qt Instant Pot. If making this in an 8qt size, double the recipe to meet the minimum liquid requirement.
- If coconut milk curdles: If after cooking, the coconut milk seems curdled, don't worry, it hasn't gone bad. The heat and the pressure just separated the fat from the milk. You can turn on Saute mode and whisk it gently back together. It'll be a smooth curry again!
FAQs
Thai Green Curry is a sweet and spicy green curry made with coconut milk, vegetables, a choice of protein, and green curry paste. This paste is typically made with lemongrass, ginger, garlic, kaffir lime, Thai basil, shallots, chilies, and fragrant spices like coriander and cumin. This gives this curry a perfect balance of sweet, savory and spicy!
This Thai green curry is medium-spicy in taste. If you are making this for the first time and are not sure of your spice tolerance, I would suggest starting by adding 1 tablespoon of this pre-made paste and working your way up after tasting.
I recommend using firm or extra-firm tofu for this recipe. I don't recommend using silken tofu as that would not be able to hold shape in this curry and would disintegrate.
More Instant Pot Thai Recipes
These recipes are part of the Asian Recipes Collection:

📖 Recipe
Instant Pot Thai Green Curry With Tofu
Want to save this recipe?
Video
Equipment
Ingredients
- 14 oz Coconut Milk Can - Chaokoh/ Thai Kitchen brand
- ½ can Maesri Thai Green Curry Paste (4 oz can) Add to taste. (¼ Can for mild)
- 1 cup baby corn (fresh or canned) cut into bite pieces
- 1 cup carrots chopped into ½-inch pieces (about 2 medium carrots)
- 14-16 ounces extra-firm tofu cut in ½-¾ inch pieces
After cooking
- 2 teaspoons Brown Sugar or palm sugar
- ½ teaspoon lime juice
- 1 cup frozen peas Thawed
- 1 cup broccoli cut into small florets (optional)
- 10-12 Thai basil leaves for garnish
Instructions
- Prep: Cut Tofu into ½-¾ inch pieces. Chop baby corn and carrots.
- Turn the Instant Pot on Saute. Add coconut milk and curry paste and whisk it till it is blended with the coconut milk.
- Add baby corn, carrots, and tofu cubes. Stir everything. Make sure the curry mix is simmering at this point before you close the lid. (This prevents the coconut milk from curdling.)
- Cancel Saute and close the lid. Set the vent to sealing position. Set 2 minutes on Manual/Pressure cook mode and change the pressure to Low. After the cooking time is up, let the pressure release naturally for 5 minutes followed by manual release.
- Open the lid after the pin drops. Turn on Saute. Check for seasoning. Add brown sugar and lime juice.
- Now stir in thawed peas and broccoli florets (if using). Let the curry simmer for 2-3 minutes so the vegetables absorb the flavors and the curry thickens.
- Cancel Saute when the curry thickens to your liking. Stir in fresh basil leaves. Thai Green Curry is ready to serve.
Notes
- Low-Pressure setting: This recipe has been successfully re-tested using the 'LOW PRESSURE' setting. The texture of tofu and vegetables turns out better and it also prevents the coconut milk from curdling.
- Simmer coconut milk: Bring the coconut milk to a simmer before pressure cooking. This increases the milk's temperature and reduces the chances of curdling.
- Cooker size: This recipe has been tested in a 3qt and 6qt Instant Pot. If making this in an 8qt size, double the recipe to meet the minimum liquid requirement.
- If coconut milk curdles: If after cooking, the coconut milk seems curdled, don't worry, it hasn't gone bad. The heat and the pressure just separated the fat from the milk. You can turn on Saute mode and whisk it gently back together. It'll be a smooth curry again!
- Make it with chicken or Shrimp instead: If using chicken in this recipe instead of tofu, increase the cooking time to 4 minutes for bite-size boneless chicken pieces. If cooking this with shrimp, cook the curry for 1 minute, QR, and then add the Shrimp, saute' for 2 minutes, or till they turn opaque and cook through.


Heidi S. Atwood says
Recently starting using tofu and this was SO tasty! Shared it with my friends and got a big thumbs up. Will def be making again! Thanks for another great recipe.
Aneesha Gupta says
Thank you Heidi! I'm so glad you and your friend enjoyed this recipe. There are quite a few tofu recipes on the blog, do check them out!
radhika sekar says
Best Thai green curry recipe, I've found on web.
Thanks.
Aneesha says
Thank you so much Radhika! I'm so glad you enjoyed it.
Fireb says
Hi Aneesha,
I just made your instant pot green curry and it's yummy (I added cayenne and salt and black pepper at the end to give it a little more *zing*), however, I've never been able to re-create the flavors that I experience in take out Thai curries by using the grocery store curry paste. What do you recommend that gives take out curry that special flavor?? Your advice is much appreciated!
Aneesha says
Hi there! Thank you, I'm glad you enjoyed this recipe. Many Thai restaurants use Maesri paste to make their curries, which is what I use too. Try that brand, it's really authentic. Another option is to make curry paste from scratch. I've mentioned it in the recipe, but the detailed recipe is in my Pressure cooker Curry cookbook available on Amazon. Hope you try that!
Zen says
Super simple to make and VERY tasty 🙂 Thank you for sharing your recipe!
Aneesha says
Hi Zen, thanks so much! I'm glad you enjoyed it!